Time for another installment on the progress so far.
This time, I’ll be focusing on the lower play field. I’m working my way up the play field – from the apron (which I covered in previous posts, all the way up tp tje top). This allows me to focus on specific areas and assemblies and then test them once they have been serviced. It also helps stop feeling overwhelmed with everything still to do.
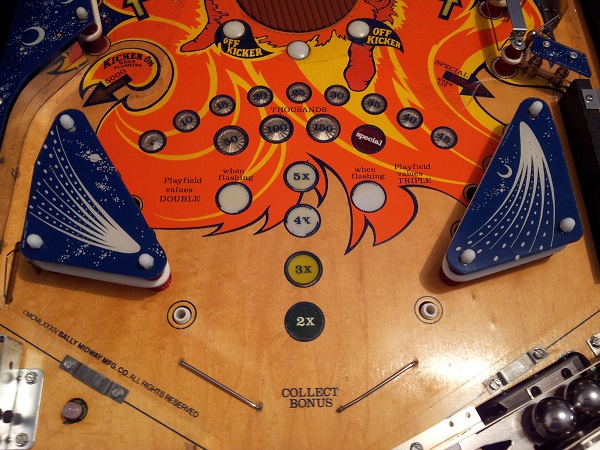
The lower play field is quite dirty. Mylar covers some sections, while others either have chunks taken out of it (or it was removed by a previous owner). When it was removed you can see some damage that was done to multiplier and bonus inserts 🙁
I needed to service the slingshots, so figured that while I was doing that, I could also remove the remaining mylar and give the play field a much needed clean. Before I’m done with the machine I plan to give the play field a solid wax too. Doing the play field in stages will mean more work in the future as I’ll have to remove everything to clean and wax it, but I’ll live with that.
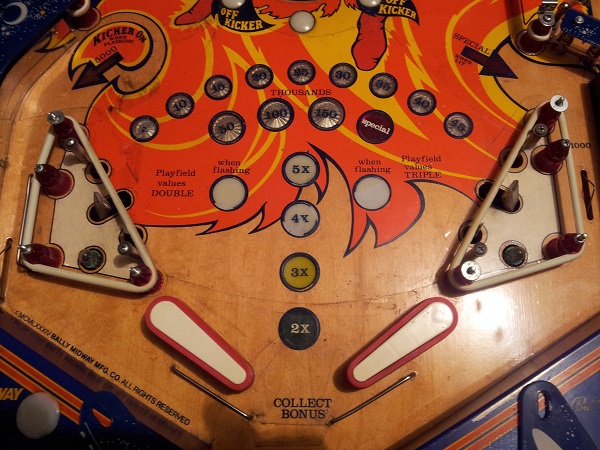
With the plastics and play field parts removed, I was ready to begin.
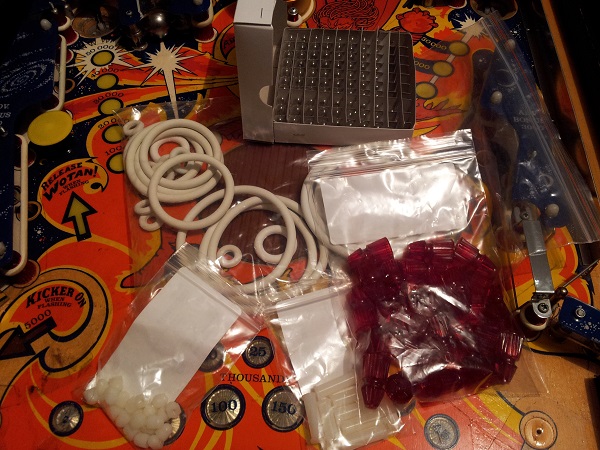
I had ordered new star posts, spacers, post nuts, rubbers and globes to replace the old looking ones. The rubbers especially – some of them on this machine were almost hard.
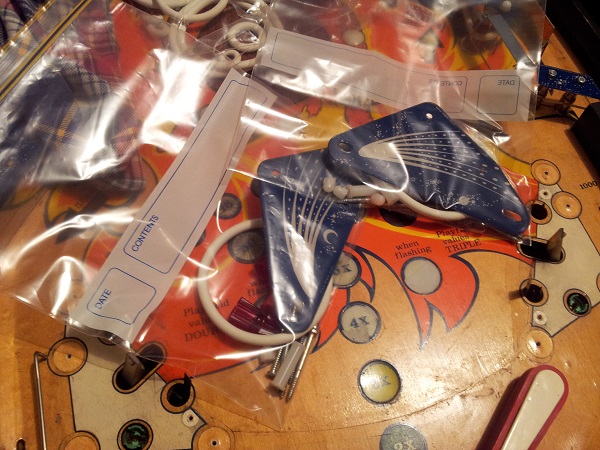
With the two sling shot play field parts removed, I gave everything a solid clean (including using some Novus on the plastics) and put them in to “kits”. These included new spacers, star posts, nuts, etc and were put aside out of the way.
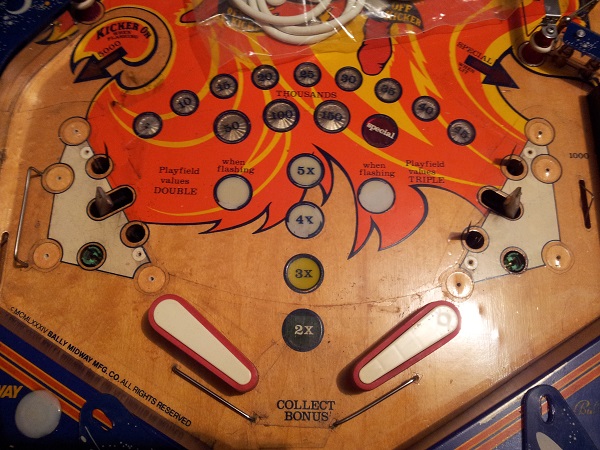
Some close ups of the damaged mylar and dirt that had become trapped under it as a result.
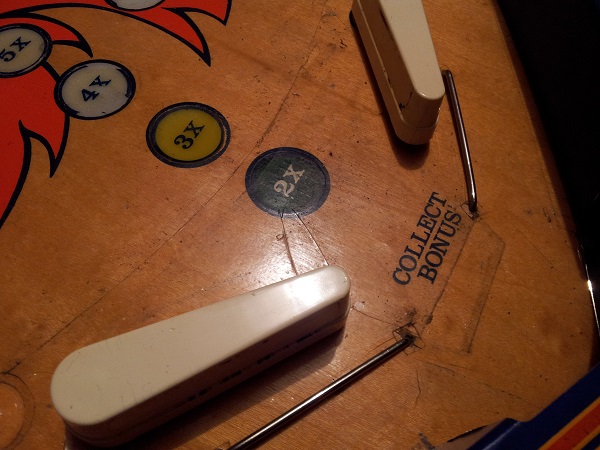
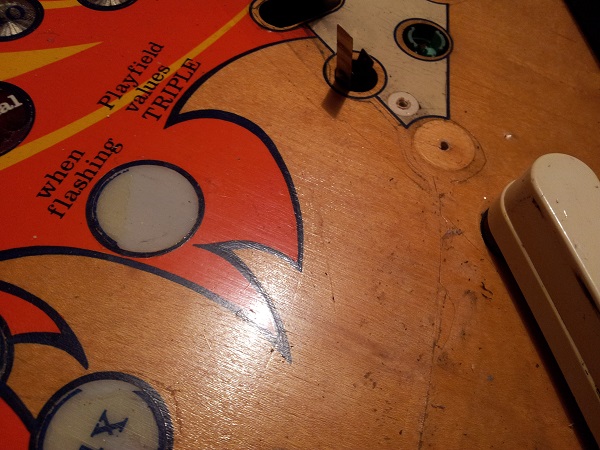
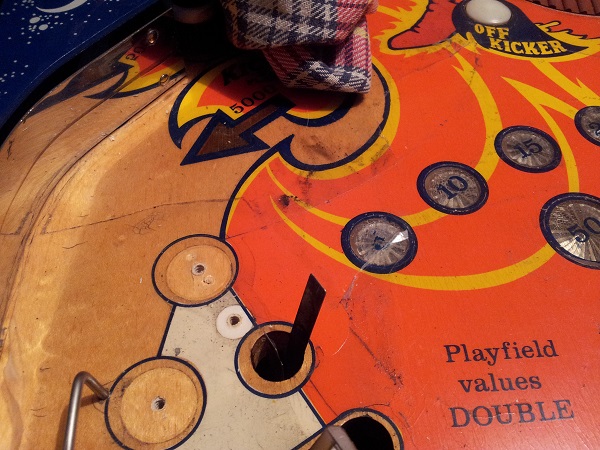
I slowly went about removing the mylar from the lower area of the play field. Using a hair dryer to help lift the mylar and eucalyptus oil to clean up the left over goo I worked my way from the ball trough up past the bonus lamps. It was pretty successful. Some minor paint lift from the edges on a few inserts, but nothing to cry about. As is, I plan to create some templates and repaint the edges on some of the bonus inserts.
With the mylar and goo removed, I then used Novus 1 and 2 to give the play field some TLC and a good clean. It made a big difference.
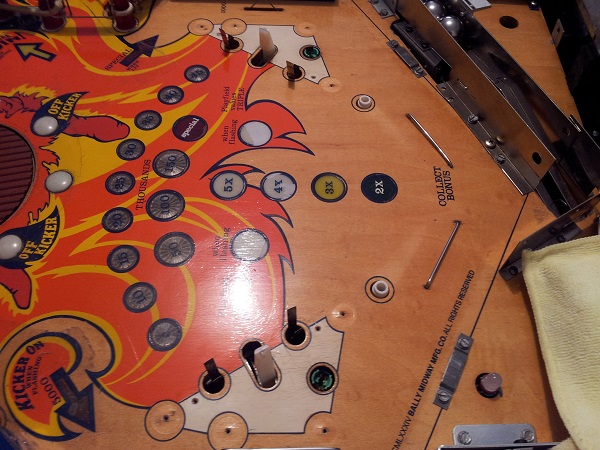
Now I wanted to look at the slingshot assemblies.
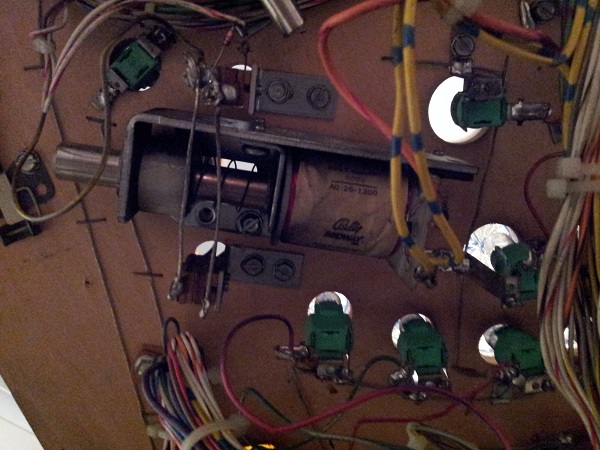
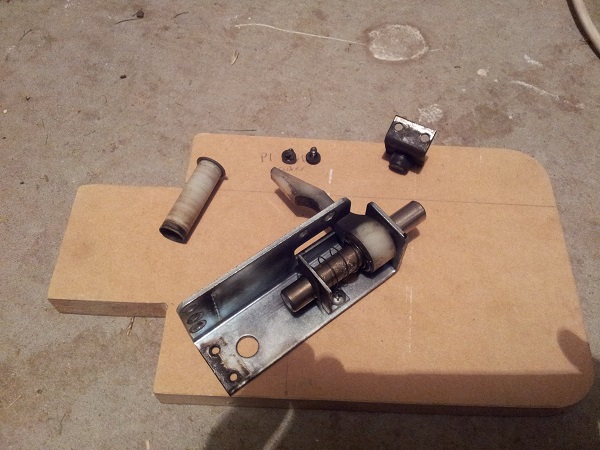
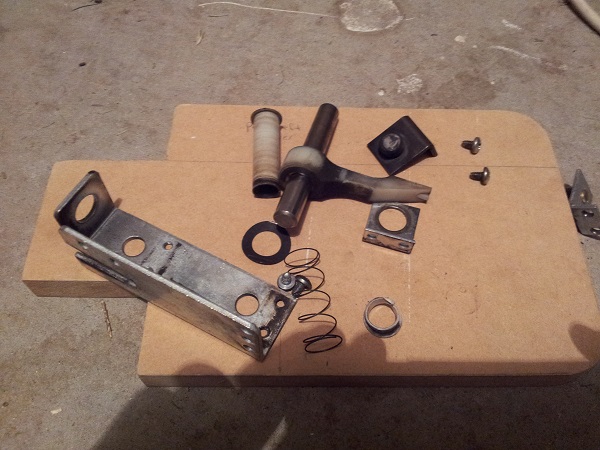
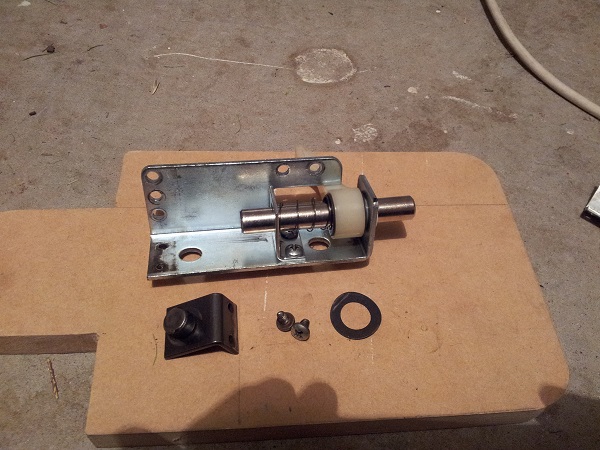
Removing the assemblies was a little tricky. The two blade switches are connected by wires (as seen above) which made it tough to get to some of the screws holding the assembly to the play field. It was made easier by removing these first and then the slingshot assembly. With the parts out, I could start cleaning. The blade switches were also covered in crap, so these got a solid clean too.
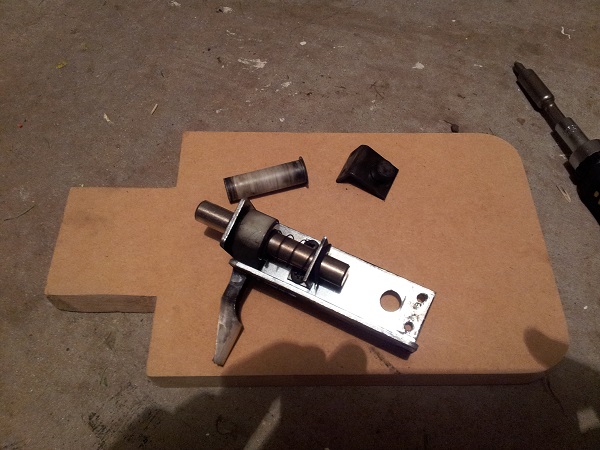
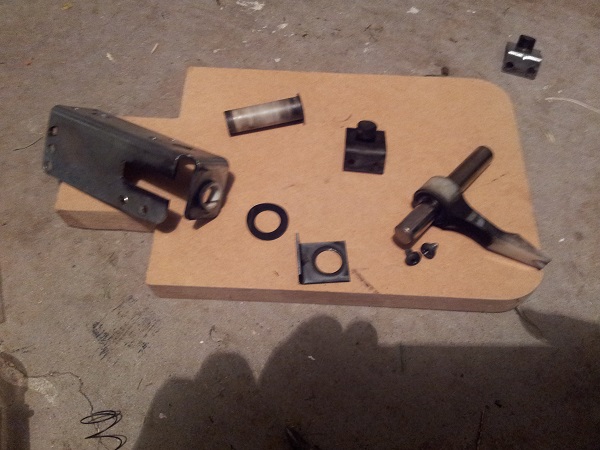
There was so much dirt and crap on these my hands were black by the end of cleaning. But it was worth it, they came up looking good.
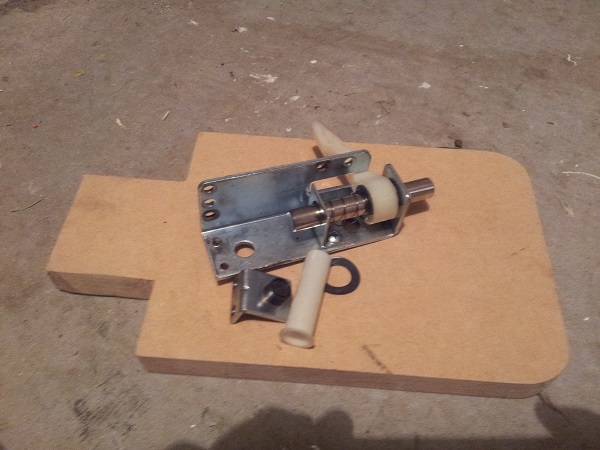
The right side was a similar story. Remove the two blade switches first and then the assembly.
With the slingshots serviced and looking much better, I started putting the play field back together again. It’s really a shame about the state on a few of those bonus inserts 🙁 Everything else though is looking quite good. The lower play field was now complete. I look forward to revisiting it in the future and fixing the paint on the outside of the inserts and giving it a good wax to finish it off.
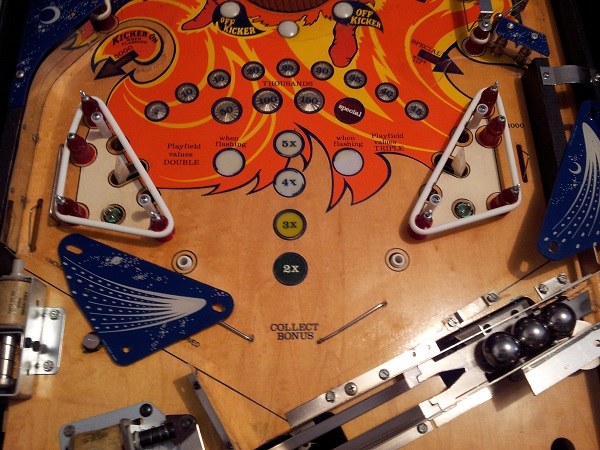
I also created some new instruction cards for the apron and put a red globe in the credit lamp (although it barely looks red in the photo – it looks nice and red in person). It’s a shame the rest of the apron is not in the best condition.
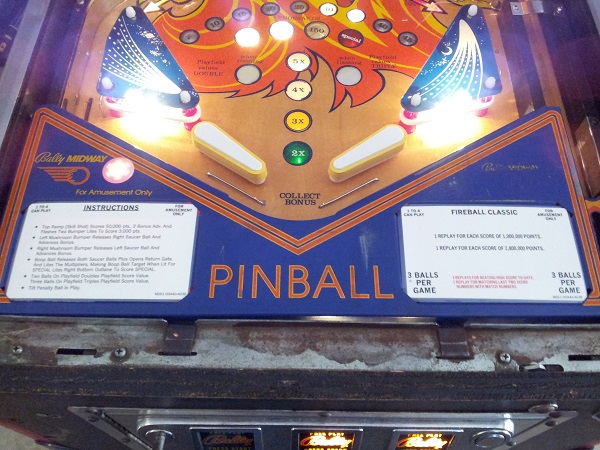
I’ll be revisiting the lower play field in the coming weeks to touch up some of the paint and also wax it. But for now, I will continue moving up the play field and will next be looking at the middle play field area.
