One of the first things I tested when bringing the cockpit home was the coin mech. All my machines accept coins. There is something satisfying about having your coins lined up on the machine ready to go, and then placing the coin in – hearing that click – and beginning your game. It’s part of the experience and therefor is something I want all my machines to have. It’s not a proper arcade machine without a functioning coin mech 🙂
I have all my games set to accept 20c coins. Although in this case, it isn’t going to accept 20c coins:
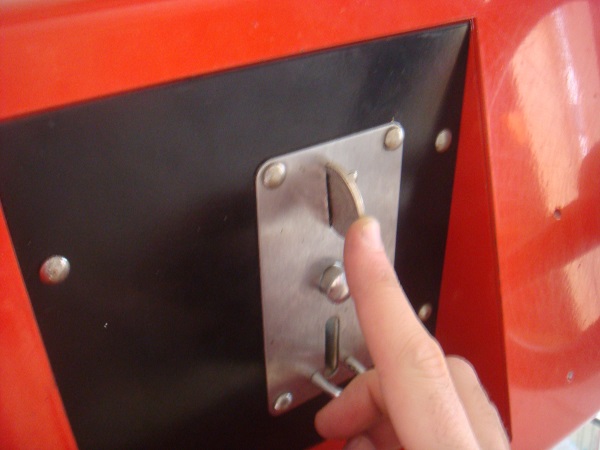
No matter. If I really want to have it accept 20c coins, I will pick up a similar coin mech from OzStick who are located not too far from here. But I’d like to keep this coin mech in place for now.
Given I found a $1 coin in the bottom of the machine a few weeks back, I figured that was probably what the machine was last set to accept. I grabbed a $1 coin and tested the coin mech. Nothing happened. The coin was returned and not recognised. I repeated this a few times, with the same result each time. A previous owner hooked up a credit button below the dashboard, which is quite handy when you have kids wanting to play – and this works fine. So either something isn’t quite right with the coin mech itself or the wiring to the coin mech. I was in two minds about if the machine should have a coin button on the front – it takes away from how authentic it is. But having young kids who want to play it means it will very very useful and allow them to add credits without have to access coins or pillage them out of the coin box over and over. So for now, it will stay.
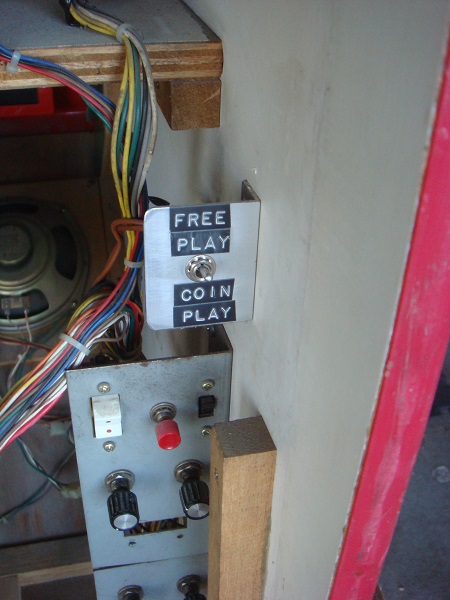
Inside the rear of the machine, there is a switch for Free Play or Coin Play. This was set to Free Play. I switched this to Coin Play (theory being that maybe coin play was completely disabled when Free Play was enabled) and tried the coin mech again. Same result. Coin returned and no credit given in the game. I had a closer look at the Coin Play/Free Play switch and it simply enables/disables the credit button under dashboard.
Next up was to check the dip switches on the Pole Position 2 PCB and see what it was set up to accept. Maybe it was set to 3 coins = 1 credit or something like that. Upon inspection it was set to 1 coin = 1 credit.
That now meant I should look at the wiring. The issue here is the PP board set completely blocks the wiring to the speakers, steering wheel and coin mech. I have plans to deal with this, but that will have to wait for another time. For now, I just wanted to get the board set out and inspect the wiring. Problem is, the PCB is in the way of everything! It’s placement gives me no access to the rear of the steering wheel, speakers or coin mech. I will have to do something about this, but for now, I just want it removed.
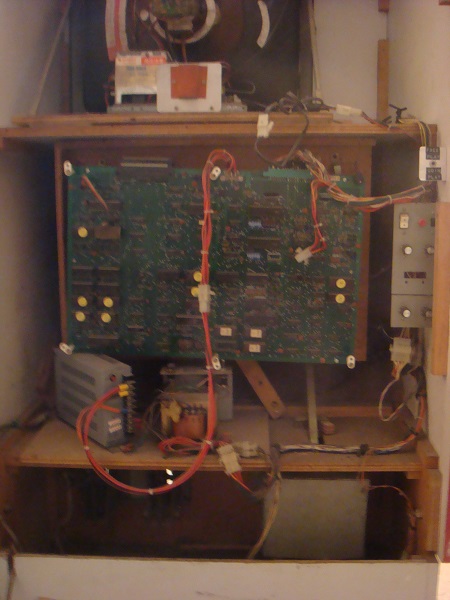
Removing the board set wasn’t too difficult and I now had clear access to the wiring to the speakers and coin mech.
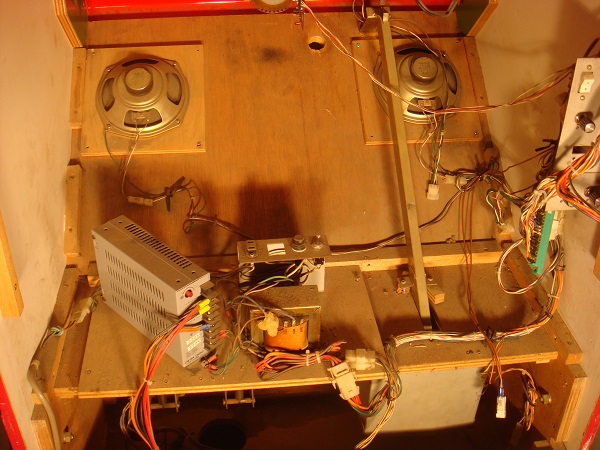
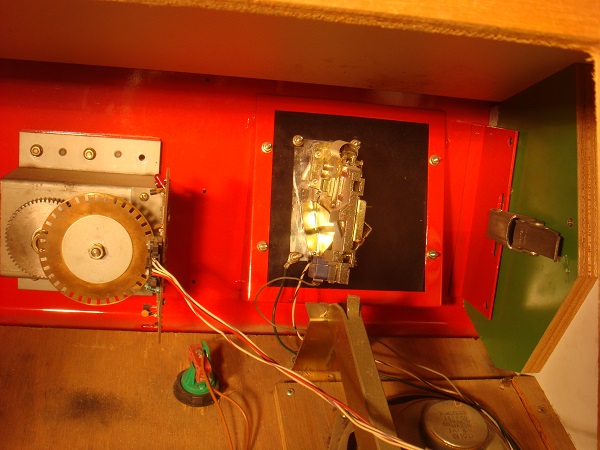
I got the vacuum out and cleaned up as much loose dust as possible. It’s going to take a greater effort to really clean the internals up. I’ll put that on the to do list and come back to it. For now, must stay focused.
There was the problem – the coin mech wiring was no longer hooked up. Block originally by the PCB, I could now see that the coin mech itself had wires, but the molex connector was left dangling off to a side. I also noticed some exposed wires on the hooked up credit button. I found some blue tape at the base of the machine which perhaps once covered this. I fixed up the exposed wires and added some heat shrink to cover it properly. I also reconnected the coin mech wires. Hopefully that’s all it actually needed.
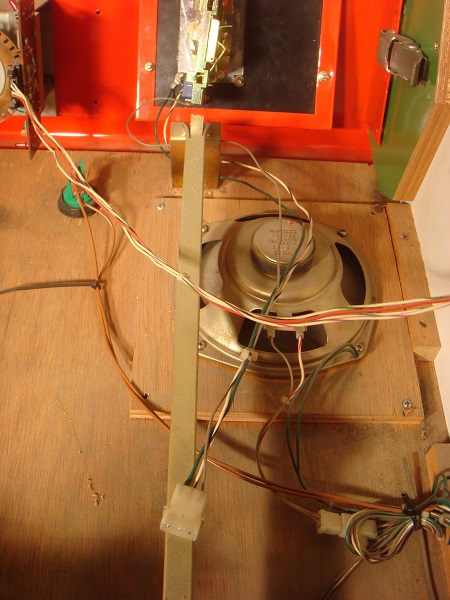
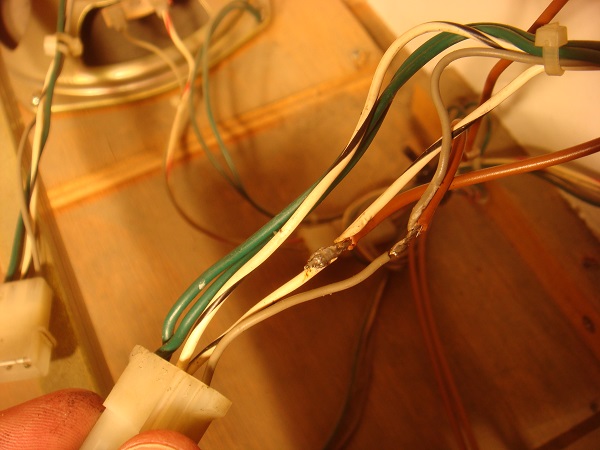
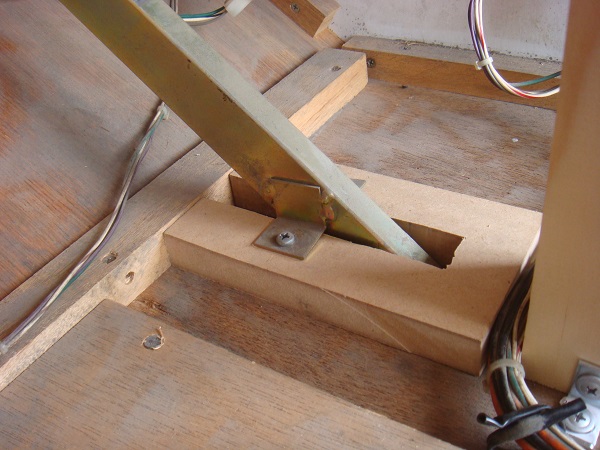
While I was dealing with the coin mech, I figured I’d check out the coin counter to see if it was working and also fix up the coin rail support. The coin rail support runs down from the mech to the coin box at the base. It has two screws to fix it in place. Only the wood was basically hanging on and not giving much support.
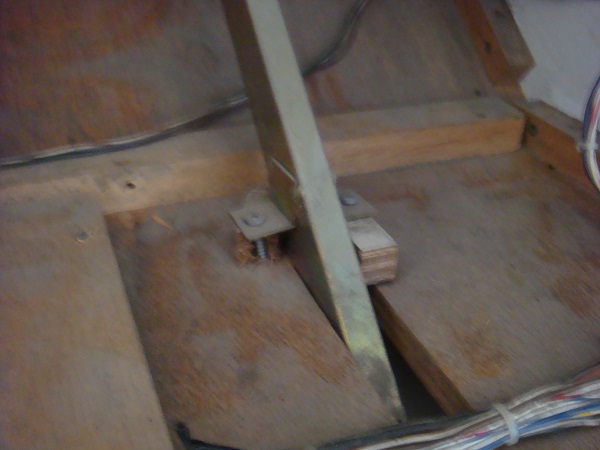
With plenty of left overs from previous projects, I cut up a new piece that could sit around the coin rail and offer better support for it to be screwed into.
The coin counter is located under the coin box. I decided to pull the coin box off and have a look at the counter itself. At first it looked like it was only a 4 digit counter. But on closer inspection the first and last digits were covered in dust. Interestingly, the coin counter sits just below 192,000 – Given the age of the machine, I wonder how many times this counter has rolled?
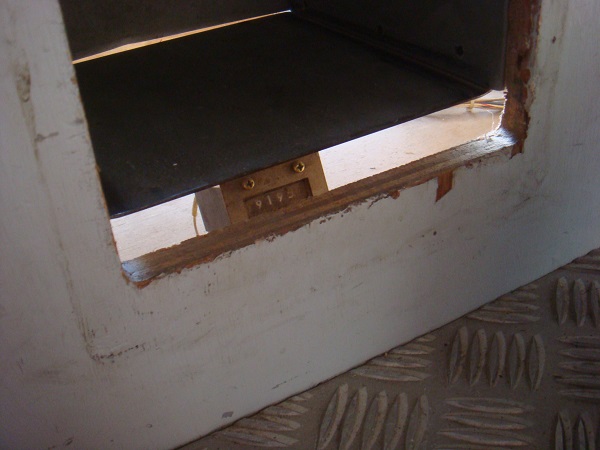
Cleaning up the coin box is on my list of things to do. But for now, just focused on checking out the actual coin counter.
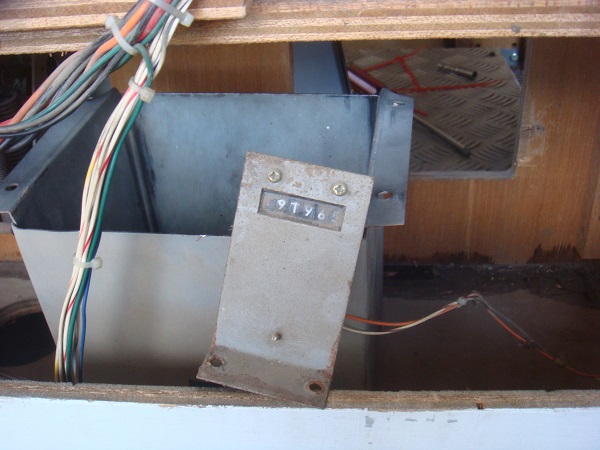
I wiped both the coin box and counter down. There is some rust build up on the coin box and the frame that counter is attached to. I will leave it for now, but am tempted to return at a later time and clean it up a bit (probably when I deal with fixing the coin box).
The last thing to do was test the actual coin mech. With PP2 hooked up again, I inserted a coin and “KERCHUNK” credit awarded and coin made its way down to the coin box. I did this a few more times and the coin mech now works perfectly. I repeated the test for the credit button under the dash and that still worked. I also checked that the coin counter was increasing each time, which it was.
In the end – getting the coin mech working was actually a straight forward process. As simple as plugging it in. It took a little longer than expected as I ran through different tests and checks on why it was not accepting coins. But given I didn’t wire this machine up, I don’t want to assume anything when investigating issues (plus it’s an interesting journey into the machine) 🙂
Sorting out the coin mech also got me started on fixing a few issues I had with how the PCB was attached in the machine. I’ll dive into that further in another post 🙂
