Bally

All posts tagged Bally

With the headbox decals complete, it was time to move onto the cabinet body decals. This was supposed to be a 2 part update (first for the headbox and the second for the cabinet). Sadly, I’ve run into a problem which is going to set me back about 4 weeks. Even with all my planning, I can’t predict everything. But that’s OK, I’ll go as far as I can and just do a short update for now.

The side art on the cabinet is faded, just like the headbox. The rails are also damaged – the worst being the right side rail (as you can see about 1/3 of the way up the rail).

Fireball
Continue Reading

It’s been a long time since I did any work on my Fireball Classic. I worked with a friend and had the artwork recreated over 6 months ago. It was only recently delivered in physical form. Finally. But it looks good. Really good. With my Xmas holidays about to start shortly, I figured it was time to once again give some attention to my Fireball Classic restore project and complete it. The main thing left is the side art, although there are a few other ends I want to tidy up also before I’m happy to say “I’m done”. In this update, i’ll be adding new side art to the head box. As you would have seen in previous updates, I had the side art reproduced (since it’s not actually available anywhere). A lot of attention was given to the detail of the curves and the stars, so it’s pretty accurate. The side art on my machine is very much faded and is also torn in several places. The t-moulding is also cracked and will need to be replaced.

Fireball
Continue Reading

Now that the two playfield halves were stripped of parts, I wanted to take a note of the initial issues I was facing with the restoration. I expect more issues will come to light as I progress, but wanted to document the starting point to help gauge how the restoration progresses. This update will look at the lower playfield area.

The mylar was lifting in a number of places on the lower playfield, most notably around the inserts. There is also a darkening / fading of the artwork not covered by the mylar.

Hardbody playfield raise mylar
Continue Reading

Having given the playfield a look over and making a few notes on things that will require attention, I decided to start working on it. The first thing I wanted to do was get the playfield stripped down. The small upper section of playfield was already stripped (both top and bottom sides). The lower section (large area) had lots of parts to remove.

Hardbody lower playfield topside
Continue Reading

So it’s no secret I love pinball. Not just the playing of these wonderful beasts, but (..and arguably more so) the learning about their inner workings and how to give them back their former glory. Like an overexcited apprentice, I want to understand everything right now and be able to do anything the veterans can. Thankfully I able to keep a level head (mostly :)) and respect the fact I’m still new in this area and enjoy the journey.

On my current pinball project (Fireball Classic), I had to do some minor playfield touch ups. Thankfully it was quite straight forward. But I was terrified given any mistakes could be hard to back peddle from. I also know what I did do could be done better – given experience. I wanted to get some more experience with playfield touch up and restoration and decided this could make an interesting side project to work on. If I could find some damaged playfields which could be written off in the worst scenario, then this would make a great learning exercise and benefit future playfield restoration work (like my Nugent for example).

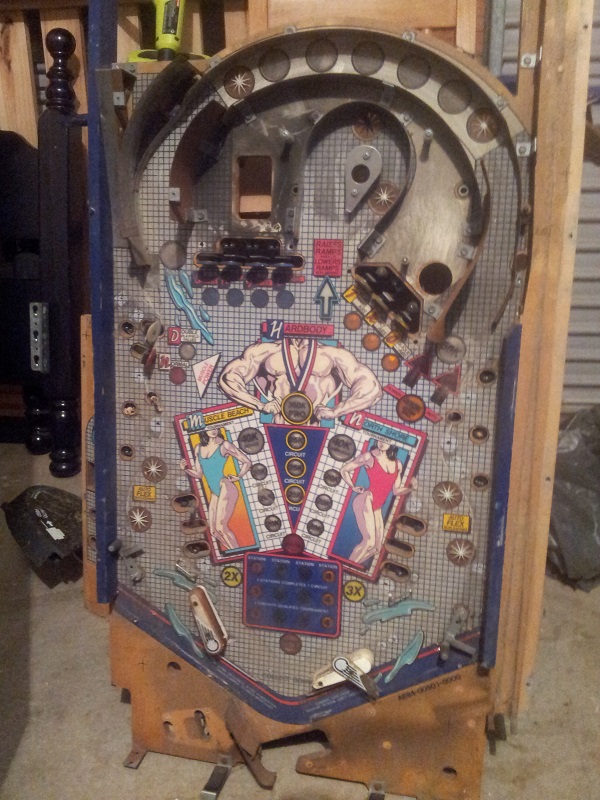
Recently I acquired a playfield from “Hardbody”, a Solid State game from Bally in 1987. A bodybuilding theme – I found it amusing there was a pinball theme based on bodybuilding. Even at the height of my gym training a few years back (where I was training 5 – 6 days week) I think I would have been embarrassed to play this 😉 But anyway, it ticked all the boxes.
Continue Reading