So close to the end now on Dracula. Time to check the final things off the to do list and get the game ready to go home. Something worth doing on all your games is replacing the batteries on the main board with a remote battery pack. This means any leakage will be kept away from the board and you’re only need to replace a $3 part. I build these myself, with all parts purchased from Bunnings (for the wooden dowel) and Jaycar (for the rest).
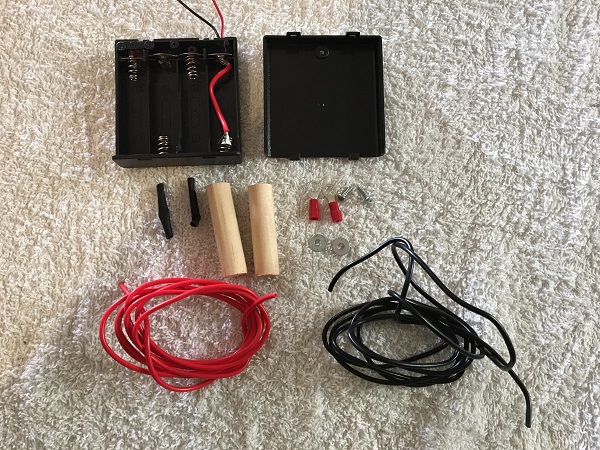
These battery packs are nice since they enclose the batteries and also have an on/off switch.
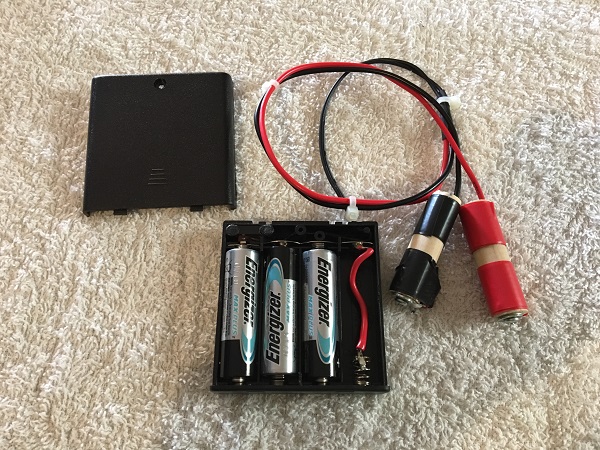
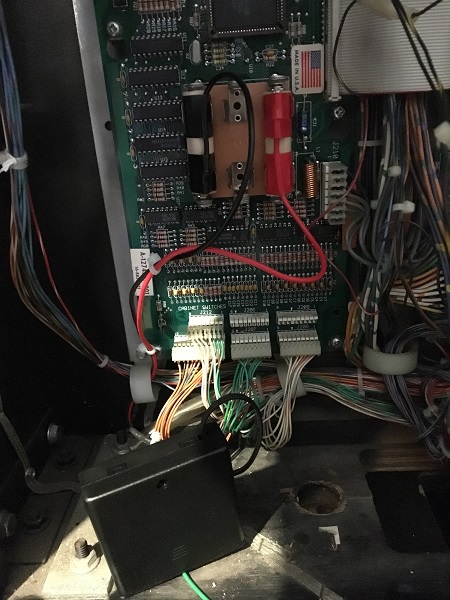
The battery pack installs straight onto the main board, with no soldering required.
I noticed that the game hadn’t yet been set to free play (it was sited previously but is now in a home environment), so I went into the adjustments menu and switched it to free play. I did a quick test to ensure the battery was retaining settings and scores. Everything was good. The front panels of the headbox needed a freshen up as the paint was marked and looking tired. The lock plate and display channel were removed and resprayed with satin black.
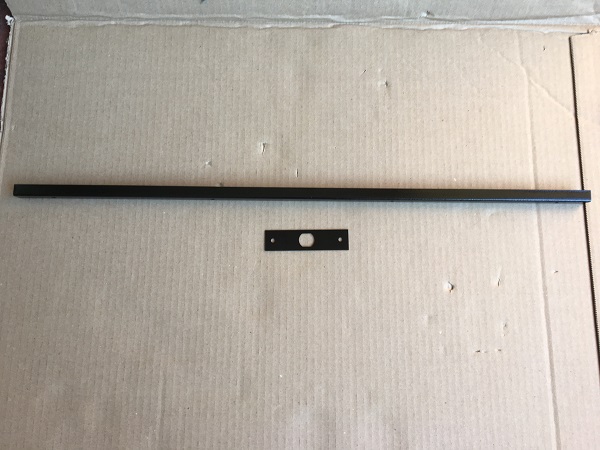
The headbox panels were given 3 coats of gloss black, giving it a much nicer look.
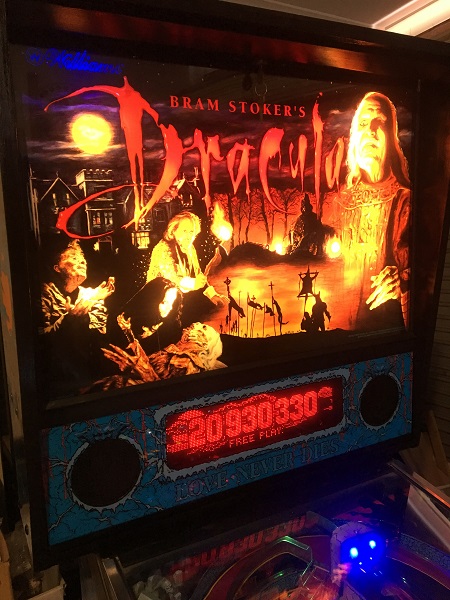
The game was given a good test play over the period of a week. Pulling the game to pieces like I’ve done here is very invasive and there are always little tweaks needed once it’s back together. Thankfully, most of the adjustments were minor.
– First up for a small adjustment were 2 of metal ball catchers that feed into the subway ramps. They were not aligned properly and the ball would get stuck and not feed to the plastic ramps under the playfield correctly. This was easily corrected.
– Second was an error message “Ramp Up Error”, which indicated the lift ramp switch was not activating as it should. After some digging around, I was reminded that the switch on the ramp assembly was joined to the game via a molex connector. The same colour wires were also used by a switch (joined by molex connector) on the metal rail that leads to the castle lock. I had simply installed them incorrectly. After swapping the two molex connectors around the switches were now fixed.
– The right flipper needed an extra firm press to get the lane change feature working and so was given a small adjustment to make it as responsive as the left flipper.
– I also found that the ball would not feed to the VUK from the hole behind the drop target. This was due to a wire being caught inside the subway ramp which would get in the way of the ball and prevent it from proceeding. The wire was repositioned away from the subway ramp to fix the issue.
– The lamp on the mist magnet assembly was not working. I tracked this down to being a break in one of the wires leading to the socket. This wire was replaced.
– Finally, when I had installed the upper playfield parts, there are two metal posts that the lift ramp attaches to. There are 2mm different in height. I had installed them around the wrong way, which left a lip at the top of the ramp that the ball would hit and come back down. It’s not fun to see the ball coming flying back down the ramp from a well hit shot. This was a pain to fix, but eventually both posts were removed and swapped around. Now, the lift ramp shot was working correctly.
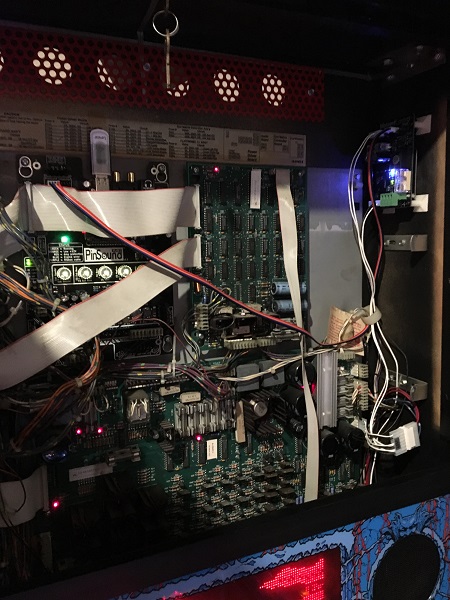
After all those tweaks, the game was behaving itself and playing well. At this point the machine was complete and ready to go home to its owner. But after some thought, the owner decided to amplify the coolness factor of the game by adding Pinsound! The kit is really well designed and simple to install. It replaces the existing sound board in the game and actually slots straight in to position where the old sound board lived. All the connectors plug straight in to the board without any modifications needed.
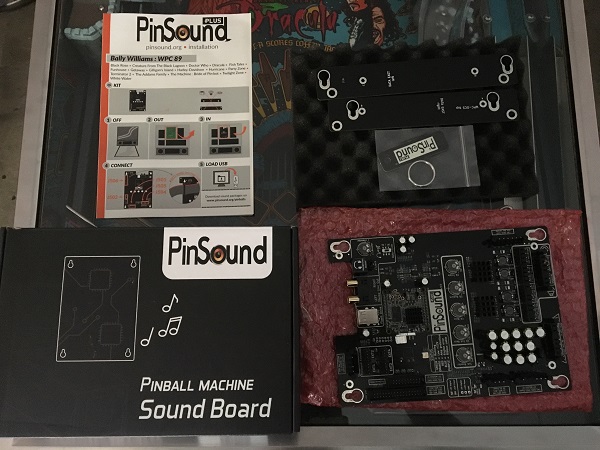
Along with adding the Pinsound board, the owner wanted a better sub added to the cabinet. This wasn’t quite as simple as hoped. The new sub was much bigger than the old one. To complicate matters, the old one was installed onto a square frame which was glued to the cabinet and not easily removable. Further to that, the 4 screws used to attach the old speaker could not be removed as they were not accessible from below the cabinet.
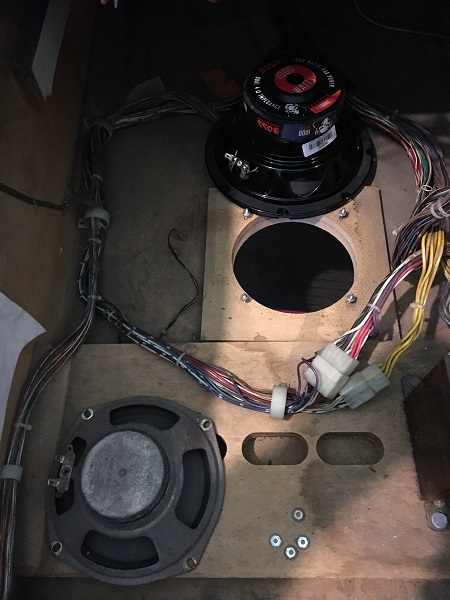
Since I couldn’t remove the existing bolts, they were cut down in size so they would not interfere with the new sub. Doing this also allows the old sub to be installed again if needed. A small frame was then built for the new sub to attach to. The metal grill was cleaned, primed and sprayed red to match the rear and headbox grills.
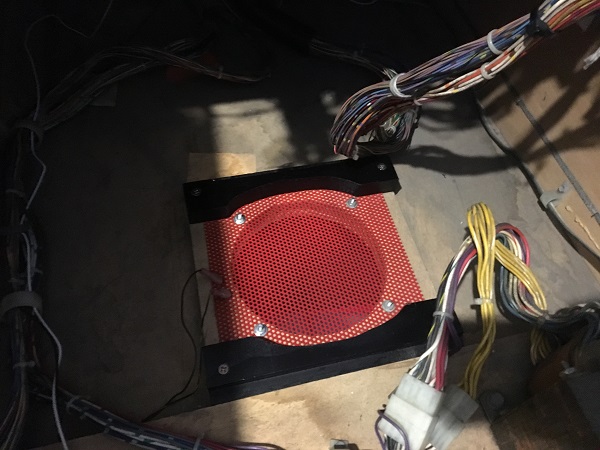
Not content with just Pinsound, the owner decided a add a shaker motor too. This is part of the Pinsound family and connects up to the Pinsound board in the headbox.
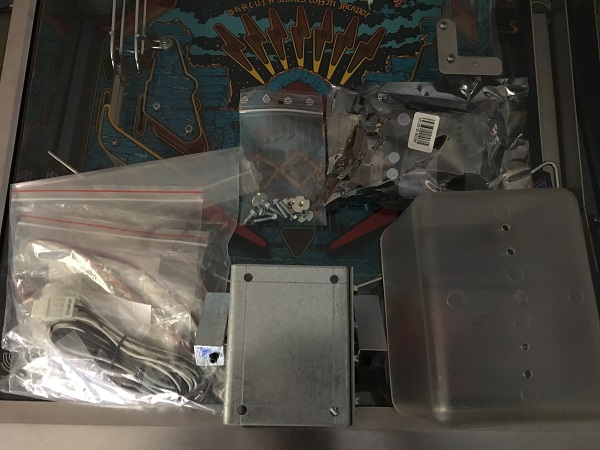
The shaker motor was installed and wired up, along with the new sub.
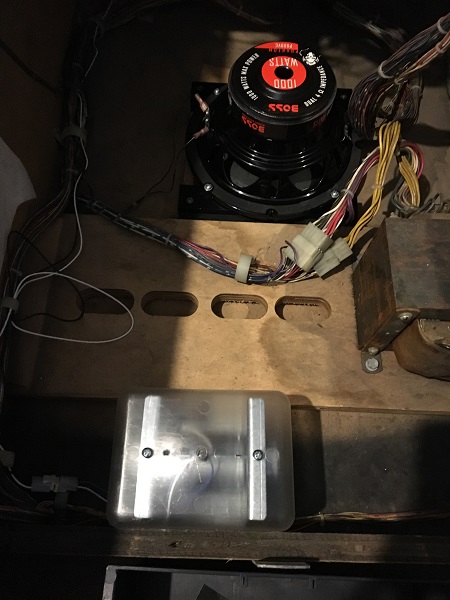
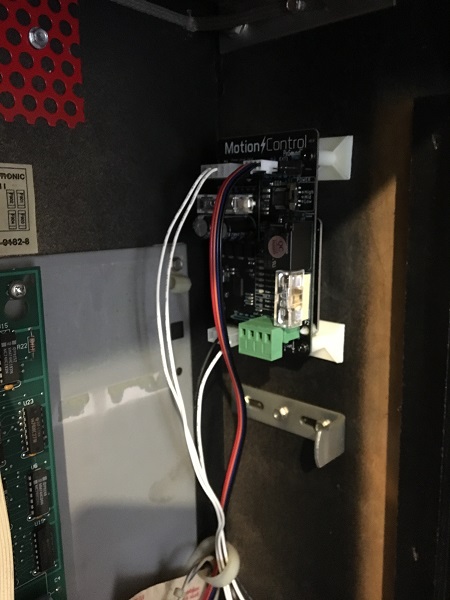
The shaker motor has a small PCB which installs into the side of the headbox. This board connects to the Pinsound board and draws power from the driver board.
The Dracula remix files were copied to a USB stick, along with the latest firmware version for the Pinsound board. When the machine first switched on, the Pinsound board updated the firmware and setup the remix files on the USB as needed. The system is very novice friendly and talks to you as it’s running through its setup. It does take the Pinsound board around 20 – 30 seconds to initialise the sound files when the game is first switched on. Once done, it plays a small chime to tell you it’s ready. I replaced this chime with a cool Dracula laugh from the remix package which I felt sounded way better.
At this point I thought I was done. But as with just about anything pinball, there’s always just one more thing to do. The shaker motor wasn’t responding in game. After doing some reading I found that although Dracula is supported for a shaker motor with Pinsound, you need to configure the shake events yourself. The system does support around 10 games with shaker support out of the box, but Dracula isn’t one of them. To do this, you download their Pinsound Studio software, open up the sound package (which can be done straight off the USB stick) and then attach shake events to different sound effects or voices in the game. There are 9 presets you can use, or you can create your own which define how the shake effect plays.
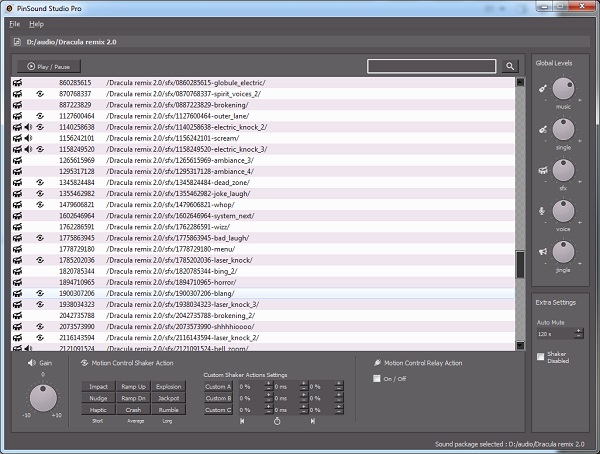
After a few hours of trial and error with different shake events on various sounds I arrived at something that felt OK. The owner will be able to play with it further and tune it more to his liking at a future time. The Pinsound kit is pretty good and I’d certainly recommend it. They have a bunch of YouTube videos that cover how to install the various packages and also on how to configure the shaker motor. A few that I referenced are:
Work on Dracula now comes to an end and it’s ready to go home. I’ll begin work on the next game in the queue shortly. This next one has some Magic to it.. 🙂 I also have plans to be spending more time on my own projects this year (specifically Pinbot 2.0), so expect to see me posting more about that too!
