New pin day is one of the most exciting days in the year for us pin heads. It’s even better when it arrives in a big box, ready to unwrap. A few weeks ago, my second new Stern arrived that will keep my Black Knight Sword of Rage company. I gladly welcome a Jurassic Park Pro to my line up.
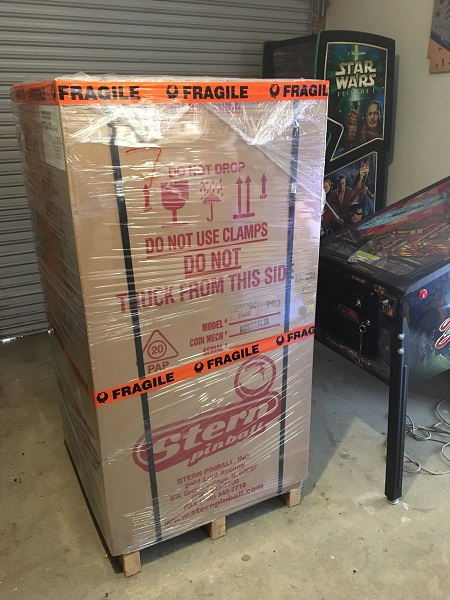
Stern have put up a video on YouTube that goes through the unboxing process which is quite simple to follow and well worth watching if you have a new machine arriving for the first time.
It didn’t take long to unpack and have it up and ready to run. Stern have done an amazing job with this game – the playfield layout and rules work so well together.
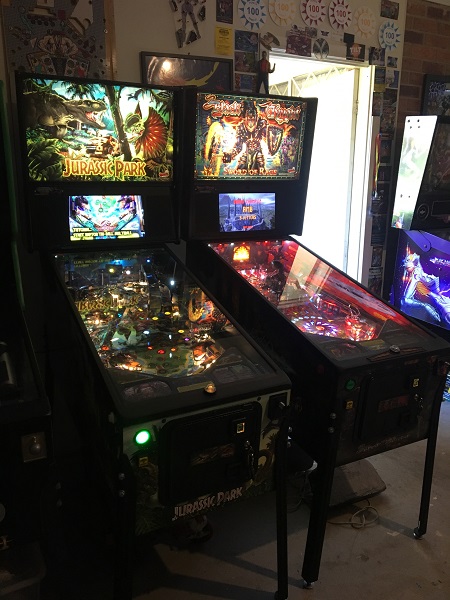
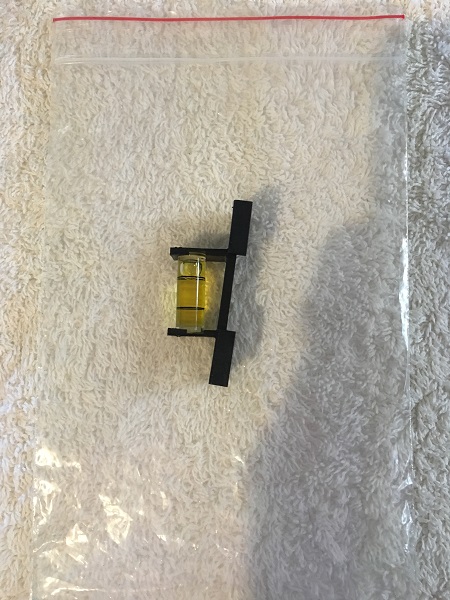
Although this is a “Repair & Service” type post, there was very little to “repair” on this game. Which is exactly how it should be when it’s coming brand new in a box 🙂 The upper flipper bat needed a small adjustment, as it was too far to the left. One thing that stood out during setup was the shooter lane bubble level was missing. Stern had missed during assembly and inspection.
My distributor was able sort that out though and sent one for me to install. A day later I had the part.
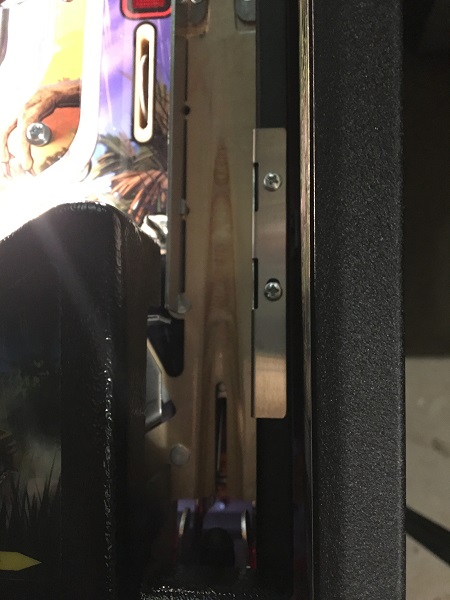
I encountered a small issue after several games with the rear raptor target. I noticed during some games I’d register a hit on the target when the ball was no where near it. In other instances I’d clearly hit the target, but it wouldn’t register. Putting the game into switch test and manually pressing the switch with my finger, I found that the target would become stuck (closed), due to being too close to the rubber post to the left of it. With a few extra presses it would eventually release again.
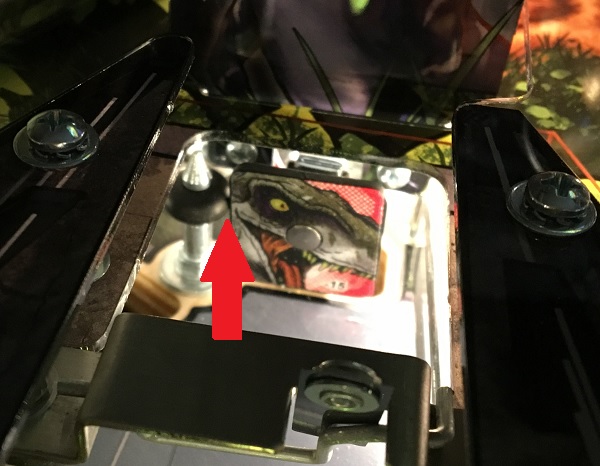
I unscrewed the switch bracket below the playfield and adjusted the angle of it a bit to allow free movement, which sorted the issue out. It looks like the target should be installed another 2mm further right at the time of assembly to put it more central.
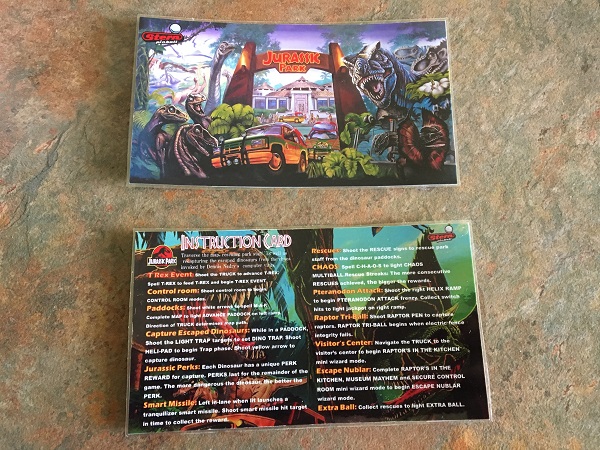
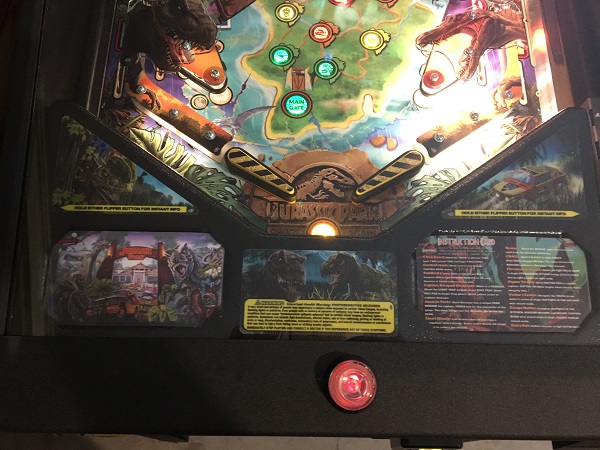
With those few things out of the way, it was time to improve the presentation of the game a little. A member on Pinside made up several different apron cards that you can replace the standard yellow cards with. These were printed up, laminated and cut to size – ready to install.
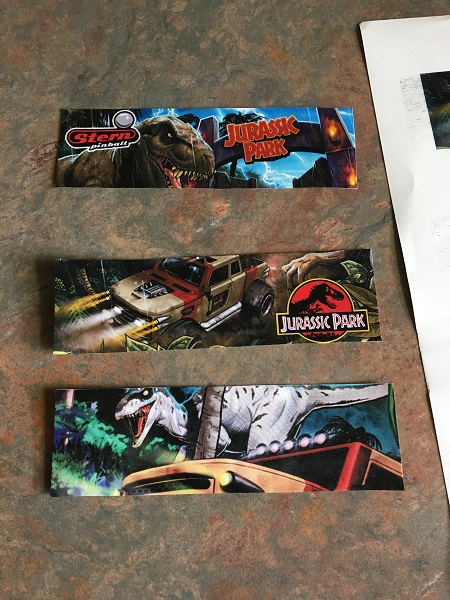
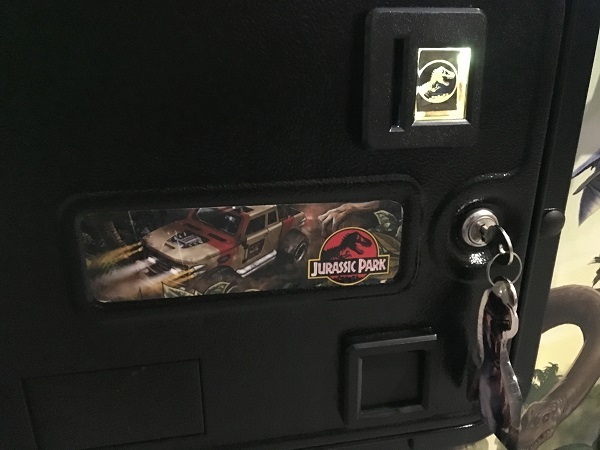
The coin door on these new Stern games always feel bland. The good news though is it’s inexpensive to pretty them up. The first step is to create a Jurassic Park themed decal for the empty space on the coin door. I made up 3 different versions to choose from, using the cabinet and translite artwork as reference. Once sized up in Inkscape, the art was printed to peel and stick printer paper. It was also given a thin layer of clear contact on top to give it a shiny finish and protect the ink.
I also made up a custom coin reject button insert to replace the boring one that comes with the game. After picking a Jurassic Park themed image, this was sized up in Inkscape and printed to gloss photo paper.
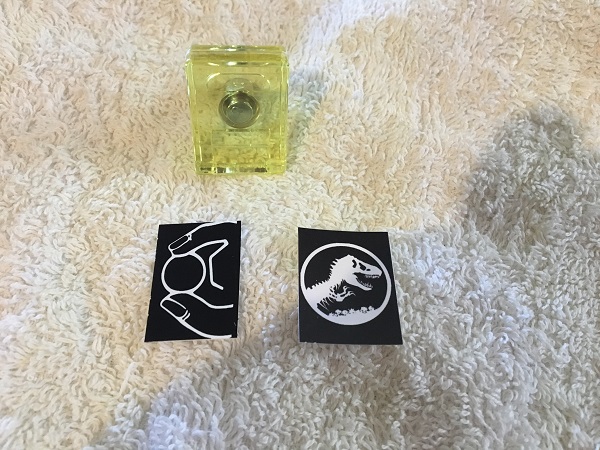
Both the coin door decal and coin insert were installed which gives the coin door a much needed face lift. Very easy to do and cost around $2 in total.
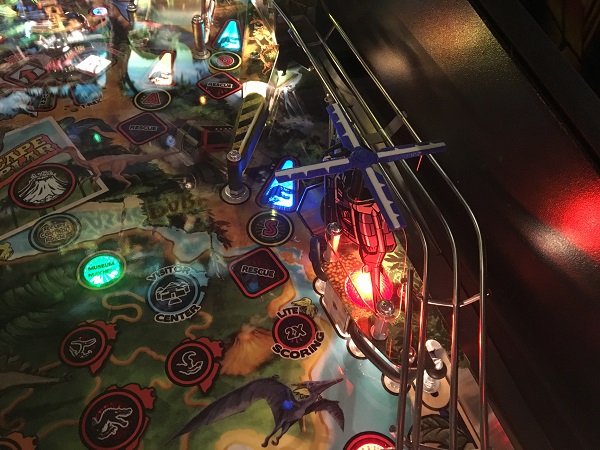
A few weeks ago I purchased a couple of small mods from Mezel Mods – the helicopter blades and caps for the 3 flipper bats. One of the features cut from the pro model is the “fidget spinner” helicopter blades that sit over the right helipad ramp, which made this mod a “must buy” for me.
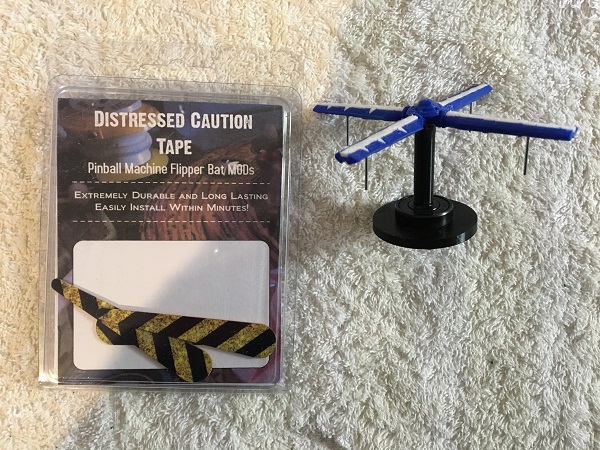
The new apron cards were installed onto the apron and the 3 flipper caps were installed onto the flipper bats. These are small touches, but they make a big presentation impact.
The helicopter blades were installed next. The installation instructions for these could be improved as I wasn’t able to install it as easily as made out. You really need to remove the two layers of plastic to under the metal spacer that the plastic propeller is attached to. Once done though, the mod installs nicely and works way better than I expected it would in game.
I love art blades on my games and already there are many options to choose from for Jurassic Park. In the end, I went with a set from Tilt Graphics.
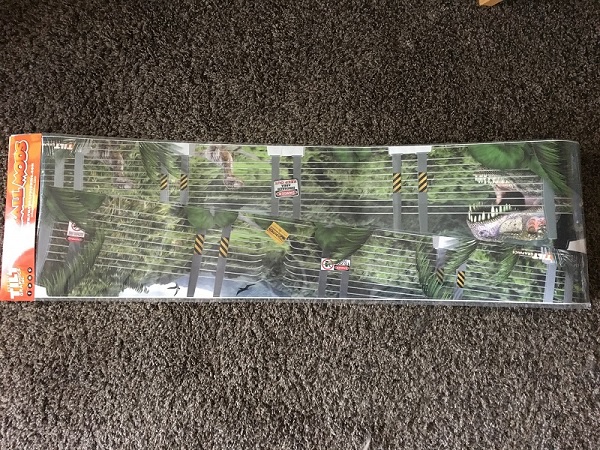
The art blades can be installed without even removing the playfield. About 20 minutes later, both sides were installed and looking great.
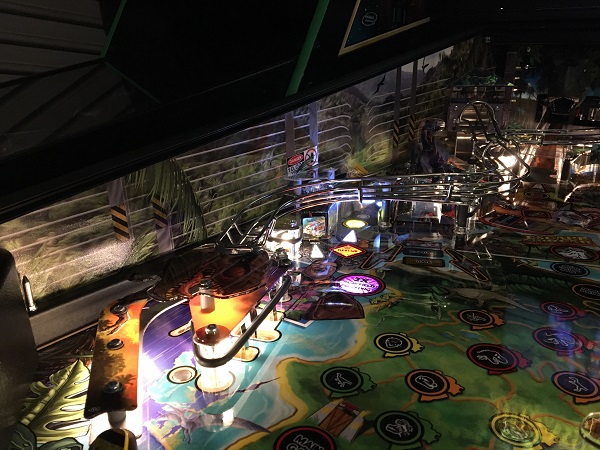
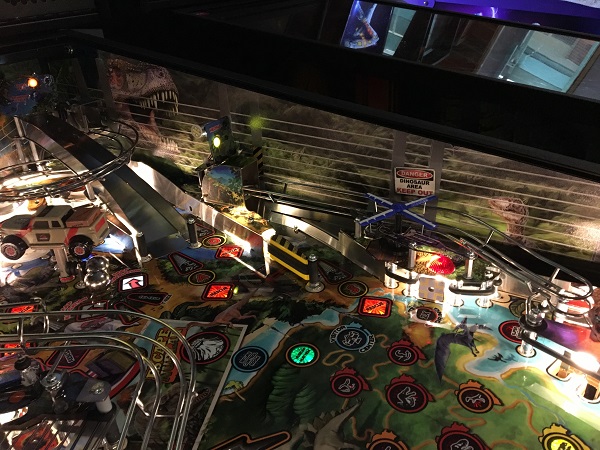
I love the lock down bar accents made by Tilt Graphics and decided to order one for my Jurassic Park. I also ordered the decal set which sticks onto the rails and metal ramp.
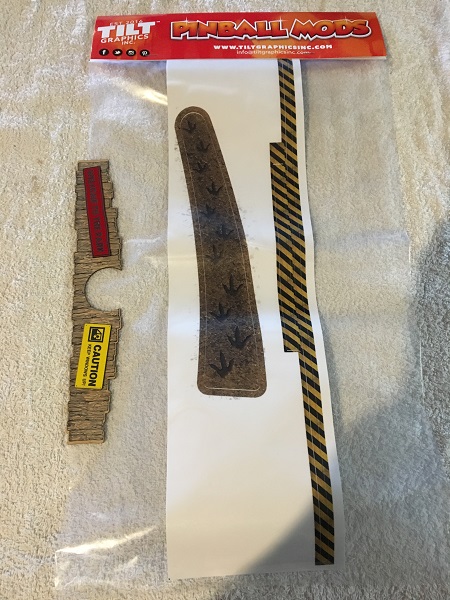
The lockdown bar accent was installed first.
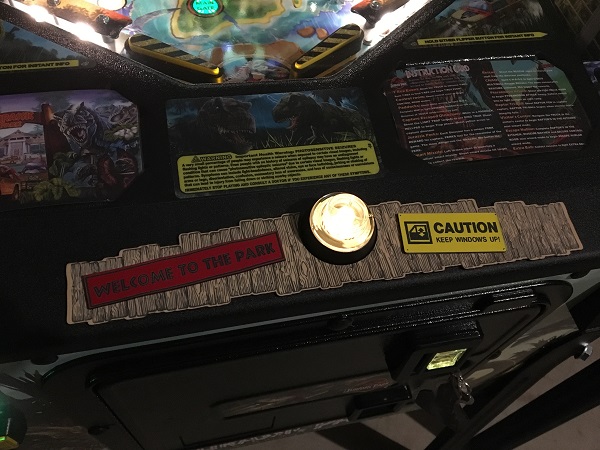
The rails and ramp decals were next.
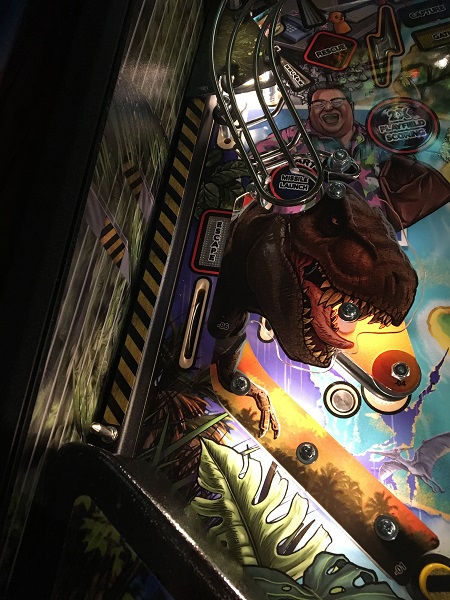
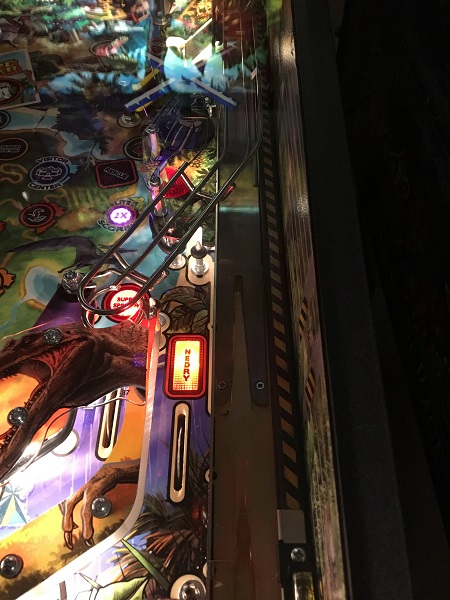
I’ll be interested to see what sort of wear forms on the decal over time.
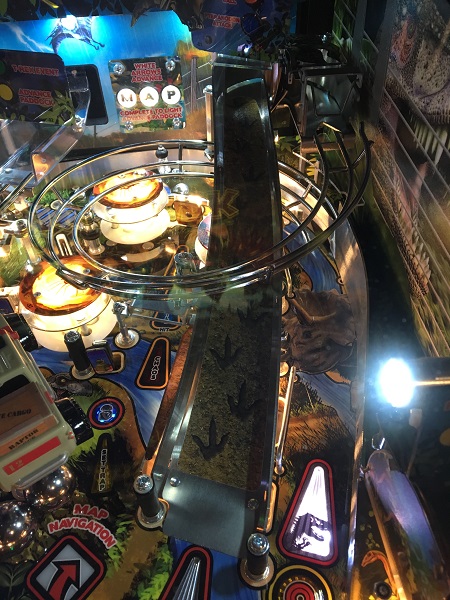
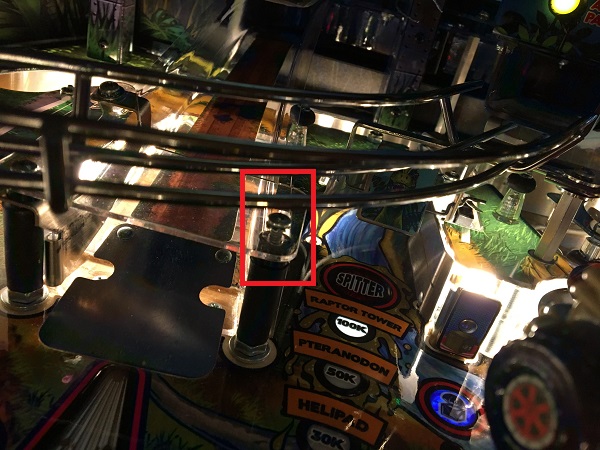
To close out the update, it wouldn’t be a Stern without a loose screw (or 2). This one was found at the entrance to the left ramp.
There are a couple of other upgrades I want to do to my Jurassic Park, but I will leave those for a future time. I plan to replace the black rubbers with green Titans and also purchase the raptor pit mod from Mezel Mods. I’d love to get a Pinsub hooked up too. Stern have done an amazing job with this game and it would be my pick for game of the year in 2019.
