It’s time to cast my attention to the top area of the Dracula playfield. This section contains quite a few assemblies that will need to be looked at. There are assemblies for a drop target, three pop bumpers, a VUK, ramp diverter and also a ramp lift. When you add all that to the assemblies covered in the previous two updates, it’s amazing how much they crammed in to the game. Can you imagine Stern putting this much in to a single game these days? It would give their number crunching team nightmares. There’s a lot of work to get through, so time to get started.
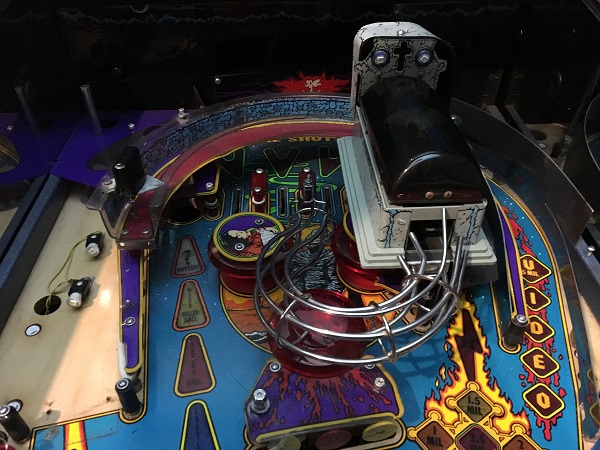
The first thing that needs to be removed is the coffin. The tinted plastic and rubber Dracula figure remove easily to reveal a small lamp board.
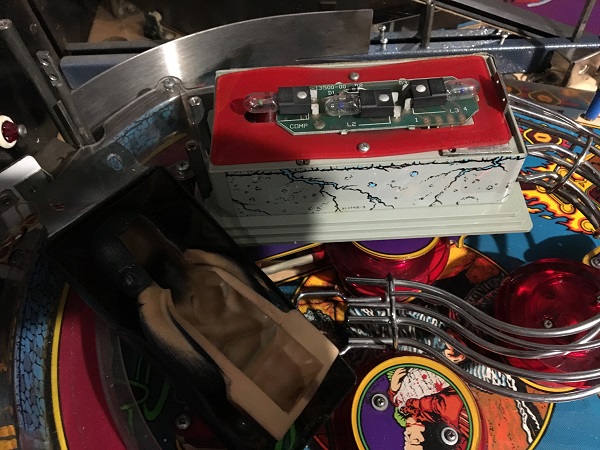
The outer coffin plastic is removed next, revealing the VUK chute and small ramp. The metal rail was removed at this point too.
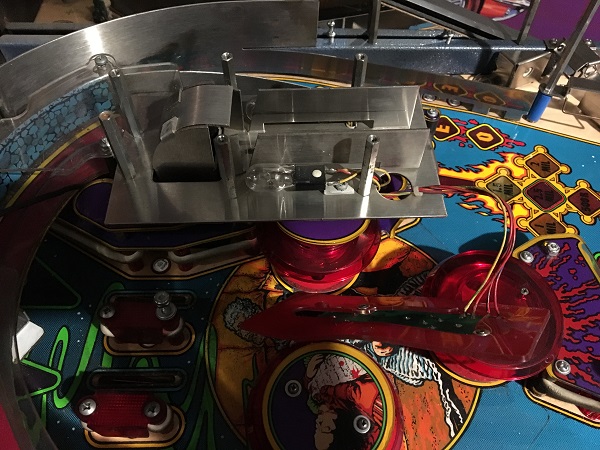
The base plate for the coffin was then removed, giving me better access to the plastics below.
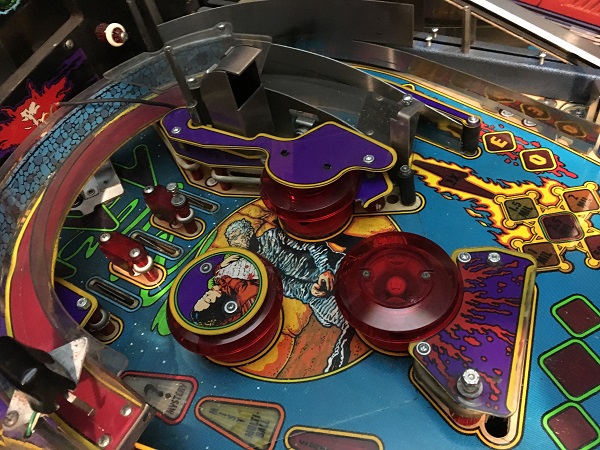
Then I was able to remove the rear ramp, opening the area right up for further disassembly.
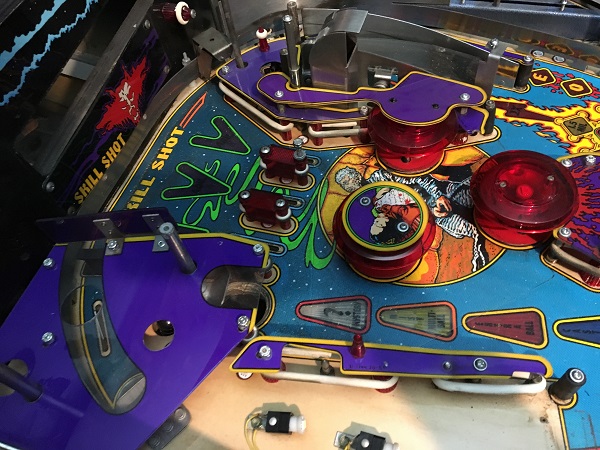
The plastic from the top left of the playfield was removed next. The playfield isn’t too filthy in this area.
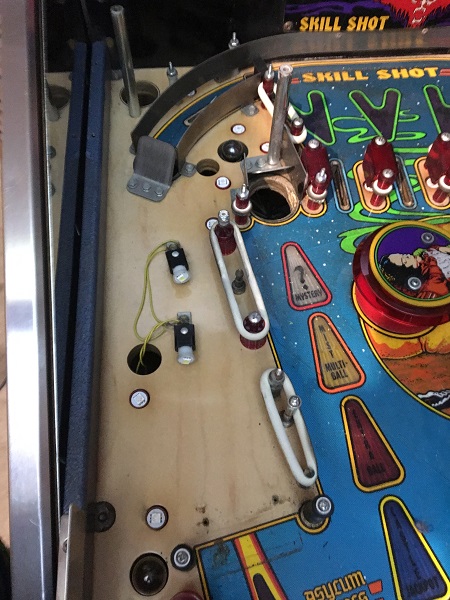
The pop bumper area is quite filthy (check out the filth on the playfield surrounding those lane switches!). Luckily the pop bumper area is covered in mylar which has protected the playfield from wear over the years.
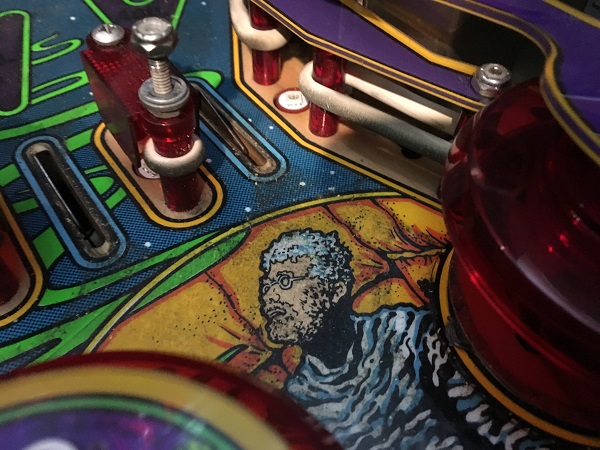
There’s heavy ball trail marks around the orbit shot. I’m fairly confident this will clean away nicely though.
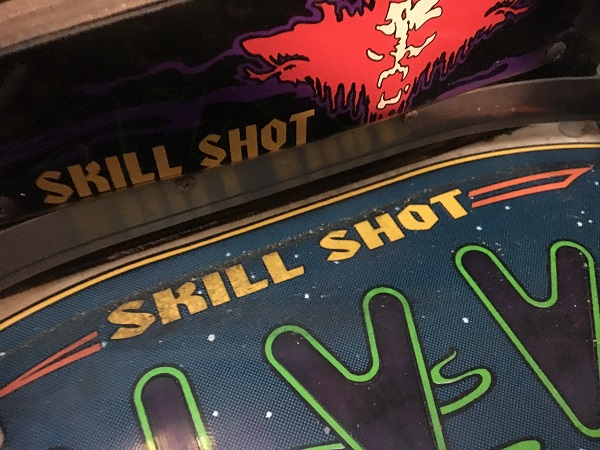
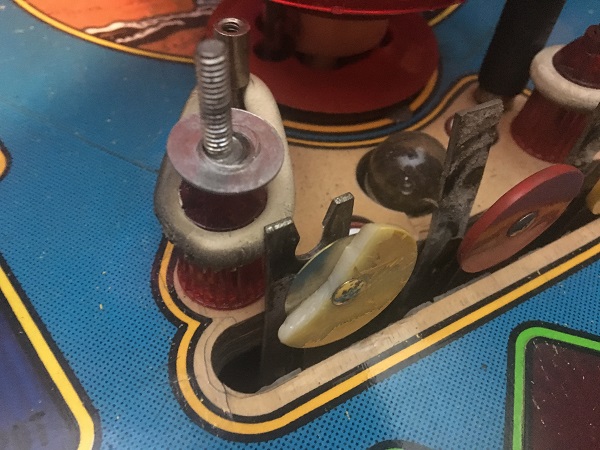
There is a 3 bank of stand up targets I need to look at too. One of the targets has taken a real beating over time, with a nice chip missing from the target itself. In fact all 3 targets have been hammered as the metal arm behind each one has been bent backwards from repeated hits. The broken target is interesting as it looks like it’s been painted yellow at some point in the past and has a hack metal support post attached. Not sure what the yellow paint was designed to do as it’s only going to crack and peel (as it has done).
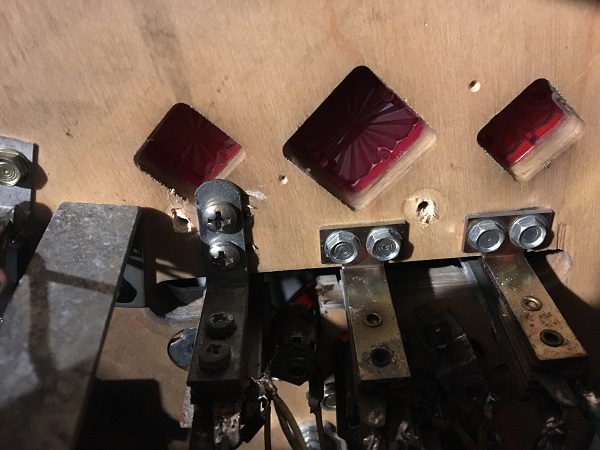
Below the playfield we can see that it’s certainly different from the others and has been worked on in the past. No matter though as the owner wanted all 3 replaced anyway (as with the other 3 bank done in the last update). I’ll come back to these shortly.
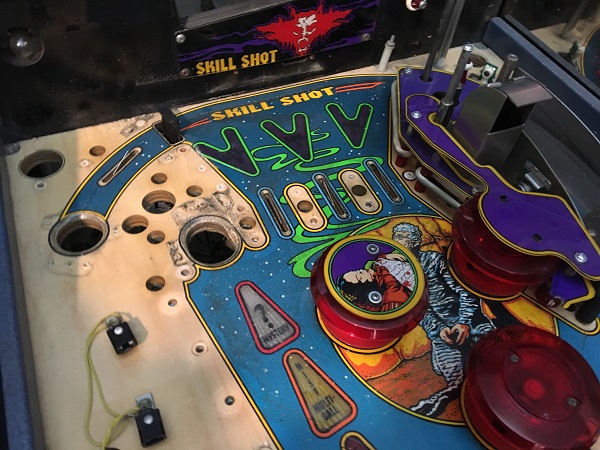
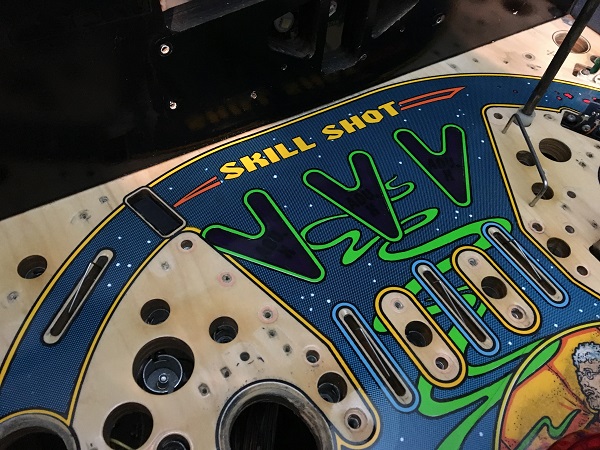
The upper left section of the playfield was stripped, along with the skill shot lanes.
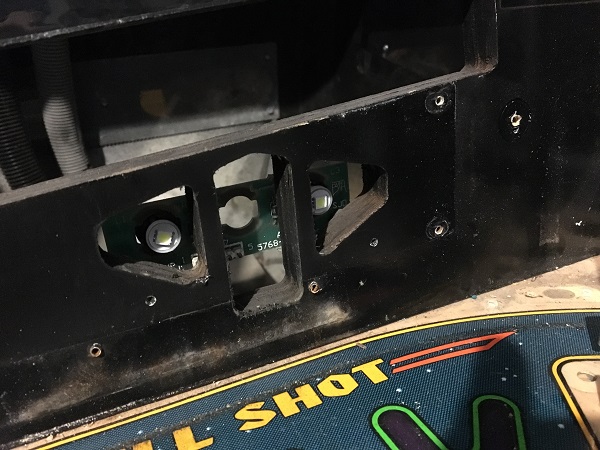
On the rear panel of the playfield there is a plastic piece for the “Skill Shot”. It has 3 lamps that sit behind it and I found one was missing the small black screw in socket (middle). I have a tub of these in different sizes so will replace this and also add an LED.
Now to strip the upper right side of the playfield. The plastic pieces were removed first.
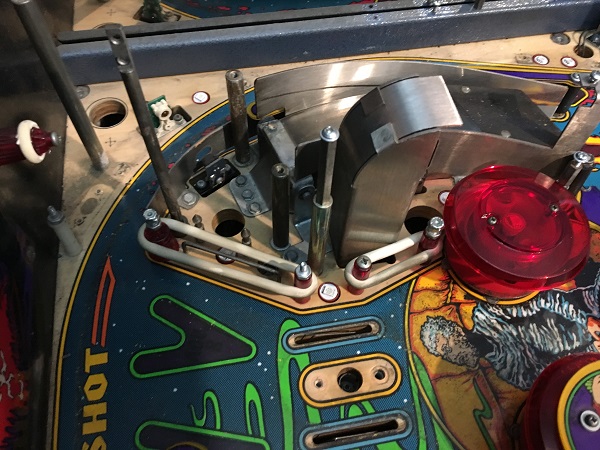
The upper right side of the playfield was now stripped bare, ready for cleaning.
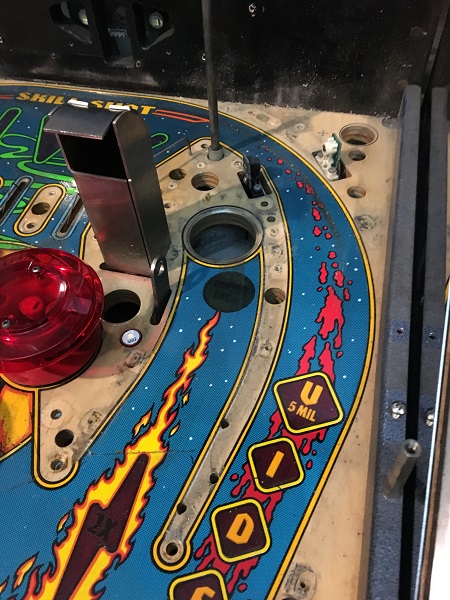
The upper playfield was now mostly empty, except for the pop bumpers and a layer of filth.
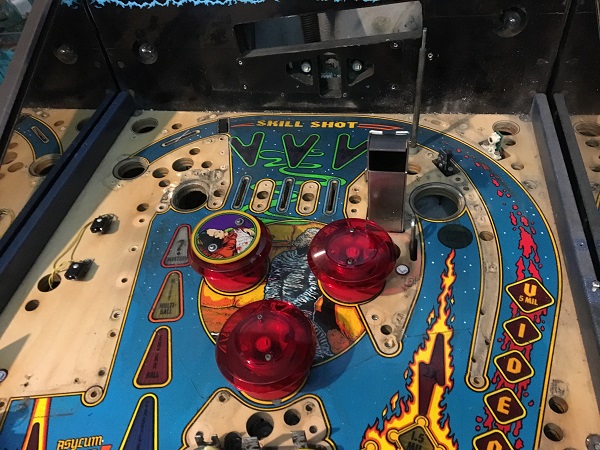
The playfield for cleaned up with Nifti, Novus 2 and then Novus 1.
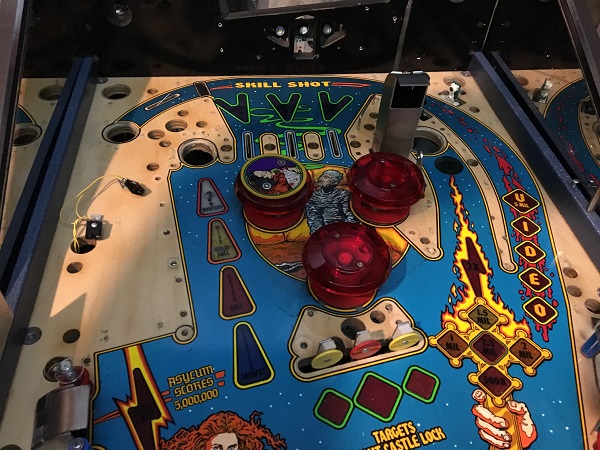
The cleaning successfully removed the heavy ball trail along the orbit.
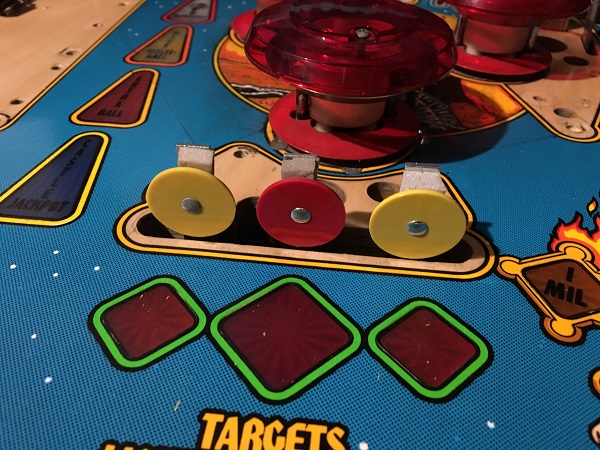
Now was a good time to replace the targets on the upper target bank. The 3 old stand up targets were removed and replaced with new ones.
Before I progress with the pop bumpers, there was a small task on my to do list that had been on my radar for the last week. The wood on the rear panel of the playfield has a nice split along the left side of it.
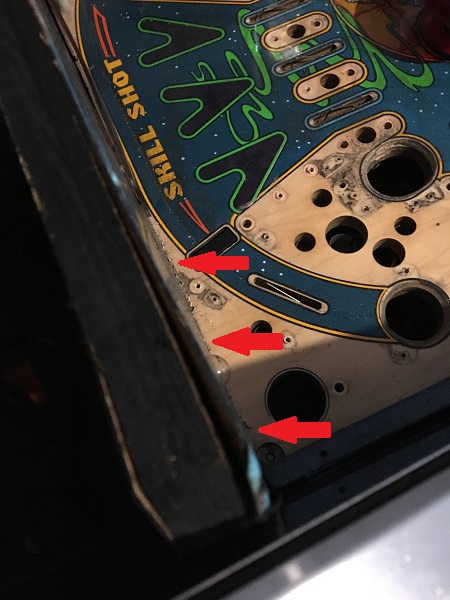
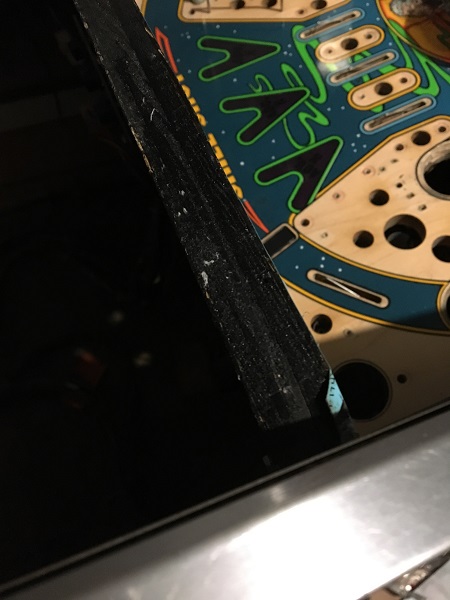
This was filled with wood glue and then clamped for 24 hours. Now it’s looking much healthier.
Time to get those pop bumpers off the machine so the final section of playfield can be cleaned.
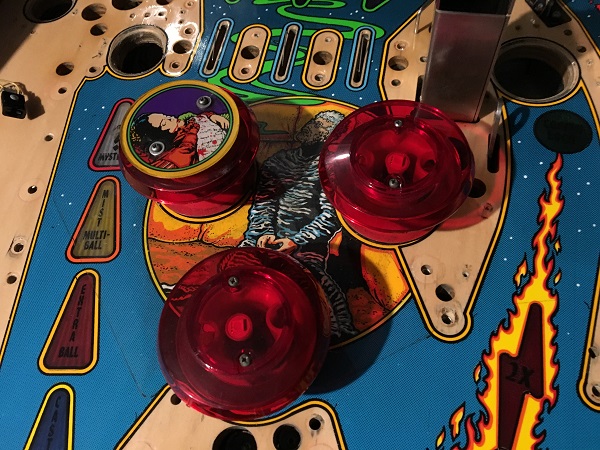
The pop bumpers were disassembled and removed from the game. As is often the case, filth loves to collect on the playfield in this area.
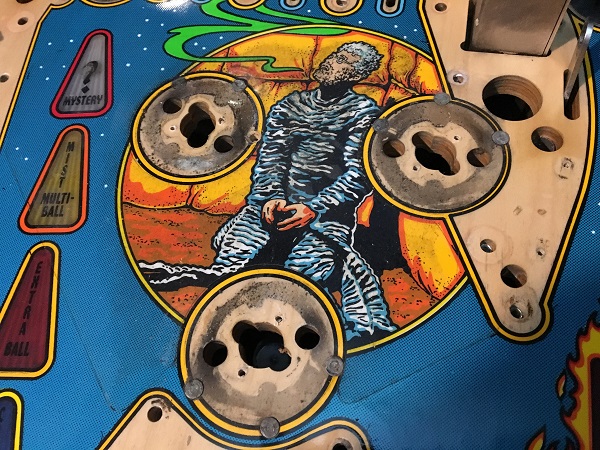
The usual combo of Nifti, Novus 2 and Novus 1 made light work of the filth though and the playfield cleaned up nicely. Thankfully the large mylar piece in this area has protected the playfield artwork from damage. There’s a small amount of bubbling with the mylar over the white and yellow inserts of the left side (leading to the hole).
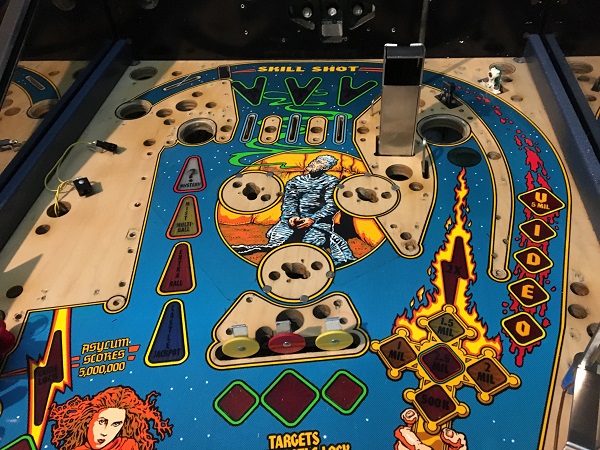
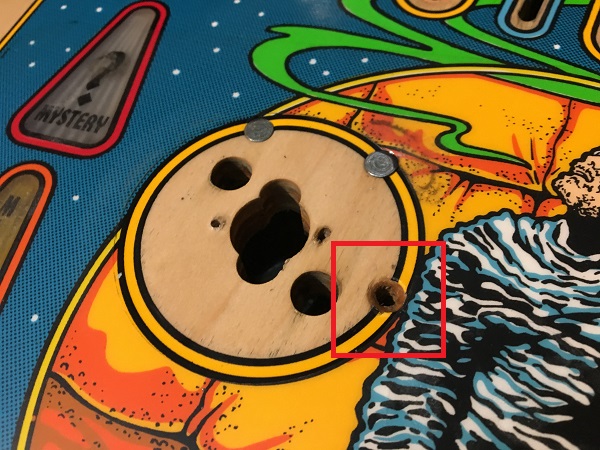
Something interesting I noticed when removing the pop bumpers was one of the shanks that the pop bumper assemblies attach to was missing from the playfield. I have some spares, so will replace this when installing the cleaned pop bumper assemblies shortly.
Before I can begin rebuilding the playfield, there are still a few assemblies I need to work through. The drop target assembly was up next for cleaning.
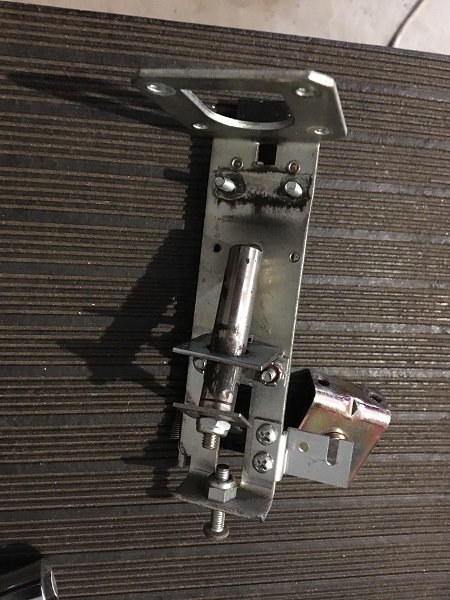
The assembly was dissembled and all parts cleaned. A new black drop target piece and coil sleeve were purchased to replace the old ones.
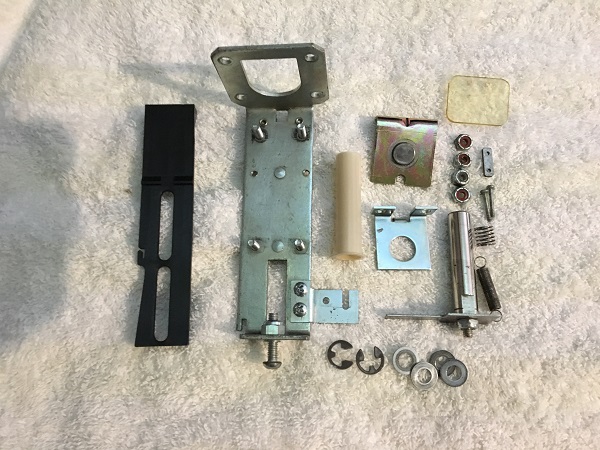
The coffin VUK assembly was up next. A new coil sleeve and rubber grommet were purchased to replace the old ones. The new grommet is missing from the photo as it sneakily rolled out of view (that’s what I get for using steep pinball machines as tables).
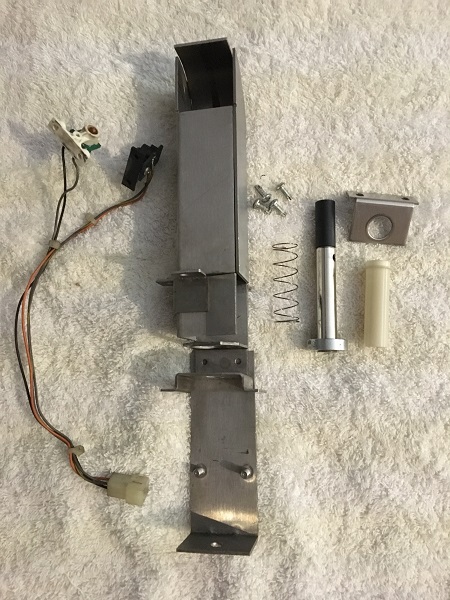
The ramp lift assembly was removed next for cleaning. This assembly is made up of 2 coils. First is a large one used to lift the ramp, which then locks the post in place. A second smaller coil is then used to release the post so the ramp lowers again.
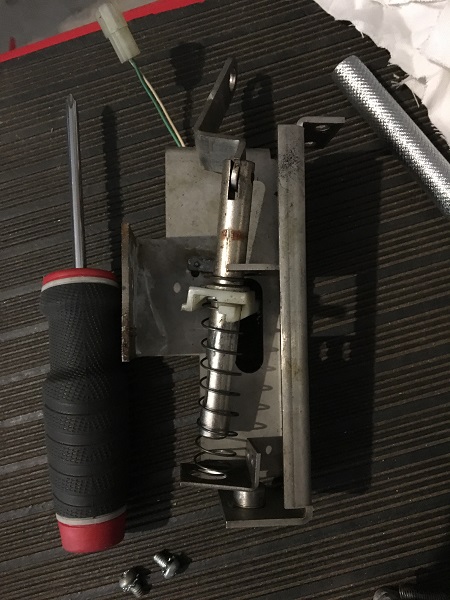
The ramp lift assembly was disassembled and cleaned. A new coil sleeve was purchased to replace the old one.
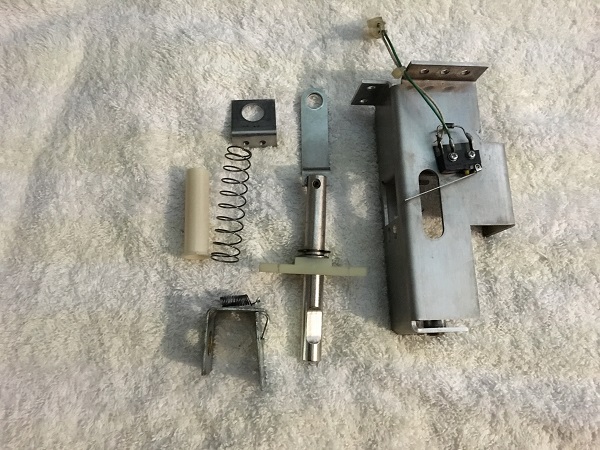
One last assembly to look at before the pop bumpers – the ramp diverter. This post moves vertically to guide the ball down a different path when engaged.
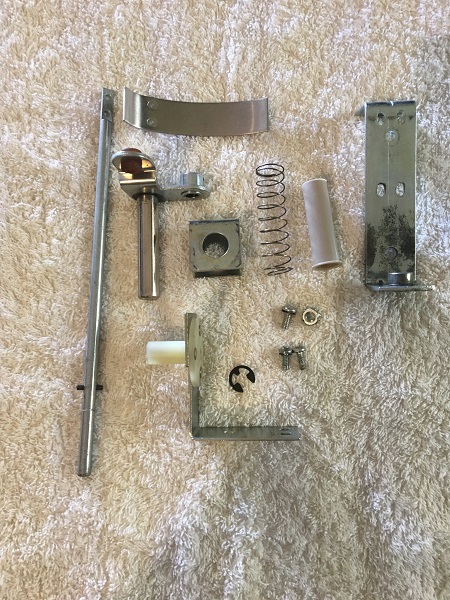
Time to get the pop bumpers cleaned up and ready to rebuild. Earlier, I had removed all the parts and set them aside for cleaning.
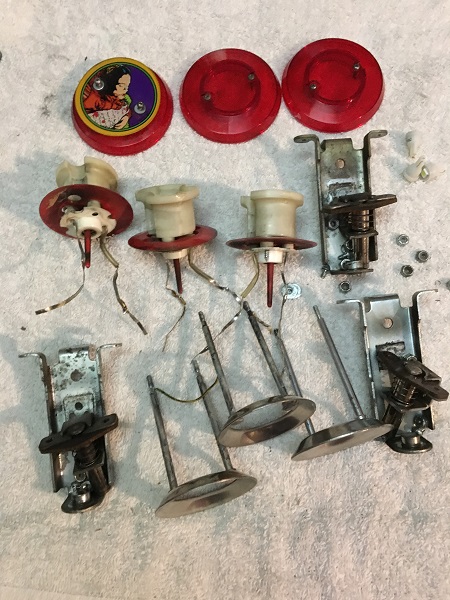
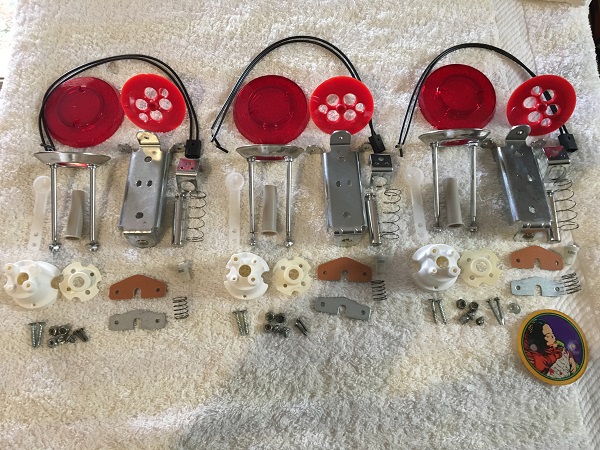
As is often the case, at least one of the metal yokes were broken on the pop bumpers. As a rule, I always replace these anyway.
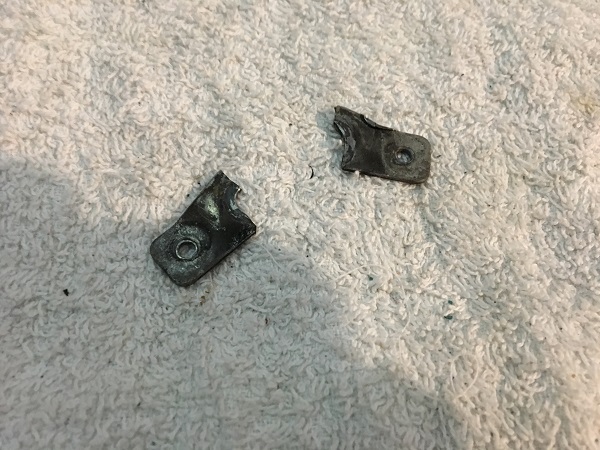
All metal parts went into the tumbler for cleaning. Lots of new parts were purchased – caps, bodies, coil sleeves, lamp sockets, yokes (metal & fiber) and skirts. I also purchased new switch spoons to replace the old ones.
The playfield parts for the top left section of the playfield were next for cleaning. All small metal pieces went through the tumbler. New star posts, single posts and lane guides were purchased to replace the old ones.
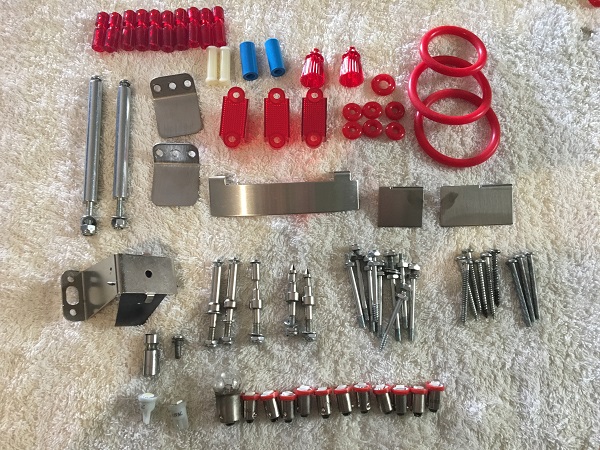
The large metal orbit guide was cleaned next, along with the playfield parts that sit behind the upper 3 target bank.
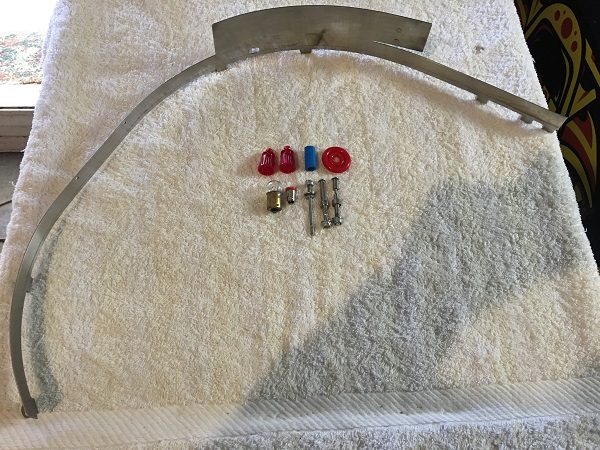
The playfield parts for the upper right section of the playfield were cleaned next. Again, all metal pieces went through the tumbler and new star posts were purchased.
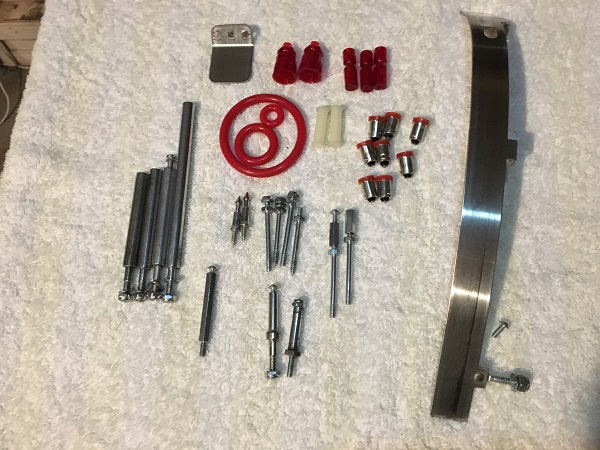
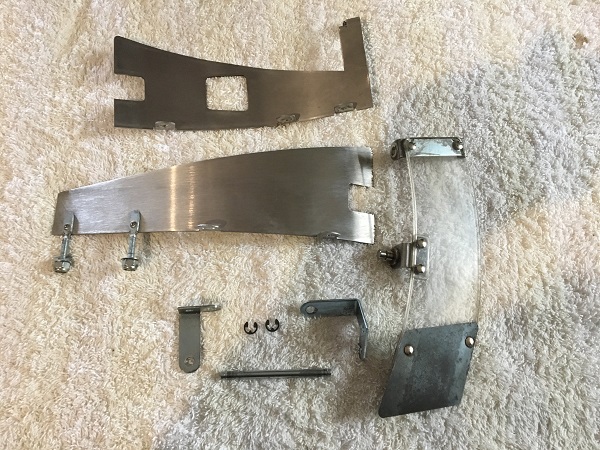
Finally, the lift ramp parts were cleaned up, ready to be installed.
Since all the assemblies and playfield parts were now clean, it’s time to start rebuilding the upper playfield. The pop bumper bodies were installed first, followed by the posts, rails, rubbers and LED’s. The pop bumper switch spoons were installed and the lamp sockets wired up. The pop bumper assemblies below the playfield were installed next, along with the metal rings.
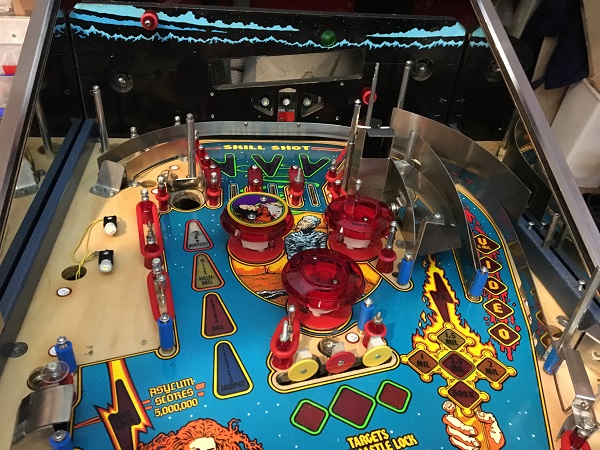
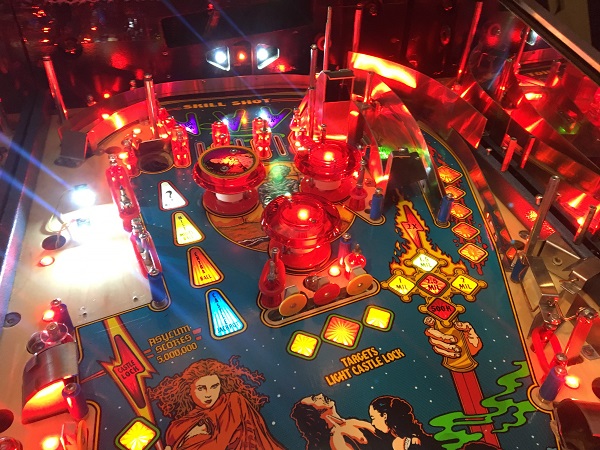
This update has filled up quicker than I had expected. The playfield is now really coming together. In the next update, I’ll be cleaning up all the plastics, along with cleaning and installing all the ramps and rails that were removed in earlier updates. There’s a few other presentation things to cover too which I can hopefully fit in to the next update.
