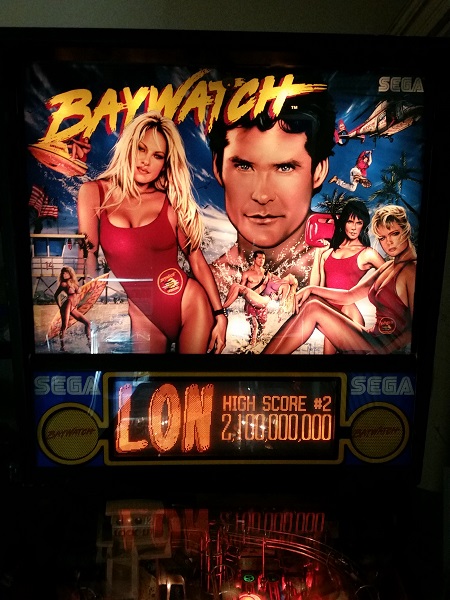
After completing the remaining work on the Williams Whirlwind recently and the owner taking it home, it was time to move onto the next machine for repair & service. This time I’m looking at a Baywatch machine. Released by SEGA in early 1995 and able to be played by 6 players, it’s got a fairly decent playfield layout and is a lot of fun to play. The game play caught me by surprise as I’m not a huge fan of the theme (I’m sure my teenage self would have been..), but I find myself saying ‘just one more go’ when playing it. That’s a good sign for any game. The machine has been in the owners collection for awhile, crying out for a full service. As you’ve seen in my other threads, I get in and rebuild everything. It’s not a restoration, nor is it just a quick wipe down and fresh rubbers. Each assembly will be stripped, cleaned and worn parts replaced. The playfield will be stripped and everything properly cleaned too. Any game play issues will be sorted out and I’ll also spend some time doing presentation improvements (mostly things the owner has pointed out he wants addressed). Anyway, time to get started.
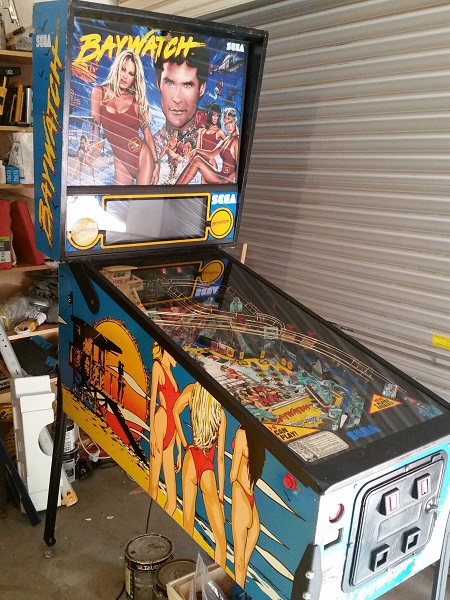
When the owner dropped the machine off, he pointed out various issues he knew about and wanted me to look at. Overall the game is in pretty good condition and appears to be fully working (apart from a few minor mechanical issues). It’s main fault is filth across the playfield and assemblies. Before I get too far into servicing the machine, there are a few small things I want to address and also ensure the game passes the lamp, switch and coil tests. That way I know if anything isn’t working at the end, it’s very likely something I’ve done and I can retrace my steps in that area of failure. The first issue I wanted to resolve was the GI on the backbox door. At present, only half the backbox is lit up.
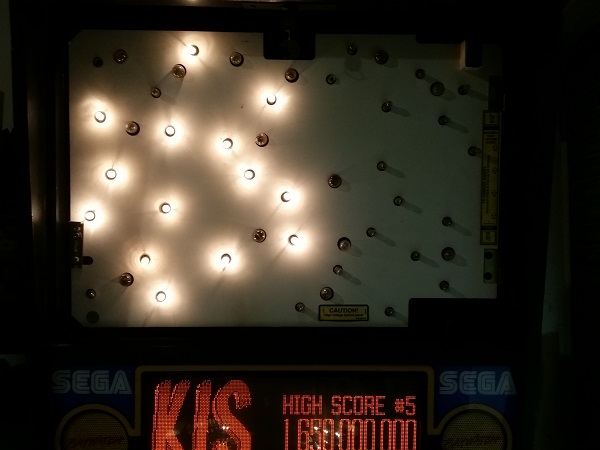
I inspected a few of the globes just to be sure they weren’t all dead. It’s not a likely scenario given they are all on one side, but is a quick thing to check and could save time if (by pure chance) that was the case. As expected though, the globes were fine. I next had a look at the wiring leading to the sockets on the door in case it was a loose wire or connection as this could easily explain half the GI out. The wiring all looked good however. My next suspect is a blown fuse as this is a very likely scenario too. I pulled out the manual and had a look to see which fuses are for the backbox GI. There are two Fuse #2 and Fuse #4 on the PPB.
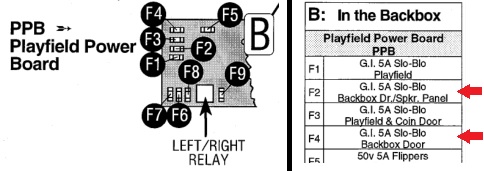
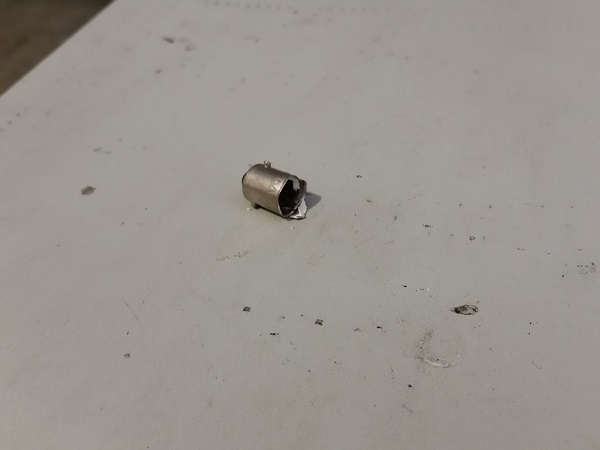
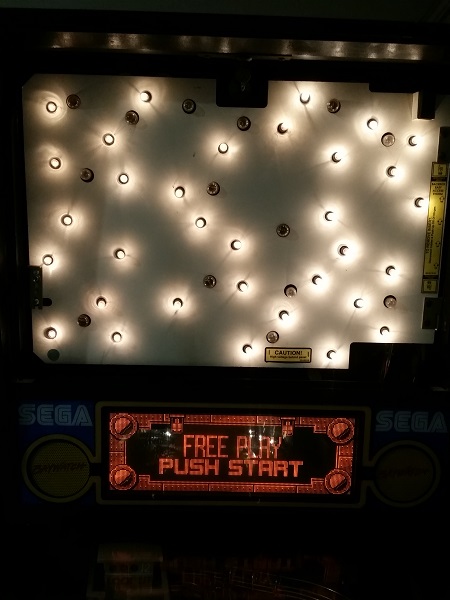
On inspecting the two fuses, F4 was found to be blown. It was replaced with a new 5A SB and the game switched on. The globes on the right side switched on this time, but were extremely dim. After about 10 seconds, they went out and the fuse at F4 was dead. My eye was caught by one particular globe on the backbox, it was completely blown. I didn’t spot it before as all that was left was the metal base in the socket and all I could really see was the socket. With the machine switched off, I removed the remains.
After fixing a similar issue recently on another machine, I had a hunch the globe carcass was the fault. A new globe was installed and a new fuse added. The machine was switched on again. This time the right side lit up brightly. The game was left to run for 10 minutes and no more blown fuse. The game was powered off and five globes replaced that no longer worked. The remaining globes and flashers were wiped clean with isopropyl alcohol and a soft cloth to remove built up dust. Switched back on, the backbox lamps now shone brightly. The first issue was now sorted.
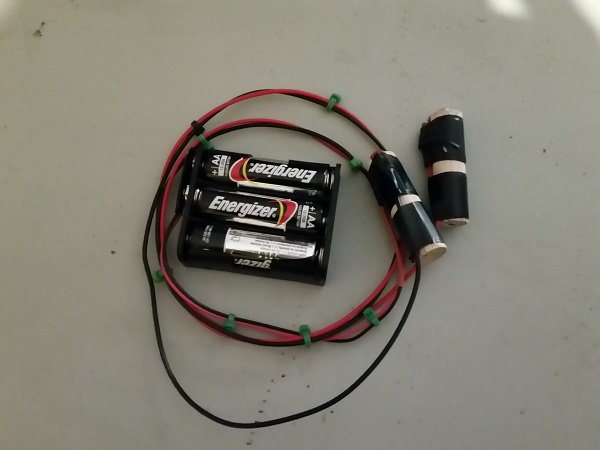
Next on my to do list was to create and install a remote battery pack for the CPU board. The game still has the original AA battery holder on the board and I plan to leave it there. The beauty of the remote battery pack is it leaves the board untouched and can be removed in seconds. Also, if the batteries are forgotten about and leak, the owner only needs to replace an inexpensive part. The battery packs are very cheap to make up, only setting you back around $4 each in parts (not including the batteries).
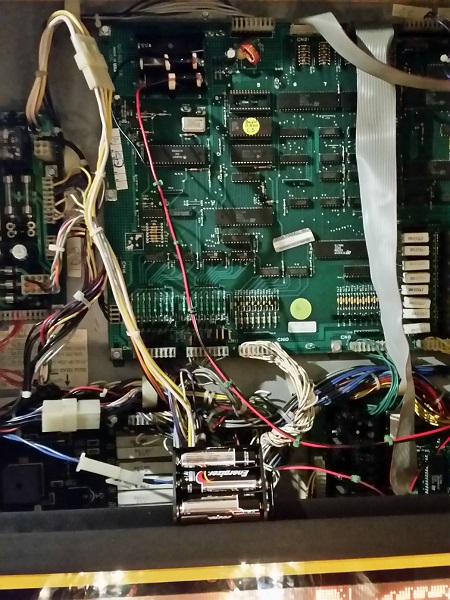
Happy the battery pack was ready, it was installed into the machine and tested. Satisfied the remote pack was functioning correctly, it was set aside out of the way at the base of the head box.
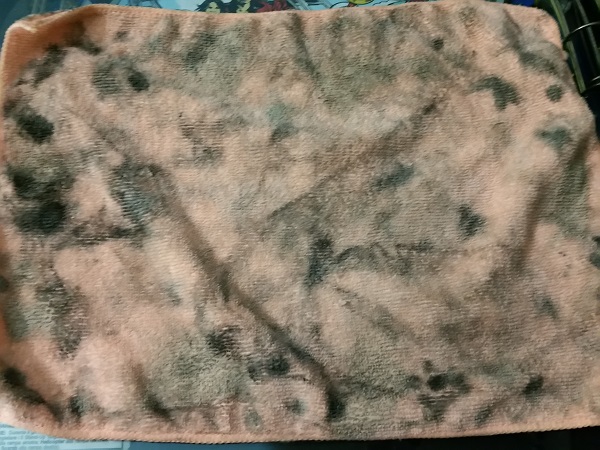
Before moving away from the backbox, I wanted to clean up the translite. The reverse side was wiped clean. It was coated in more grit than I had thought when looking at it. The orange cloth was clean before starting on it.
The result is worth it though as the translite now lights up nice and bright.
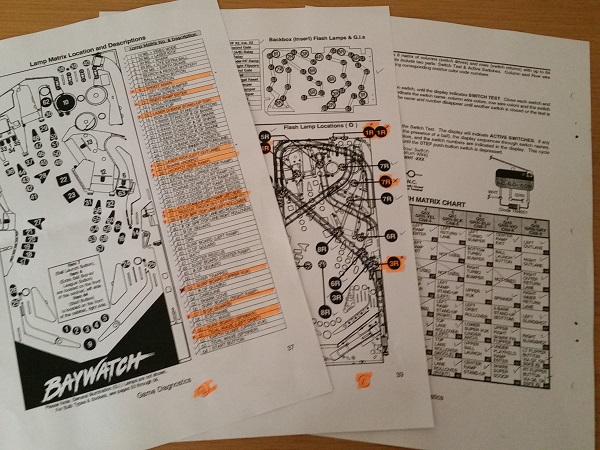
Next thing to do was run through the test modes on the game. I ran through the lamp, switch and coil tests to ensure everything was functioning correctly. I came across several globes that were no longer working, which is fairly common. There were also a handful of flasher bulbs that no longer worked. They are all located under playfield parts though and not accessible at the moment, so will be inspected and replaced once I get the playfield stripped. All switches passed however, as did the assembly coils. The lamps and flashers that failed were highlighted for further inspection.
While I can’t do anything about the failing flashers at the moment, I can get the faulty lamps working. Most of the insert lamps are run off small lamp boards under the playfield. These things can get quite filthy over time (along with the bulbs). I remove each one, which lets me clean the bulbs, board and also the underside of the inserts. Any bulbs that work, but are burnt or on their way out are also replaced.
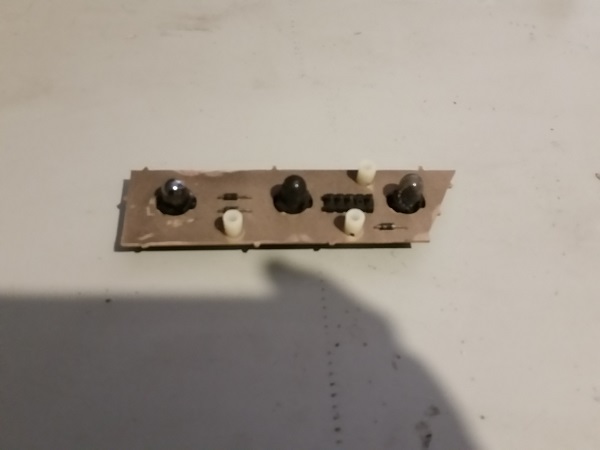
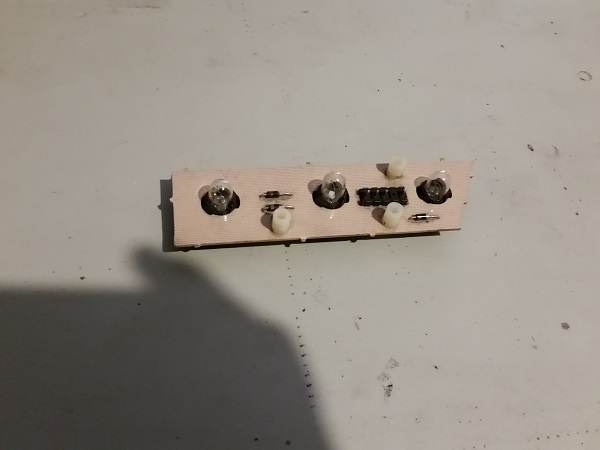
Once cleaned, they look much nicer. There are 8 boards like this under the Baywatch playfield. The same cleaning process was repeated for each one. Having the board removed is also a good chance to inspect the header pins and ensure there are no cracked solder joints. I did take photos of the other lamp boards, but won’t bother posting as they are all the same – dirty to start and clean to finish.
As I go through cleaning the lamp boards and all the bulbs, I also take time to clean the underside of the inserts. You’ll often find quite a bit of black dust has managed to attach itself there, which dulls the light getting through when the insert is lit up. For example, you can see a layer of black dust covering the surface under these inserts.
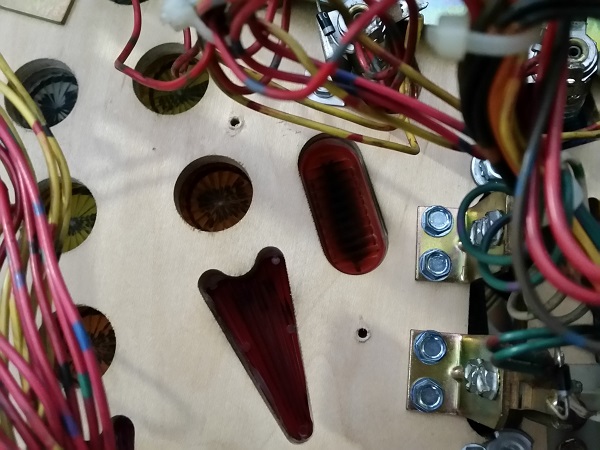
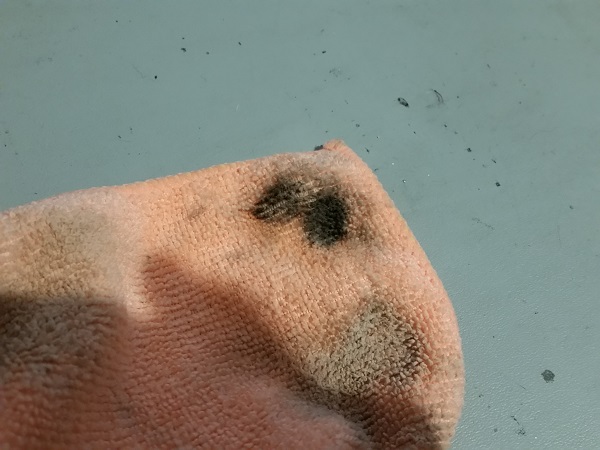
Using isopropyl alcohol and a soft cloth, the underside of the insert is wiped clean. The dark patch used to be spread across that insert and glad to have removed it.
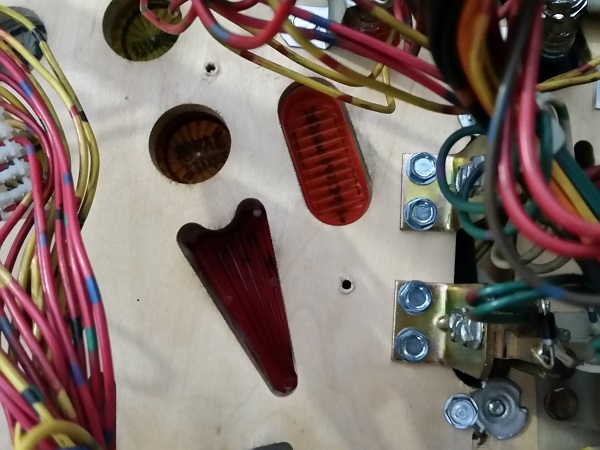
Now, the underside of the inserts are cleaned up and ready to let more light shine through during play. I do this cleaning for all inserts across the playfield.
A good running example seen on this game are the two green flags that sit in front of the drop target bank. Before any cleaning, they can barely be seen when lit.
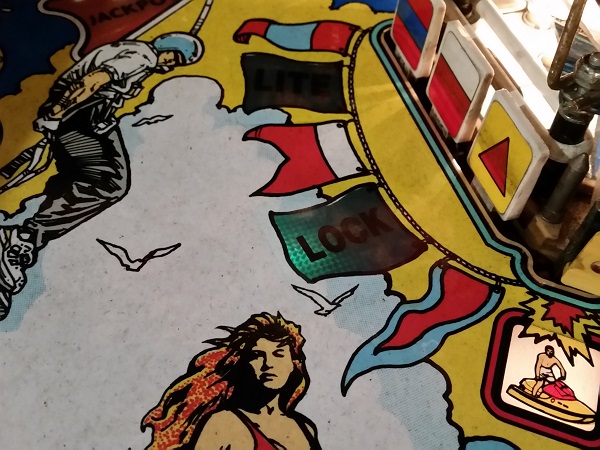
After the bulb and insert are wiped clean, the insert lights up brightly. That light will look even cleaner once I get around to cleaning and polishing the playfield. So it’s worth spending the time cleaning the bulbs and inserts as it’s a way to lift the presentation of the machine without spending a cent on parts.
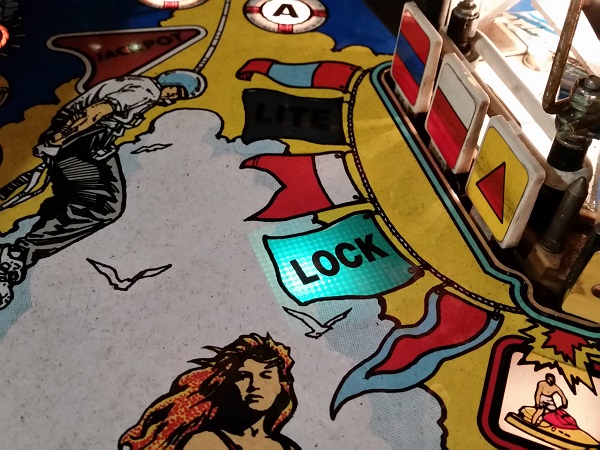
While waiting for parts to arrive, I was looking for things I could do on the machine meanwhile. Since there were a few dead insert globes I had not yet been able to replace due to the ball return tunnel under the playfield, it seemed like a good time to remove it for cleaning. This would then give me access to those remaining inserts and bulbs so I could tick that task off as completed. The return tunnel runs almost the entire length of the playfield, which returns the ball from Baywatch tower to the ball trough.
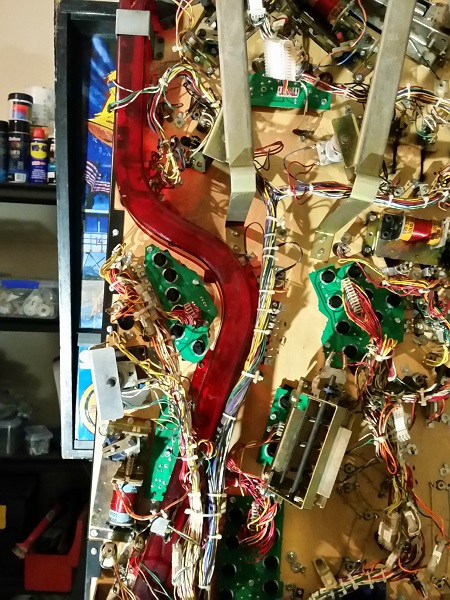
Before removing, I inspected the state of the tunnel plastic. I found there were two screws missing from one section. Not a problem as I’ve got some spares that will suit it perfectly. (Note – the tunnel plastic looks really clean in this photo as it was taken after being cleaned and reinstalled. I forgot to photograph this before removal).
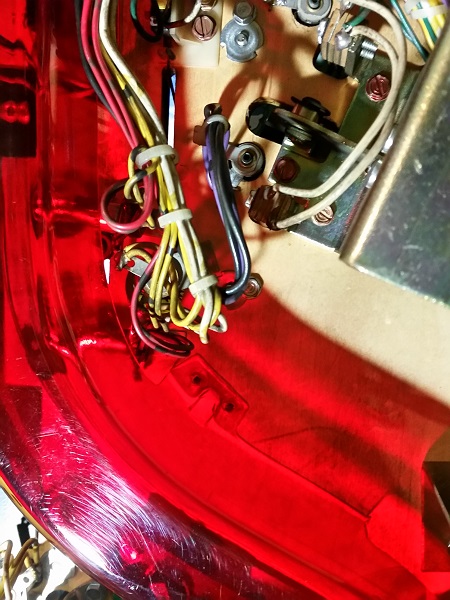
Further down, there is one section broken which would normally be used to attach it to the playfield. There is still plenty of strength keeping it attached to the playfield, but wanted to document it for the owner.
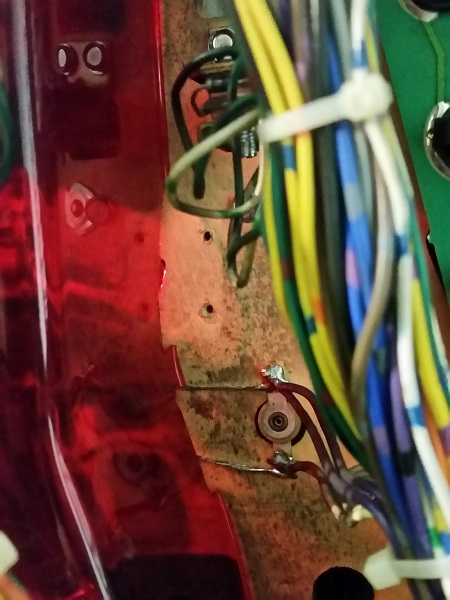
The tunnel was removed from the playfield and set aside for cleaning. With the ramp removed, I replaced the remaining dead bulbs and cleaned the last of the inserts. This task could now be ticked off as completed.
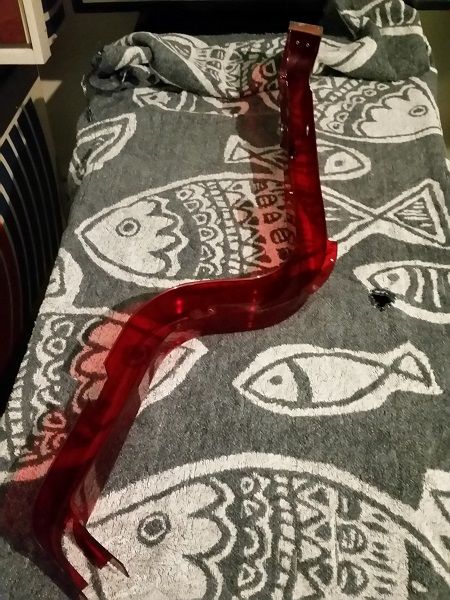
The tunnel plastic was a little dirty, but not as bad as I had expected it to be. On some machines, these under playfield “ramps” can be so dirty they look to be spray painted black 😉
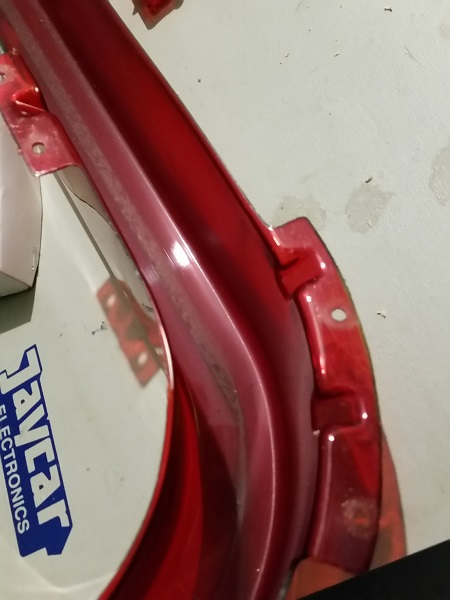
The plastic was cleaned up and then a little bit of novus applied. It was ready to go back onto the machine.
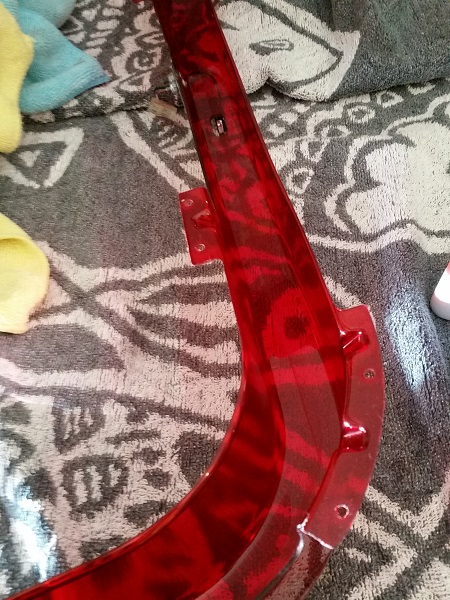
The tunnel plastic was installed back onto the playfield to complete the task. There are two flashers that need to be replaced that are not blocked by playfield parts – these live at the very rear of the playfield and are attached to the plastic channel the playfield glass slides in to.
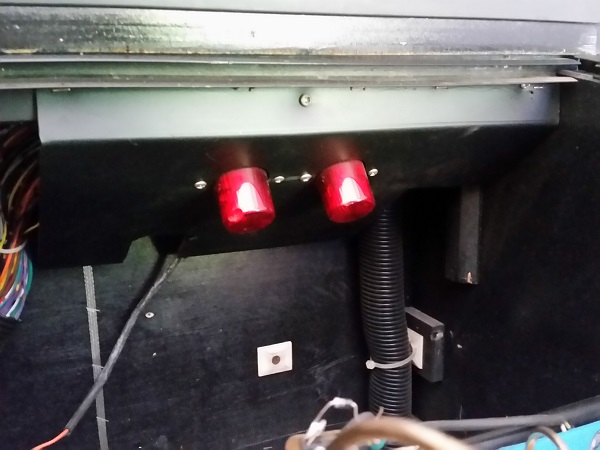
This can be removed via 4 screws, which attach the channel to the cabinet. The rear of the panel is quite dirty and will get a wipe down.
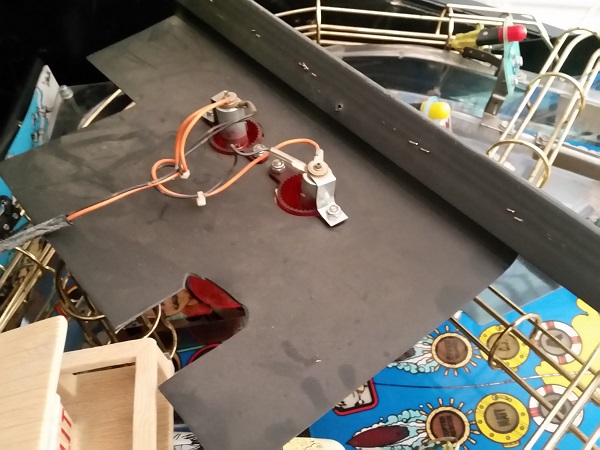
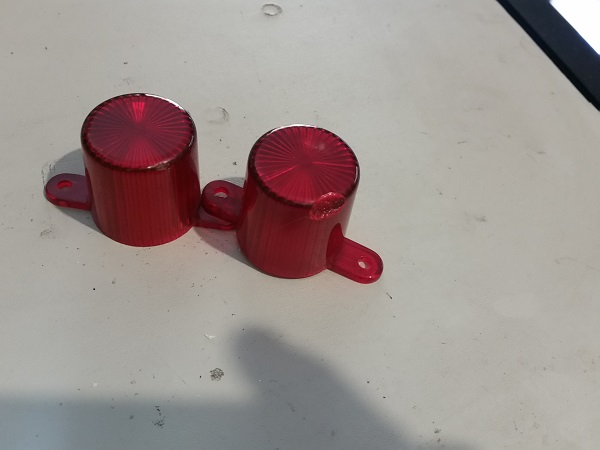
The bulbs were removed and found to be dead. New flashers were installed. One of the flasher domes had melted in a section, so it will be replaced. The panel was put back together and installed back into the machine. The game was fired up and the flasher test entered. The two now lit up, so I’ll mark these off my to do list for later.
Another item on my to do list in this update is the coin door and also the front panel of the cabinet. I normally leave this until last, but since I was waiting on parts, I may as well get stuck into it now. The coin door itself is actually in pretty good condition. There are some scratches and scrapes across it, but I’ve seen far worse. Still, I think we can make it look better.
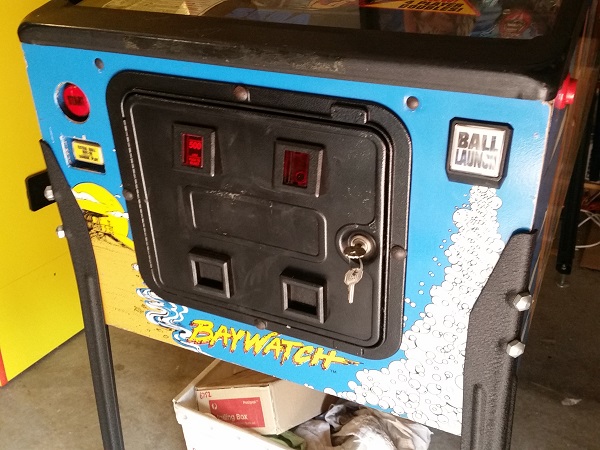
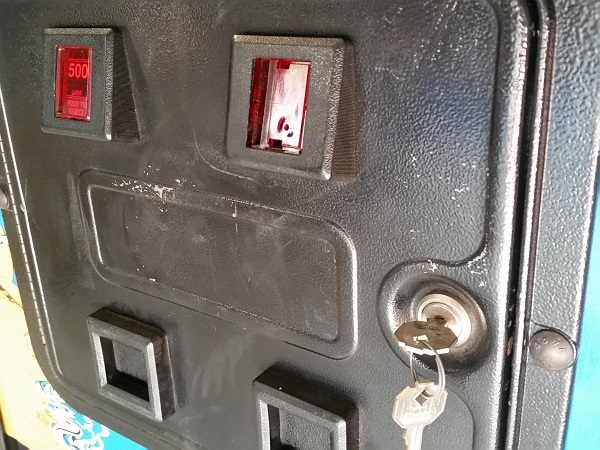
The coin door was removed from the cabinet and the chipped sections gently sanded. The door and bolts were then sprayed with satin black. I’m actually not happy with this photo as it makes the door look flat and not textured. But I didn’t realise at the time, so didn’t bother to take a better one.
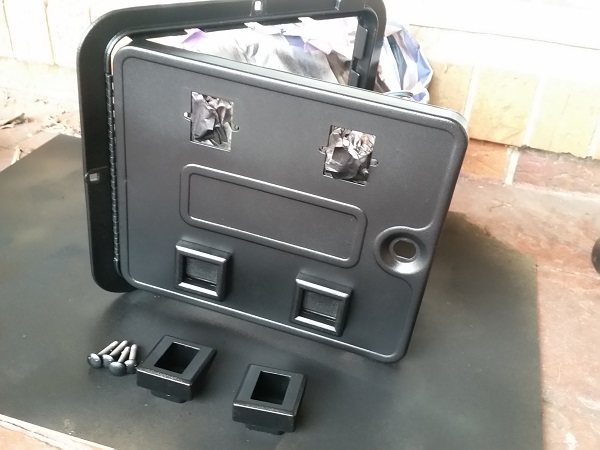
The coin door was then installed back into the cabinet. While I have the buttons removed, I want to touch up the paint around the button holes. Next step will be to create some custom pricing plates.
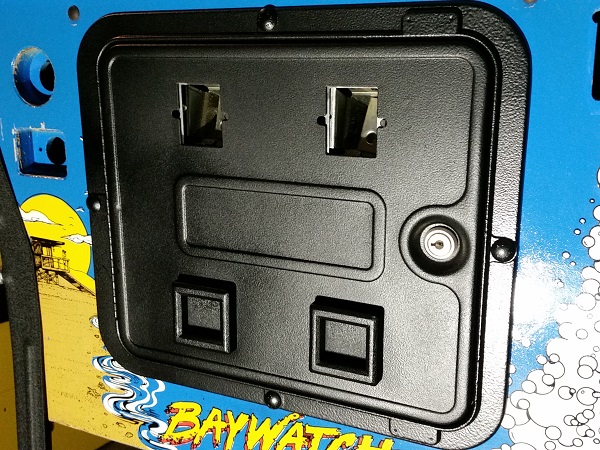
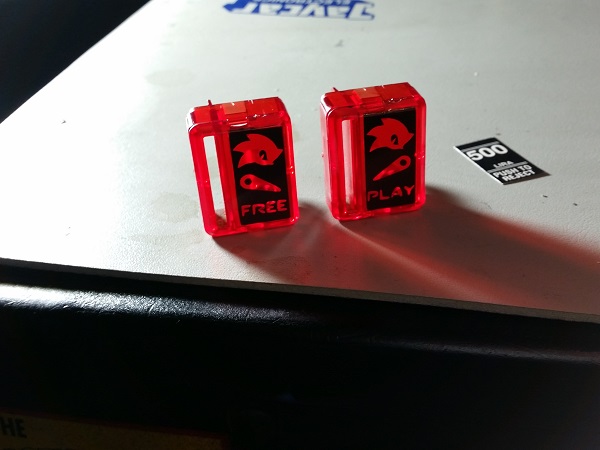
The owner mentioned the possibility of having Sonic (the Sega mascot) on them and I thought it was a good idea. It works well with Sonic appearing on the flipper bats and appearing in the attract mode animations on the DMD. I created up some new pricing plates in Inkscape, which were then cut out of black vinyl to stick onto the coin reject button. I went with a Sonic head, flipper bat and the words free play (since that’s what the game was set to). The free play text was created using the SEGA Saturn font to keep with the SEGA branding.
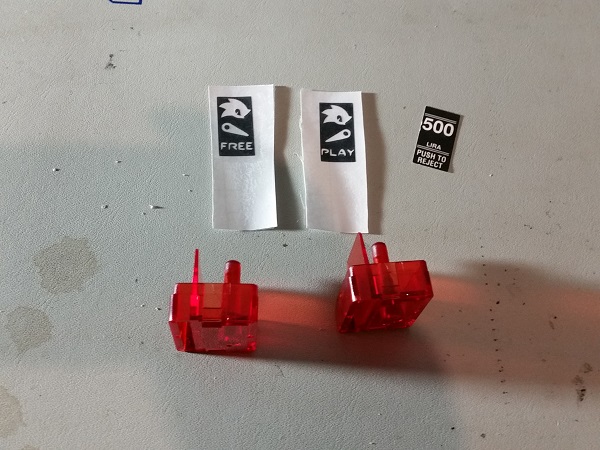
These are the same sort of custom decals I’ve done on other machines. The vinyl cutter removes sections, which will allow the light to shine through. There is a clear layer of contact on top for now, which will help transfer each decal in once piece.
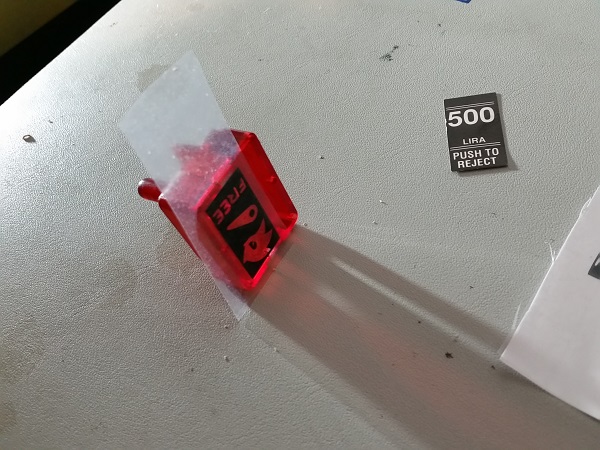
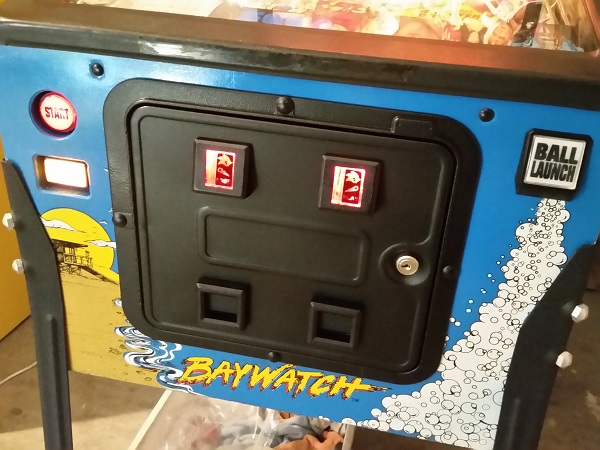
The new pricing plates were installed and the coin reject buttons ready to go back onto the machine. Much better than foreign pricing on the machine. Part of my thinks I should have mirrored the Sonic head for the right button – but it didn’t occur to me until after it was done.
Before I had installed the coin door back into the cabinet, I removed and cleaned the 3 cabinet buttons from the front of the machine. This is something many people overlook when cleaning, but I like to make the machine as presentable as possible. Once the buttons were removed, they were disassembled down to their individual pieces and cleaned. Some Novus was used to polish before they were rebuilt and installed back into the cabinet.
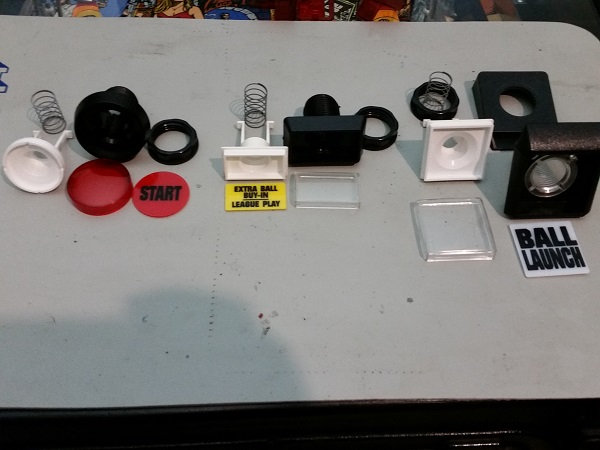
The next step was to touch up the paint damage around the button holes. I matched a blue that was pretty close and painted the two buttons holes on the left. You can see in one of the earlier photos there is some wear / damage in the area. The cabinet buttons were installed back into the machine and the coin reject buttons were put back onto the coin door. The two bolts above the coin door were also cleaned and painted with satin black.
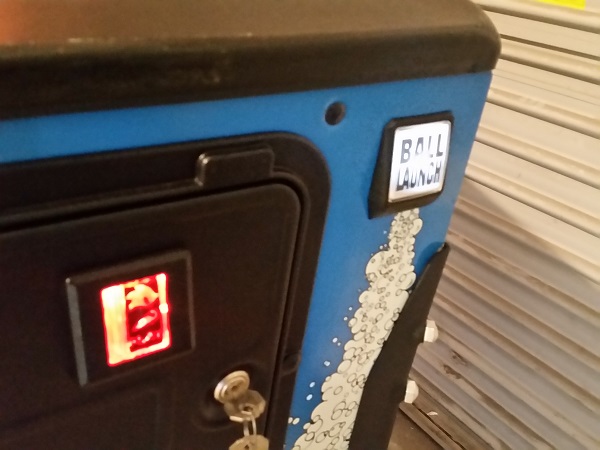
One last change I made was to the lamp used to light the ball launch button. The incandescent bulb gave the white button an off yellow light, which didn’t look nice. So I switched this over to a cool white LED, which lit it nicer and looked more natural. The start and buy in buttons were left with regular bulbs though.
That’s enough for the first update. I’m just waiting on one parts order to arrive so I can begin servicing the assemblies. I expect that will arrive in the next 7 days. I’ll be starting at the bottom of the playfield and working my way up. That means my next update will most likely be focusing on the apron area or flippers and sling shots. There are a few issues to look at along the way, most are mechanical things though which I’ll address as I go through their respective areas of fault. Still a long way to go on the machine, but good to already see some improvements.
