
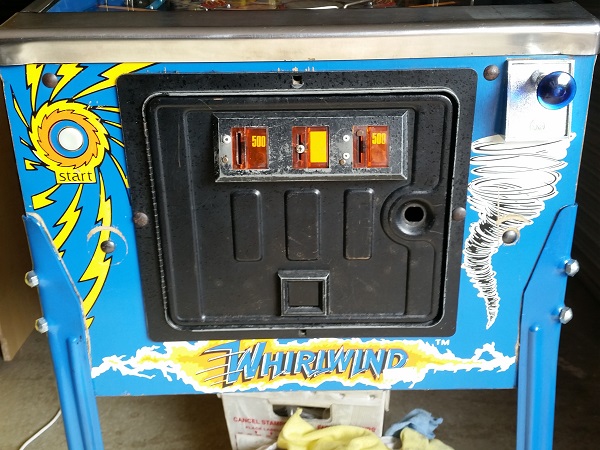
I had planned for this to be the final update on the Whirlwind repair & service, but before I give my focus to testing the game, there were two more presentation things to look at first. One of the final items to address on Whirlwind is the coin door. I had mentioned in previous updates I was going to look at it, but kept putting it off. No longer though. When dropping the machine off, the owner asked me to give the coin door a face lift. He wanted the rivets removed and the holes filled from the coin entry housing. No problem, can do. I wanted to go a little bit further though and replace the pricing plates with something nicer and also replace the two missing bolts from the coin door.
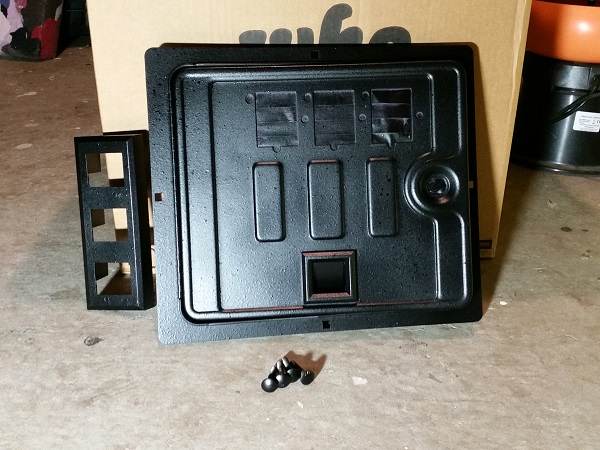
The coin door was removed from the machine for painting. The rivets and nails that had been put into the coin panel were removed and the holes repaired. Once prepped, the coin door door was given a few coats of satin black and then gloss black was used to add the speckles. The bolts were also given a coat of satin black so they would match the door nicely.
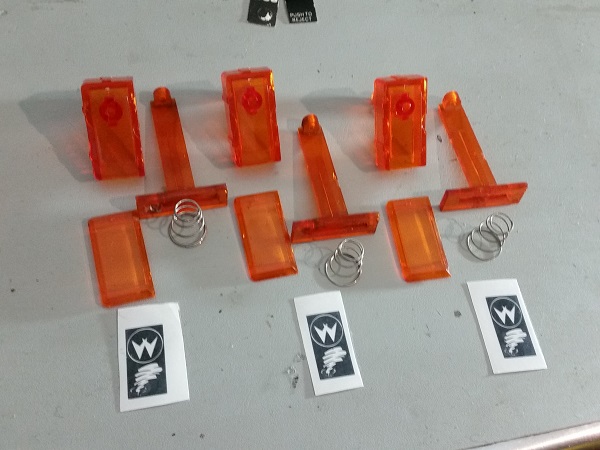
The coin entry plates and return buttons were removed and cleaned. New custom pricing decals were created using InkScape and then cut out of vinyl using a Silhouette Cameo machine (looks like a printer, but has a small blade instead of ink). The coin entry plates have some damage from years of use and the screws / nails inserted into them, but are fine to reuse. The owner can always buy some new ones if desired.
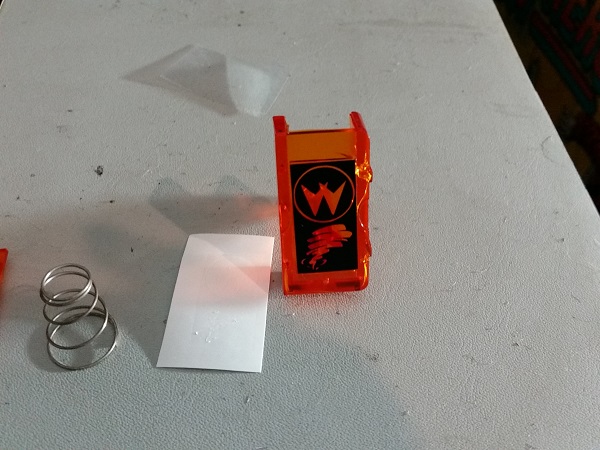
The black vinyl has a sticky back, so will be applied to the button. A clear contact is placed over the vinyl first, so the decal can be transferred in one piece.
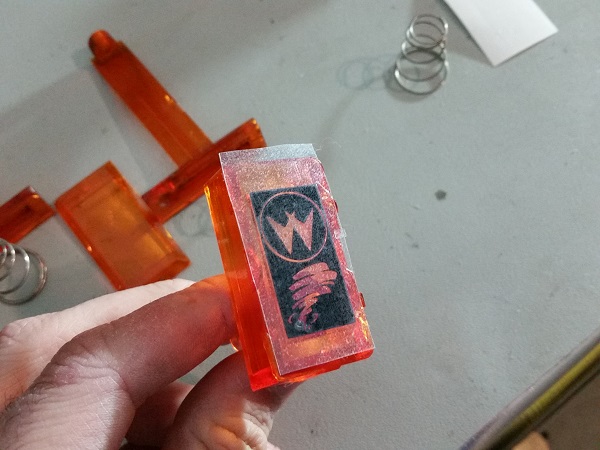
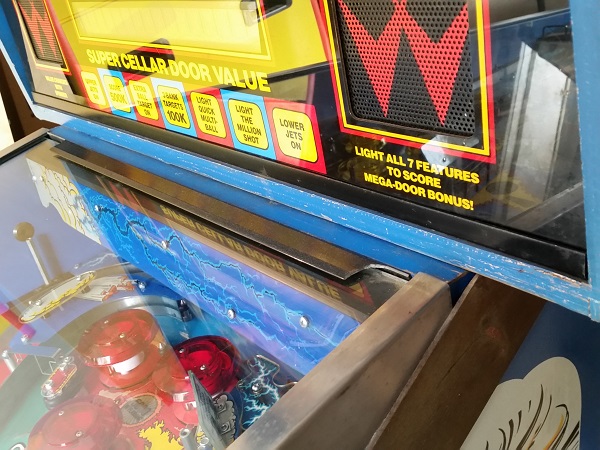
Once the vinyl decal is transferred, the clear contact is simply pealed away to complete the process. What I like about this (as opposed to just printing the decal onto while paper) is that sections are cut out, allowing light to shine through. Also, the thick black vinyl cuts out light, so the appropriate sections light up and stand out.
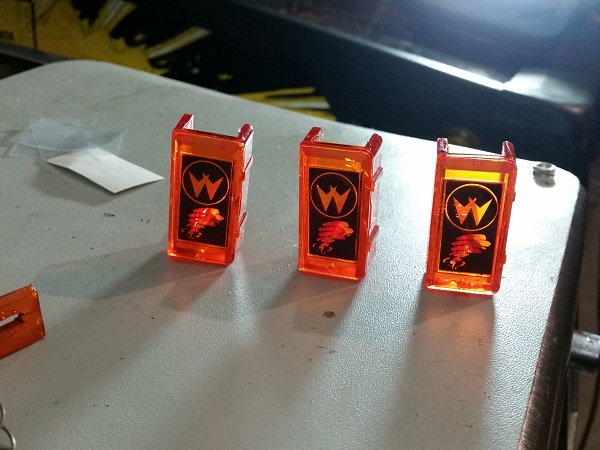
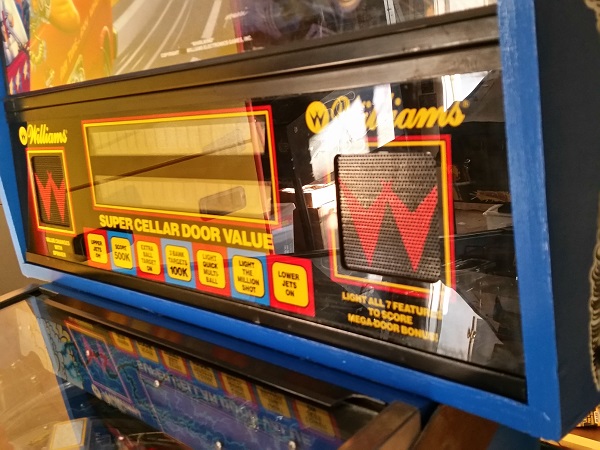
The same process was applied for the other two coin return buttons, leaving them looking a whole lot nicer. I opted to create custom pricing plates with the Williams logo and a Whirlwind logo. A much better look than foreign pricing or some generic free play print. It also gives the owner something unique on his machine.
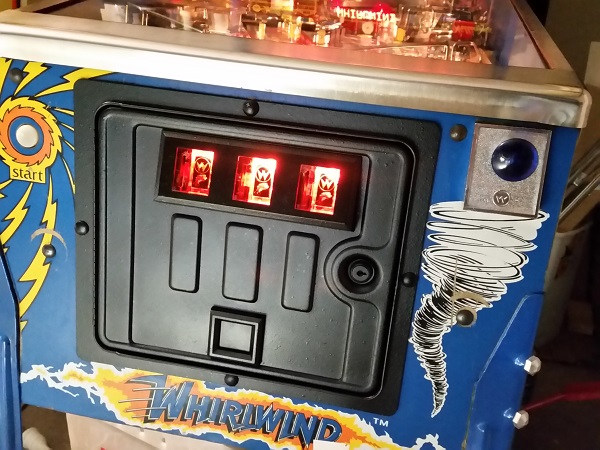
The coin door was reassembled and installed back into the machine. There was a globe missing from the middle pricing panel, so a new #47 was installed. A new lock was also added to complete the coin door transformation.
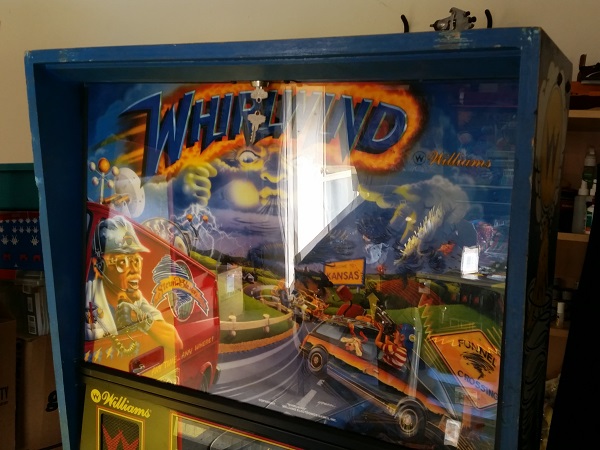
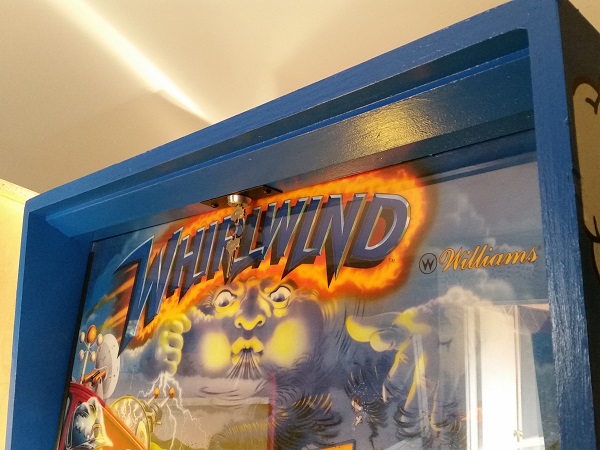
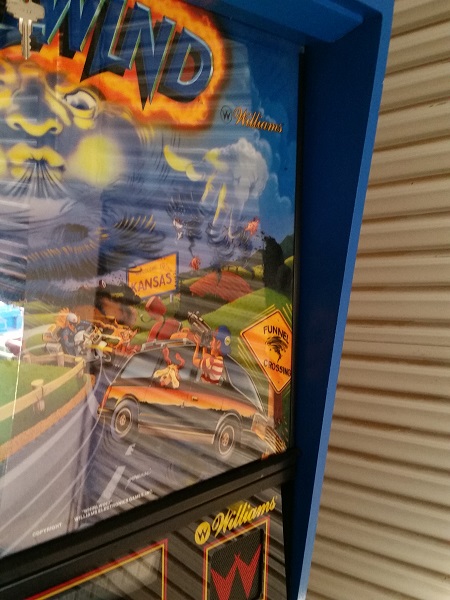
The final presentation item on my to do list was to give the headbox a face lift. The owner had requested I spend some time fixing up some of it’s flaws. The state of the headbox isn’t terrible by any means, but there is certainly room for improvement. The left side of the headbox was the worst of it.
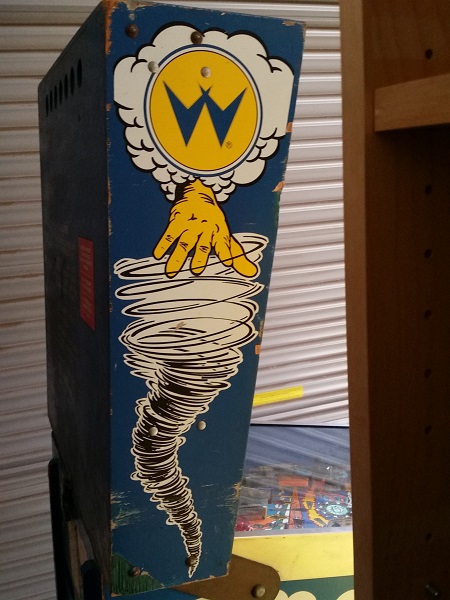
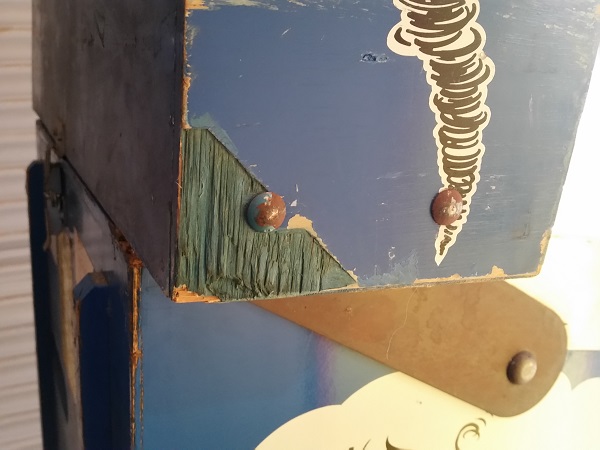
The lower back corner has had the top part of the wood broken off and painted with an off blue colour. The black bolts are also rusty and looking ugly.
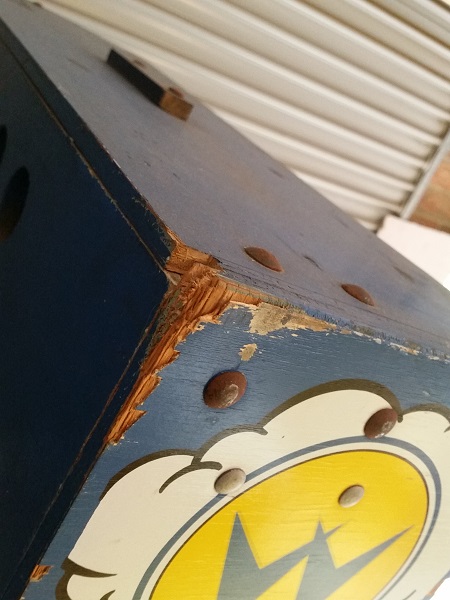
The top back corner of the left side has also taken some damage over the years.
The right side is much better, with a few scratches and scrapes. The bolts are in a similar condition as the left side.
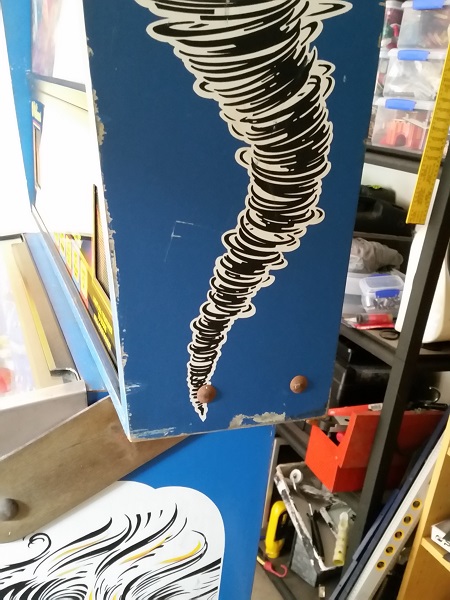
On the front, there is some scraping from the translite being installed and removed over the years. The paint colour here has also faded in some spots, so it looks uneven.
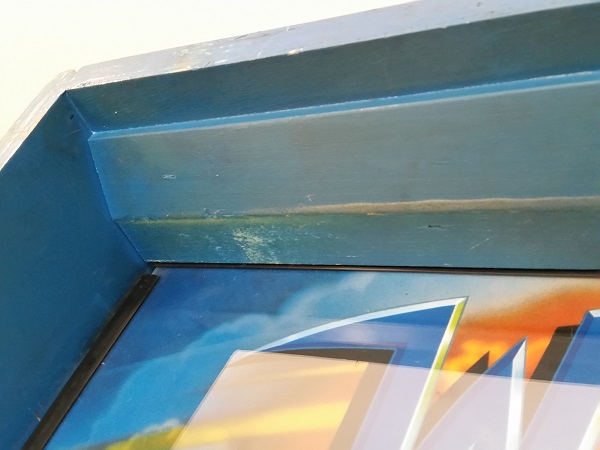
The edges around the face of the headbox are also a little worn. By no means is this terrible, but since I’m looking at the side panels, I may as well improve these too.
I went to Bunnings and grabbed as many blue samples as possible to try and get a close match on the paint. There are a lot and a number of the colours I thought were a good match, turned out to way off. but I did find one that matched the state of the headbox paint well.

The damage to the left side was patched up and sanded. The blue was then repainted, along with the rusty bolts being cleaned up and painted with satin black. The silver bolts were just cleaned up and left as is since their condition was fine.
The right side of the headbox received the same treatment.
The key plate was removed and painted with the same satin black as the coin door. The front of the headbox looks a lot nicer now too with its damage cleaned up and painted.
Same goes for the lower edges.
I wish I had taken a photo of the inside of the right panel before the repair as it had damage from the speaker & display panel being removed over the years. But now it looks a lot better.
That’s it for this update – a smaller update than my previous ones in terms of content, although a lot of effort went in to getting the coin door and headbox into better shape. Now it’s down to testing the game out. Firstly running through the test modes and then actually playing it to ensure everything is playing 100% before handing it back over to the owner. I’m expecting he will have it back in a few days time. I’m really happy with how the machine has transformed and it’s going to be a lot of fun testing it 🙂
Hi Andrew,
Can you tell me number matched the blue of the headbox.
Regards,
Peter
Hi Peter, I can’t recall the blue I settled on – only that I grabbed as many blue paint cards from Bunnings as possible to match against the cabinet and went with the closest one.