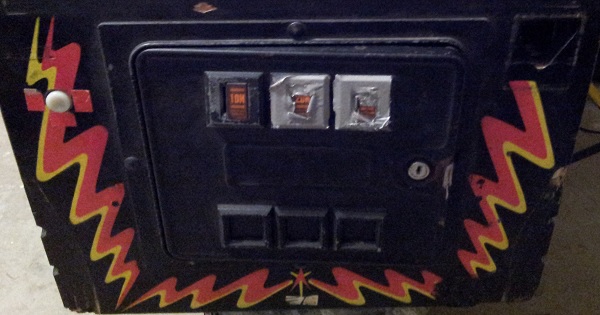
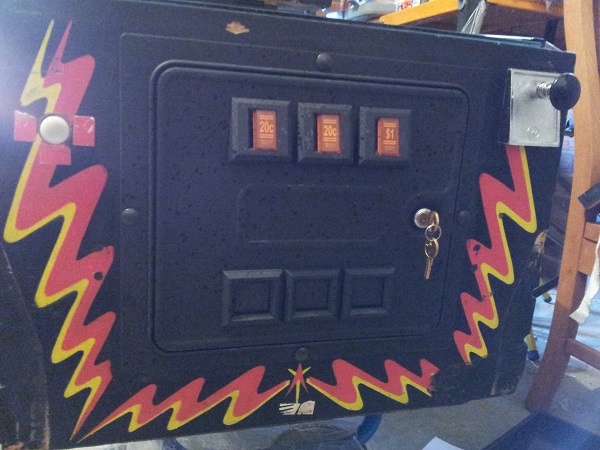
The coin door on my Pinbot machine is in need of some attention. It’s not the worst I’ve seen (actually, far from it), but it could certainly do with some love. The photo makes it look a bit better than it really is. Up close, there are far more chips and scratches along the edges of both the coin accept and coin return face plates. On the up side, the door itself is solid and should do up nicely.
The middle and right coin accept slots have been covered up with tape (there are no coin mechs hooked up to either of these).
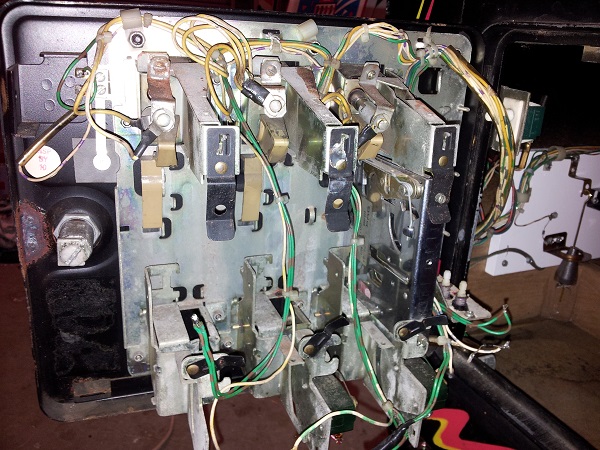
Opening up the door, let’s check out the state on the flip side of the door. On the inside we can see some rust built up on the edge and a general layer of crap across most areas (the flash does a good job disguising this). A single coin mech is hooked up (configured for German currency). The wires for the second and third mechs are hanging loose as is the highscore reset wiring. My goal is to have all 3 coin mechs wired up – two as 20c and the other as a $1 (as those are the mechs I have handy). The machine won’t be sited, I (and my kids) just like inserting a coin to begin play. Plus there is a really cool light and sound show put on when you add a credit, which makes adding a coin worthwhile.
The service panel consists of 3 buttons and is looking a little worse for wear. The High score reset button is not currently wired up. I’d like to replace that decal too and add some button caps to the two that are missing them.

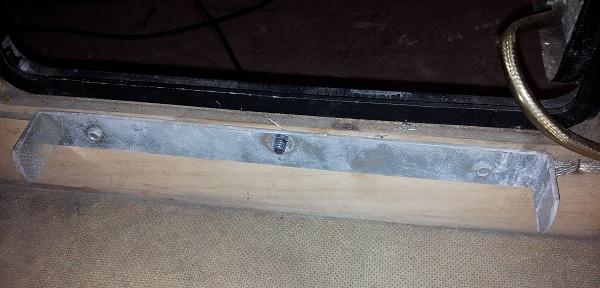
Just below the coin door (inside the cabinet) is a metal bar which I’m assuming is part of the cash box. Interestingly, the nut for the coin door bolt is missing here (all others are present). Perhaps the original cash box is also connected to this bolt? I’d like to replace the missing nut at least and clean up the metal bar. I have a spare plastic coin box which I’ll place in here. If I can, I’ll place a copy of the manual here also for completeness too (I’ve got a printed copy housed in a folder inside the house – but I like the idea of having an original handy with the machine).
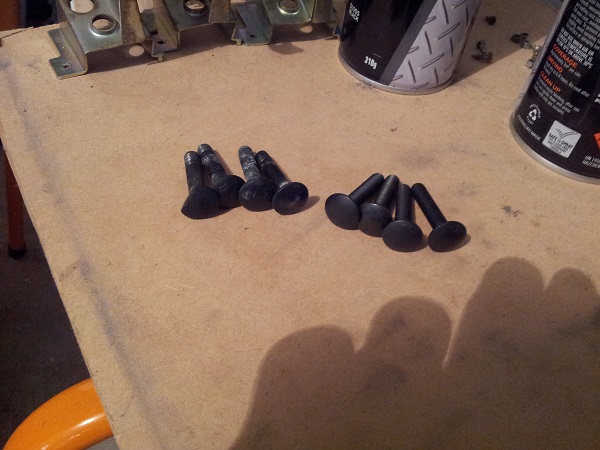
First step though is to get the coin door out of the cabinet so it can be cleaned up and resprayed. I noticed that one of the 4 bolts had part of its head cut/filed back (left bolt in photo). Not sure what that’s about. I happened to have a matching set of 4 brand new bolts in my parts box (which I suspect at one time I intended for a coin door on an arcade machine project). I’ll toss the bolt with the damaged head. I wasn’t keen to mix old and new bolts, so will go with the new set and the 3 spare used bolts can be cleaned up and perhaps reused in a future project.
There is metal panel that is connected inside the coin door. The coin mech, switches and service panel are all connected to this. I really like this design as the whole thing can be removed from the door in one step. The wiring is connected by a single molex connected so can be removed easily enough.
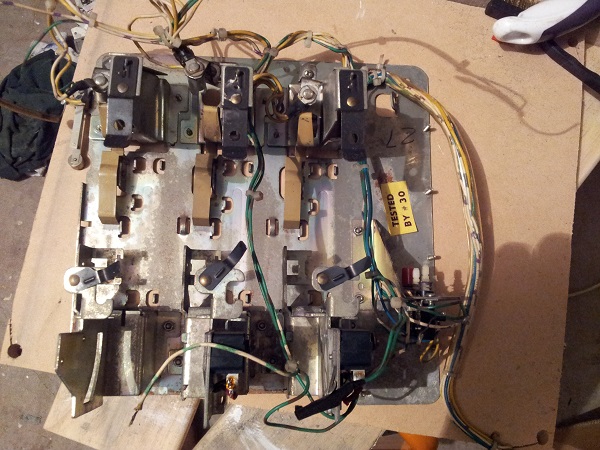
I then removed all the remaining coin parts until just the plate was left. I had wanted to remove the coin reject plastic arms, but these are attached with no easy way to remove and add. So they can remain attached while I clean it up and respray. The colour looks terrible, but I guess that’s irrelevant for the purpose they serve.
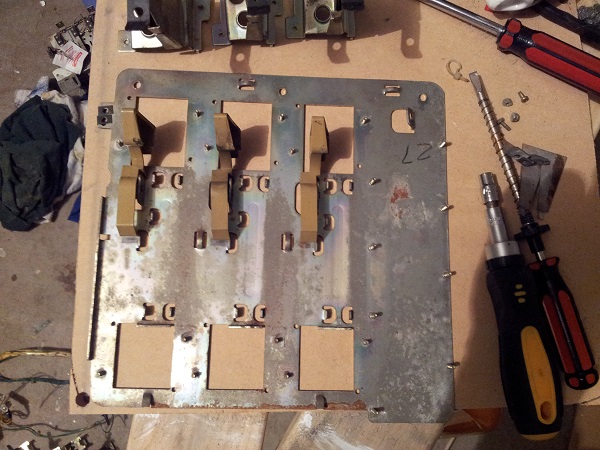
After cleaning, the threaded posts and plastic arms were taped up and the panel was then sprayed with an aluminium colour metal spray. I deliberately didn’t spray in 3 small sections where the plastic arms slide against the back of the plate. I cleaned these up with steel wool and brasso so the plastic would smoothly slide across the surface and not wear away the layer of spray paint. It’s not likely they will be used in the home environment however, but this will avoid lifting the spray paint.
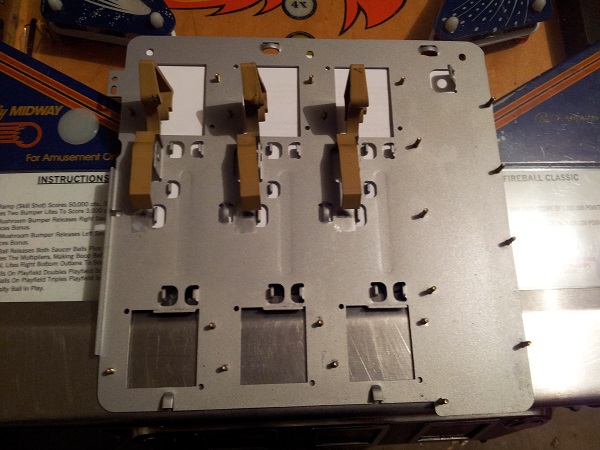
The service panel was also removed, cleaned, sprayed and then reattached. While I had the service panel removed, I cleaned up the wiring for the coin mechs and also fixed up the Highscore reset wire.
Back to the door itself – it was now looking empty from the inside. Next up was to remove the return and accept housing parts. Each one is simply attached by 2 screws. The small white square is a pad for the slam tilt switch to knock against. I will have to remove this and add a new one.

At this point I was ready to remove the coin door from the cabinet so it could be cleaned, sanded and resprayed. It certainly leaves a nice empty gap once removed.
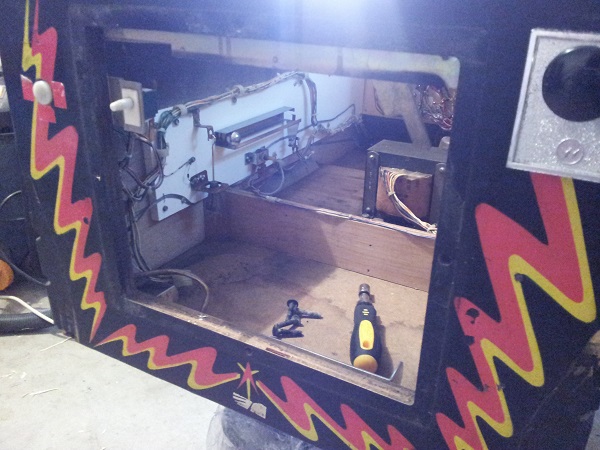
The door and its frame were prepped and then given 3 coats of black, followed by speckles of gloss black across it. Given the duration between each coat, I moved onto other things to keep busy…
The coin reject plastic parts were removed earlier when I removed the coin door components to receive a good clean. Each one contains a small pricing decal. The reject button covers were all well worn and scratched, so I decided to replace these with new ones. Sadly I found the newer ones available were too tall, so of no use to me 🙁
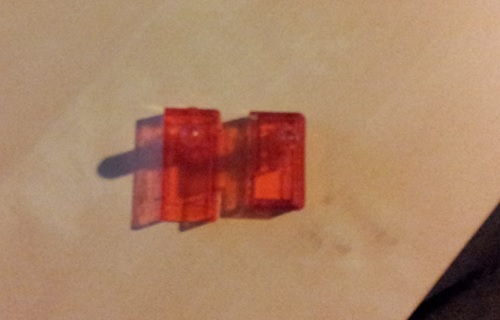
So that meant I was sticking with the originals. The cover was taken from each one and the pricing decal removed. The body and covers were they given a thorough clean.
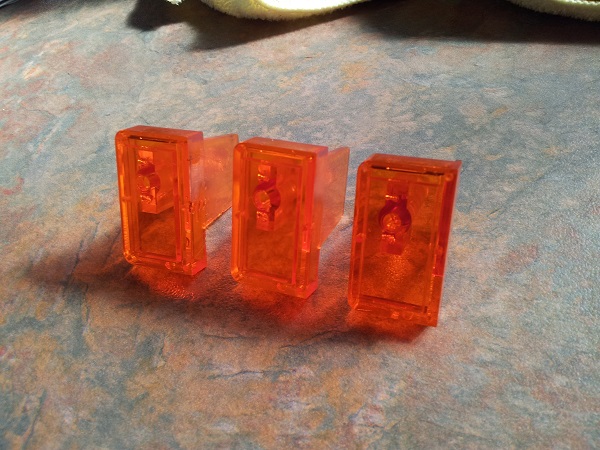
The covers had some nice scratches across them (along with traces of black paint which has been splashed across the edges, this one being the worst:
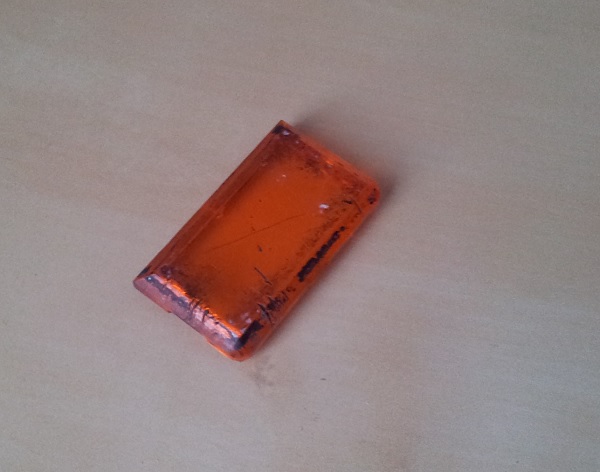
All 3 covers were cleaned up and lightly sanded. It’s left the cover with a slightly dull look, but at least smooth.
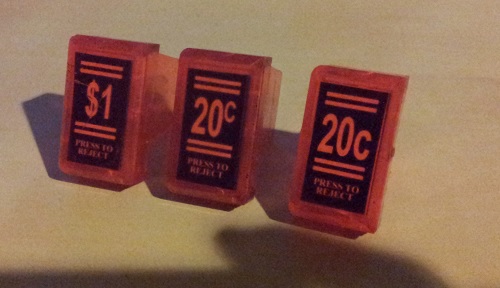
The pricing inserts were for German currency and I wanted to change this. Two of them look like authentic inserts (based on the material they are printed onto), while the third looks to have been printed on thin cheap paper. I was happy to keep the same style, so measured them up and then opened up InkScape to create an Aussie version of the inserts in vector format. I’ve got 20c and $1 coin mechs, so I created decals with these pricings in mind. These were then printed onto a sheet. I could go further and get a printing place to print onto a more suitable medium, but it’s not a cost I can justify as it adds so little to the machine. The end result came up good enough I think.
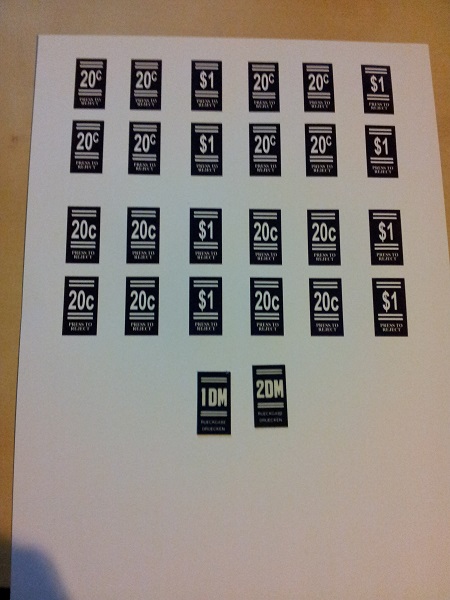
I made two variations on the 20c decal and tried both out to see how they looked as you can see here (I ended up going with the decal used on the right).
Inside the coin door is a memory protect switch. The switch functions correctly and won’t need replacing. I want to clean it up a little though.
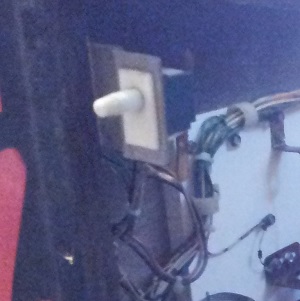
First step was to desolder the two wires and then remove the small metal frame. Because of how the switch pushes into the frame to attach, the wires needed to be removed. Otherwise I would have left it wired up.
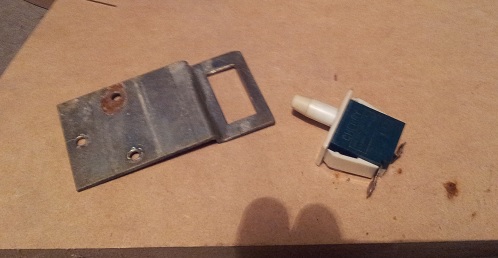
The frame was cleaned up with steel wool and wire brush after which 3 coats of aluminium colour metal spray paint were applied. The switch itself was cleaned up to remove the dirt and crud that had become attached over the years. It was now ready to install and have the wires connected again.

Things were now starting to come together. All parts to the coin door has been resprayed and ready to reattach. This is the part of the process I love the most. So much time is spent in pulling things apart, cleaning, order parts, replacing, etc. Sometimes it feels like that stage goes on for too long. But then you get to the point where you’re ready to bring it all together and your progress begins to charge forward again.
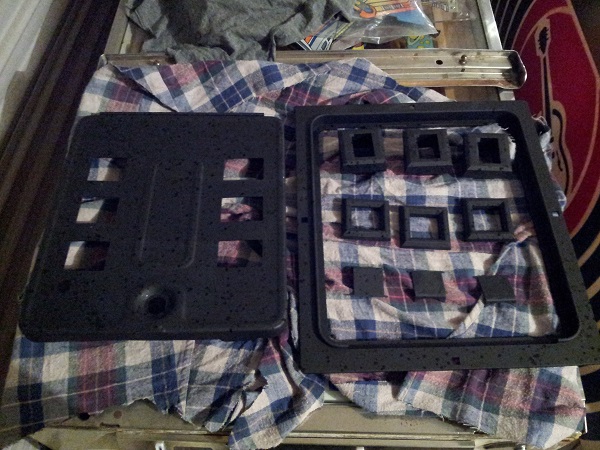
Firstly the main components of the door itself were constructed again and installed back into the machine using the new bolts.

Next step was to attach the metal plate that holds the coin mechs and service panel.

With that installed, I could then proceed to install the coin reject buttons and parts to hold the coin mechs in place. Coin mechs were then added, along with the wiring, cable clips and key hook.. A number of the parts were cleaned up and sprayed to improve their presentation (which will mostly be seen by the inside of the cabinet 😉 ). But it’s looking much nicer now than when I started.

A new lock was added to complete the door. All switches were tested at this point to ensure I had done the coin door wiring correctly.
The door is looking much better now. Still not perfect. There are a few things I wish I had done better, but this is the first time I’ve tried restoring a coin door. Next time I should be able to do things a little wiser and improve my technique 🙂
Still a few things to do in this general area of the machine. First is the service panel decal. I rather stupidly left this out of my last Marcospec order, so will add that to my next order and then install it. Easy enough to install though. Second thing still to be done is cleaning up the lockdown bar receiver. Finally I’d like to get a switch for the $1 coin mech. I thought I had one, but haven’t been able to locate it. No big deal though.
…and the restoration continues to roll on 🙂
