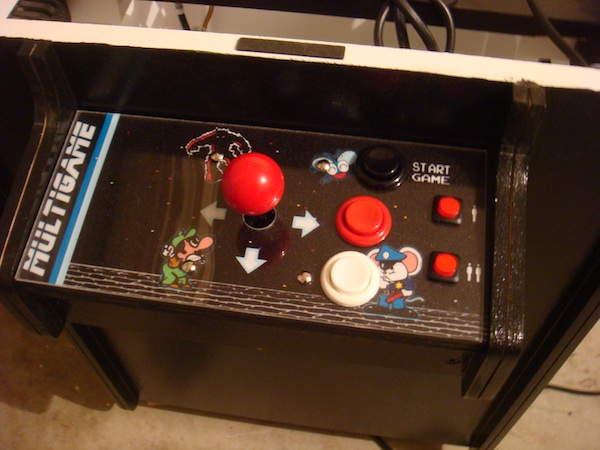
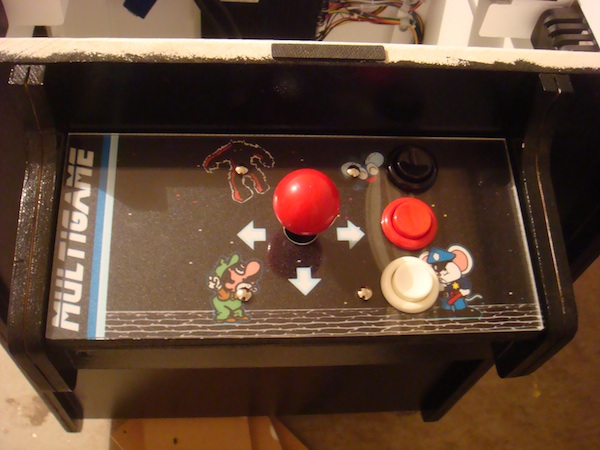
The control panels were next to be done. As with my previous projects, I decided to put a layer of acrylic over the artwork to help keep it clean and extend its lifespan. Plus I think it gives a nice finish to the control panels. As you can see with the P1 and P2 start buttons, I went with different buttons to ensure everything fit and was not overcrowded on the right.
I also extended to the top of the control panel to allow for a strip of t moulding to sit at the end (as I did with my Donkey Kong cocktail) which should give it a nice finish. Note: I still need to add the t moulding to the control panel front and sides – just waiting on it arriving. I’ve ordered both light blue and light green (Galaxian) and will see which one looks best.
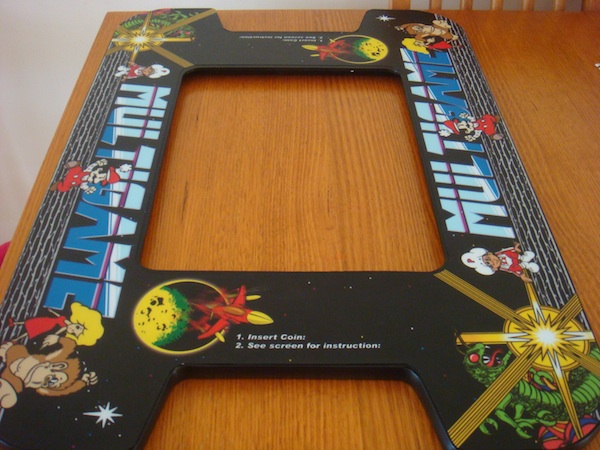
The table top was now ready to be completed. A few coats of black paint on both sides, artwork attached and black t moulding added.
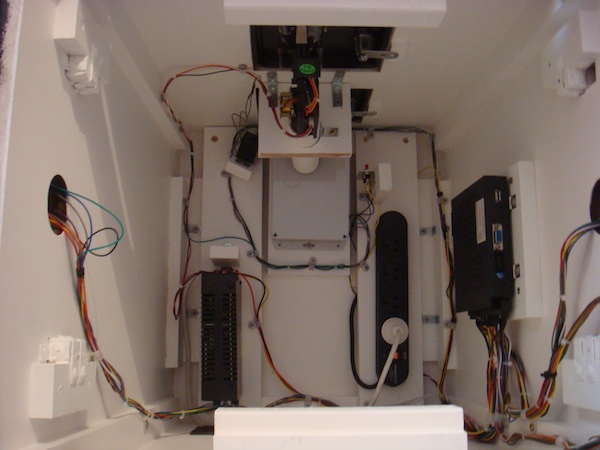
With nothing left to construct, I finished off the wiring and tidying it all up.
An interesting problem I found here was the machine accepted coins and registered them – but when I selected the game to play, it would not recognise that I had entered coins (unless I entered more coins while the game was running). I hadn’t hit this before in my previous projects and I was wondering if it was something to do with the 276 in 1 board set (since I had not used one before). After some investigation, it turned out the coin mech had shipped to me with it’s switch set to NC (Normally Closed). It should of course be NO (Normally open) – with this fixed the games recognised the coins correctly. I spent a few hours searching the internet and tracing wires, etc when really, if I had of looked in the set up mode on the board, I would have seen that “coin 1” was always “1”, which it should be “0” until a coin is inserted. It’s a good reminder to always look at the most obvious things first before trying to over complicate a solution
I’ve also added momentary buttons close to the lower coin door for the test and service switches, along with a coin counter on the other side.
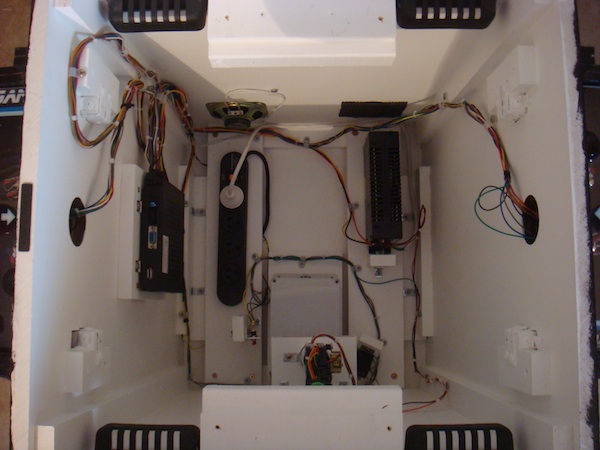
Finally, with the monitor installed the table top was added.
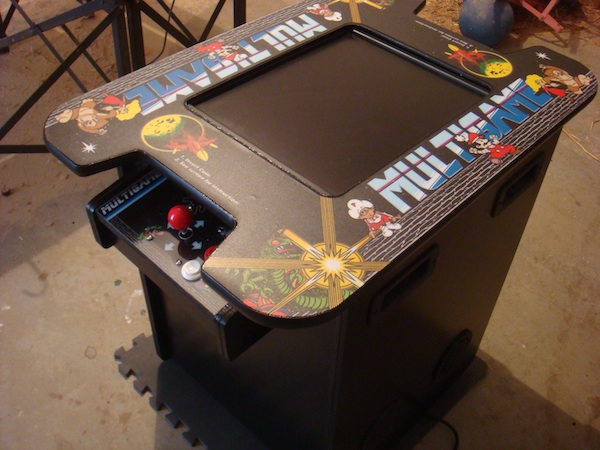
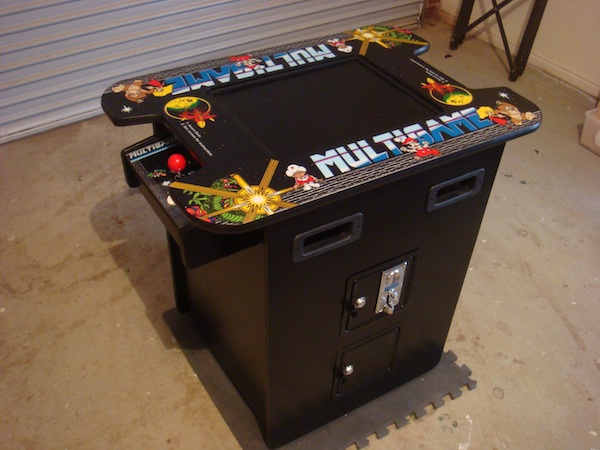
So now, there is just the t-moulding and glass to add – and it’s done 🙂 It’s come up looking quite nice and the t-moulding should really finish it off. Hopefully that will arrive in the next week, and the glass should be ready in a few days time.
