This project was completed about a month ago and i’ve been a little slack in getting the posts up for it. But here they are – Project #4.
After a bit of a break from building machines, I was recently contacted about building a new cocktail cabinet. I had hopped to do a space invaders or frogger cocktail next, but this request was for multigame style artwork – so that’s what this will be.
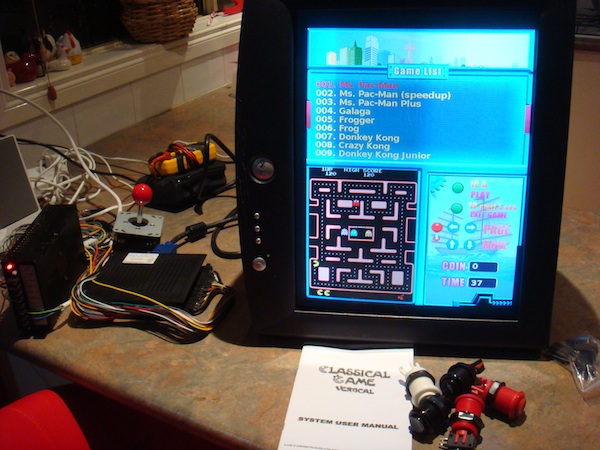
After some investigation into artwork and what the new owner wanted, I ended up settling on this model:
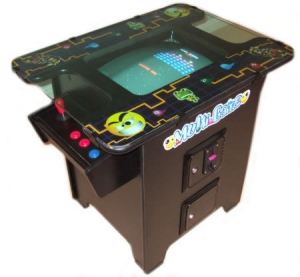
The final result will be slightly different, but it should look close enough to this (although with different artwork and control panels).
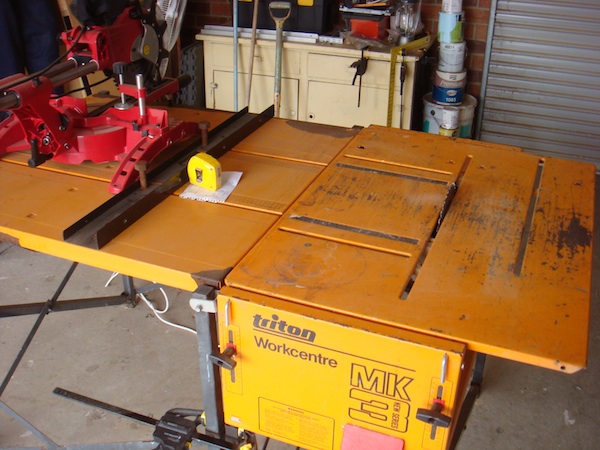
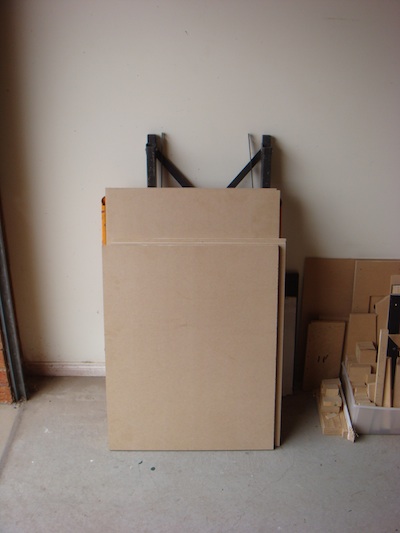
The first stage of construction was to get the wood cut up. For all my projects I’ve used sheets of 18mm thick MDF which has proven easy to work with and can be picked up from Bunnings for $30 per sheet of 1200x2400mm. I can build a cocktail cabinet off a single sheet, and have some in reserve from previous builds if needed. With the sheet home and some rough measurements done up, I cut the sheet into more manageable panels (the large 1200×2400 requres two people to push it through the work bench). I love my Triton workbench – it makes light work of this
Next up was ordering the parts. Thankfully I was able to source almost everything from Austin Amusements and In2Amusements (who I have used on previous projects and recommend). The game board for this machine will be the 276 in 1 vertical game board. I haven’t used this one before so i’m interested to see how it goes. I’ve heard some of the sound issues on the 60 in 1 have been addressed here.

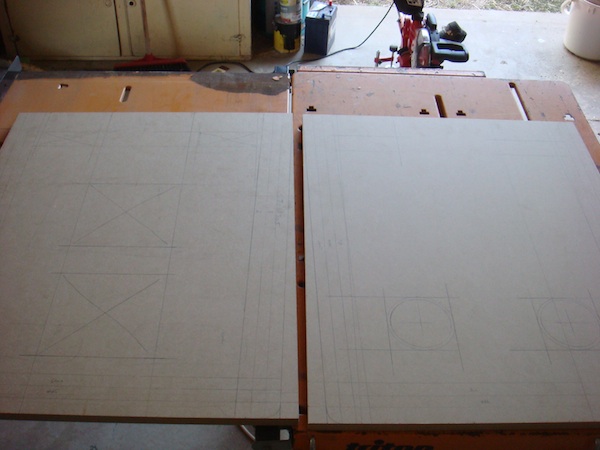
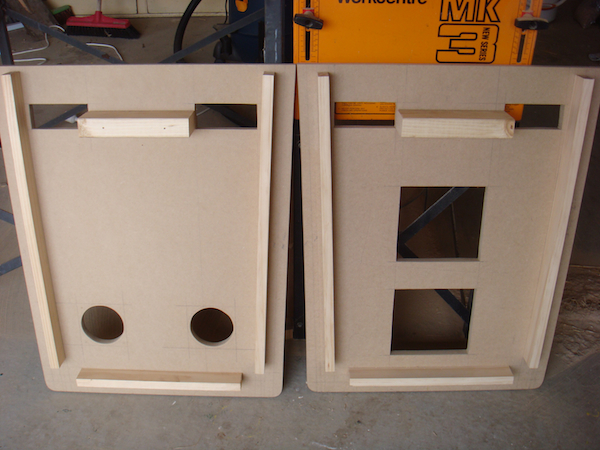
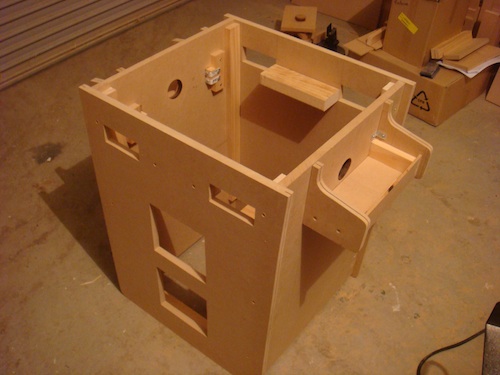
I decided to focus on the front and back panels first. These will require a number of cuts to allow for handles, vents, speakers and coin doors to be added. I made the mistake on my first project of cutting these out AFTER constructing the cabinet shell. Much easier to do as much as possible before assembling. Here I have the cuts marked out, along with positions the two side panel will line up with and supporting pine.
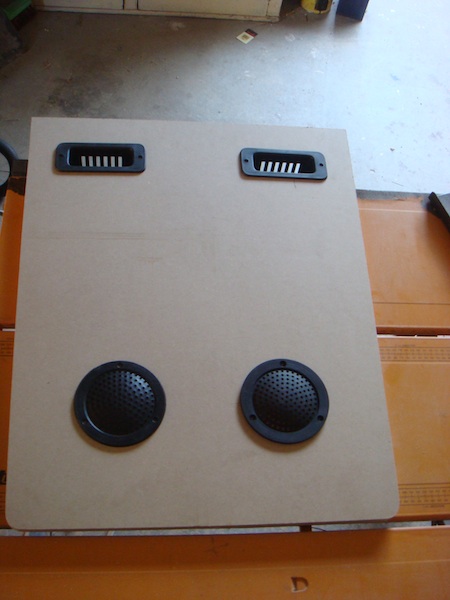
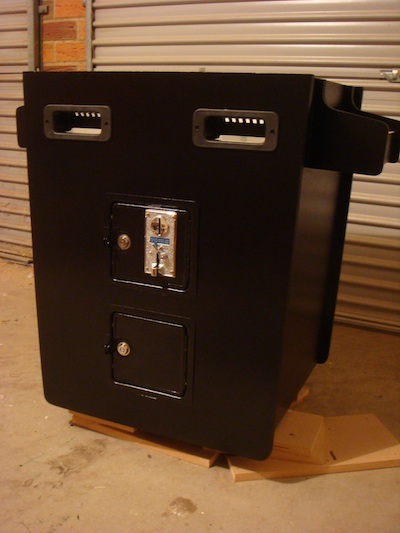
The back panel is now ready with holes cut out for the speakers and handles. The handles will make it easy to lift the machine and carry it around – which will hopefully deter people from trying to carry it with the top panel or control panels. The handles will also nicely serve as vents for any heat built up by the monitor, game board and power supply. The second speaker grill is more for looks than anything else, but will also allow some air flow from the base of the machine.
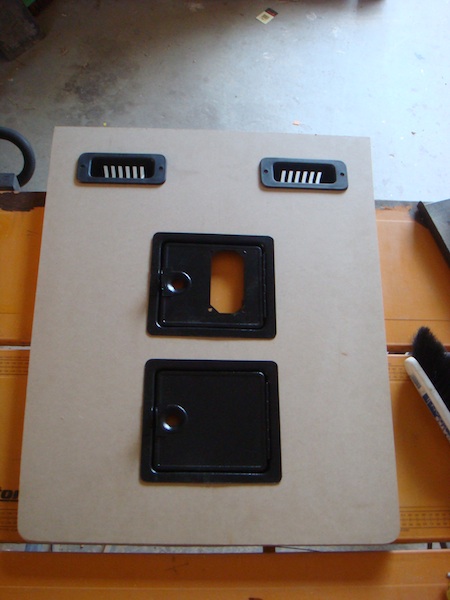
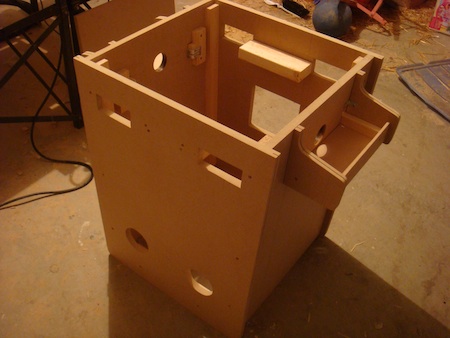
The front panel is also ready now with the handles and coin doors added. On my first two projects I custom built my coin doors. They came out looking awesome, but requires A LOT of extra effort – in some cases redoing them completely because they were 2mm too big These doors are really effective and nicely priced so I mainly use them now to save myself some grief going the custom route.
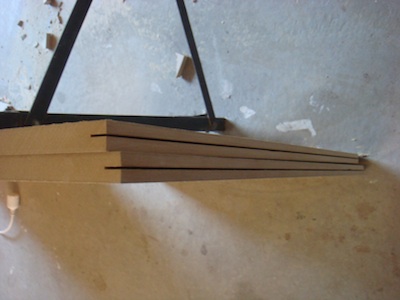
T-moulding slot cut also. I still struggle to get this dead even and usually end up with one side having half a mm hanging over the side. This isn’t too bad though.
Next up was firing the game board up to try it out. Everything was working nicely, although I was disappointed to see the menu music was actually worse than the 60 in 1. This has been disabled and the machine will be rigged to melt if ever turned back on again.
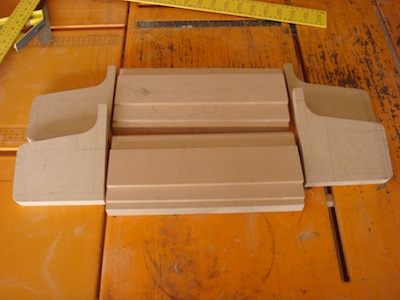
The front and back panels had pine added for the corner joins, along with support for the monitor frame which will be added towards the end. Just about ready to construct it
Before I began assembly, I wanted to have the control panels assembled and attached to the other panels. It means the process of assembly takes longer, but doing this now is much easier to get things right and saves some hassle latter on. After some measuring and cutting, I had everything needed for two complete control panels.
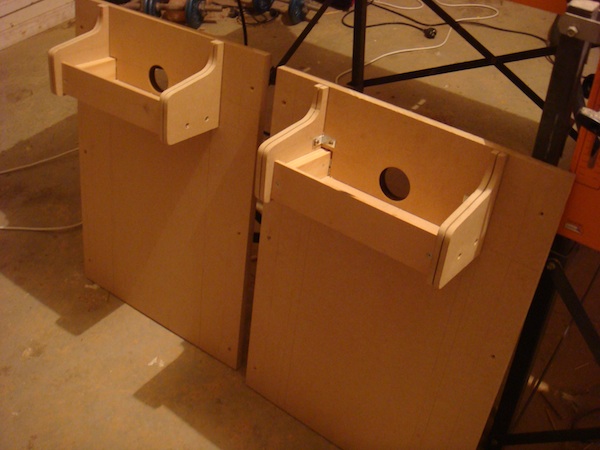
From here, assembling the control panels was quick and getting them attached to the sides nice and easy. I also cut out a hole ready for the wiring to be done through. As a side note, an interesting lesson I learnt on my last machine was building the control panels with the ability to remove the base of the control panel for wiring and attachment of the top panel (that has the controls attached). Being able to get at the button and joysticks from below makes life easy for fixing any wiring issues.
All the panels were now ready for assembly and 20 minutes later – the shell was built. The base is missing from this picture, but it was added shortly after with legs attached. I was happy to find that the base was flat – all that measuring paid off
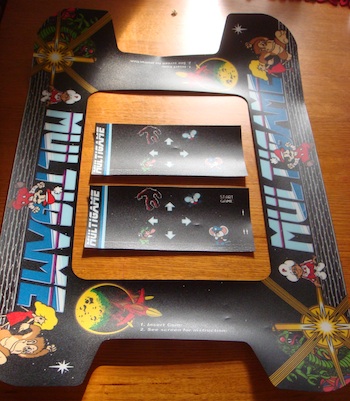
The artwork finally arrived. It took a week longer than expected and held up my progress on the control panels and table top panel. The one major issue I have with this artwork is the placement of the joystick. For this game board it requires 3 player buttons. With the joystick in the middle, there is very little room on the right hand side for 3 player buttons PLUS the P1 and P2 start buttons. I had considered cutting the “Multigame” text and applying it on the right of the control panel, thus shifting the joystick left, but I was worried about a noticeable join the in the artwork, plus it would only gain me around 1.5cm. Another option I considered was putting one of the player buttons on the left hand side, but that would be annoying having to reach across the joystick during play. In the end, I decided against using normal buttons for the P1 and P2 start, and instead use smaller momentary buttons. In future, if I’m building another machine like this with similar artwork, I think I’ll be looking for alternative control panel art that makes better use of the space available.
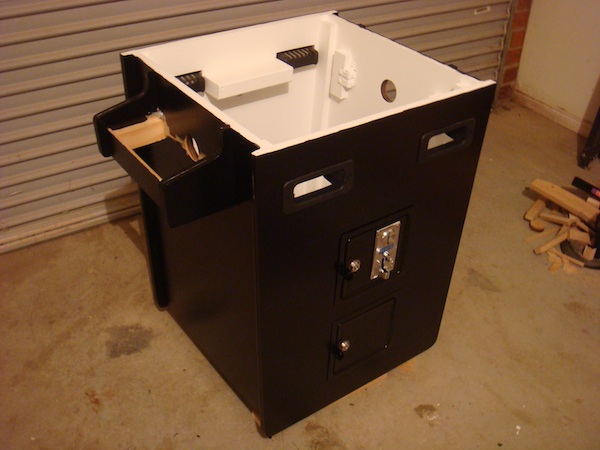
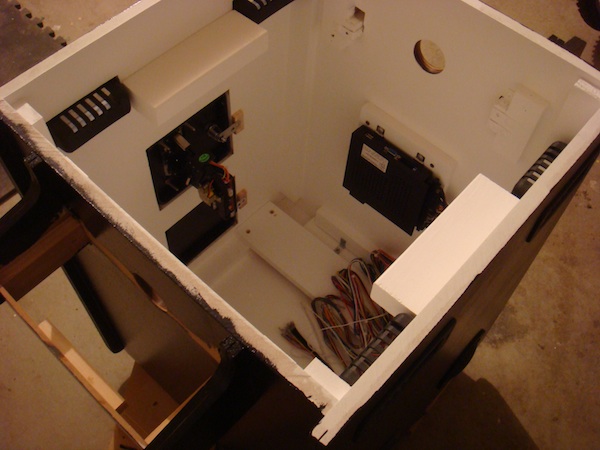
Painting the shell was the next priority since it can take almost a week to get all the coats done inside and out. Inside painted white – you just knew I was going to do it
Once the painting was done, I installed the handles, coin doors, speaker, grills and began to get some of the wiring into the machine. Now it’s starting to get somewhere.
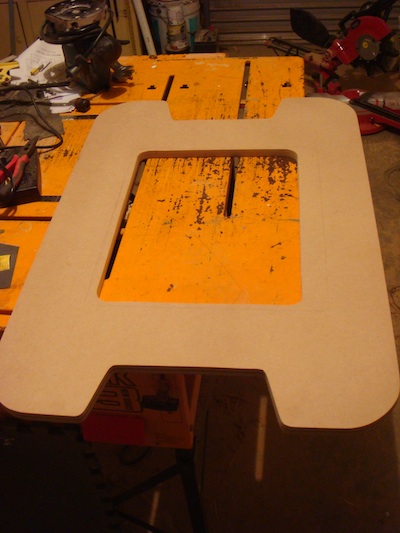
Last up for this update was getting the top panel cut out. I also got the router out and took out a section around the monitor “window” to allow the monitor to sit up closer to the glass.
The state of the garage floor has changed a lot since the first picture above. I really need to clean it