
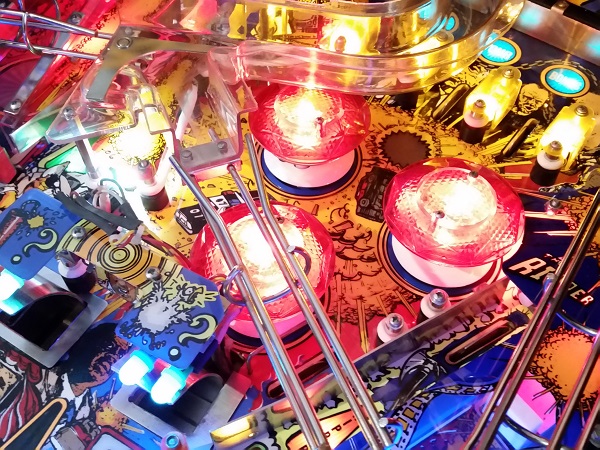
It’s time to look at the last set of assemblies on the playfield that have not yet had my attention – the three pop bumpers. These guys get a decent work out in just about every game played on the machine, so their assemblies are crying out for a clean.
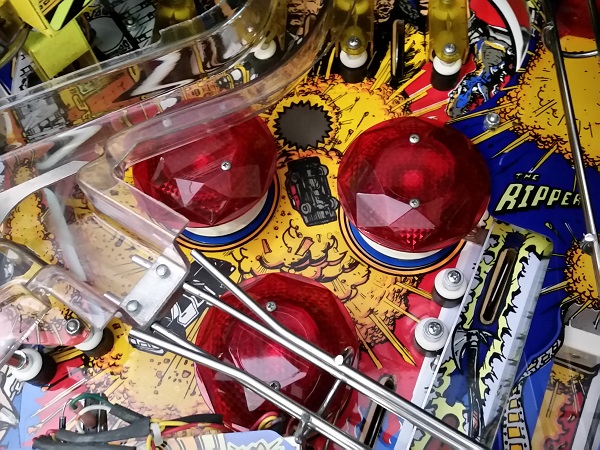
First I needed to get the caps off. A screw for one of the caps sits directly under the clear ramp and cannot be accessed. It would have been smarter to do the pop bumpers at the same time I had the playfield stripped. I haven’t had to worry about it in the past, but a lesson for next time. I’ll come back to this one. The caps were removed off the other two. The globe sockets all use #555, which I like as they hold the bulb in place much firmer than the bayonet style. I’ll be switching to LEDs, so won’t have to worry about replacing the pop bumper bulbs again.
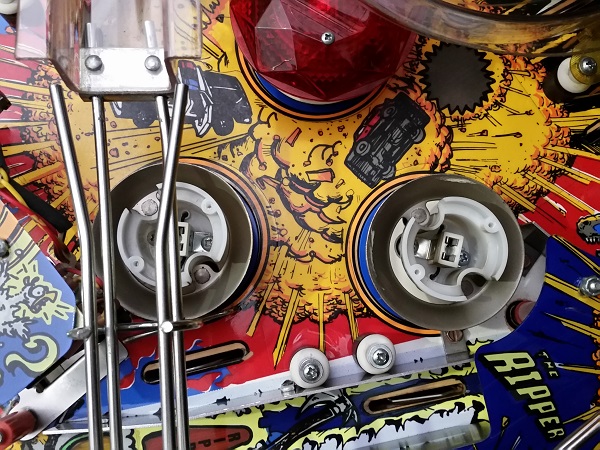
Under the playfield the 3 assemblies are all attached to the large pop bumper frames. On closer inspection, I will be able to remove the entire pop bumper assembly once the coil and switch are removed. This should allow me to get to the cap on the third pop bumper without having to jump through the hoops of removing ramps.
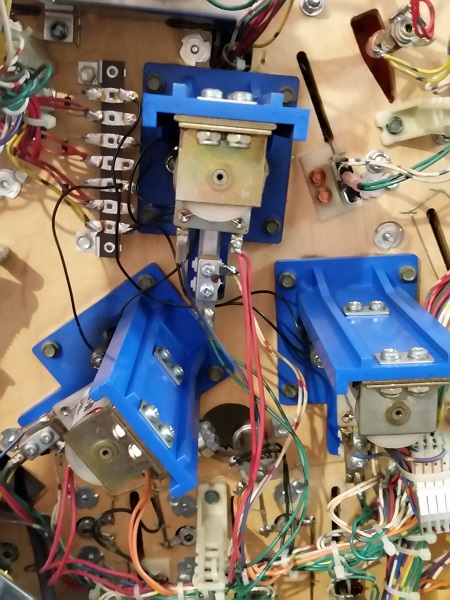
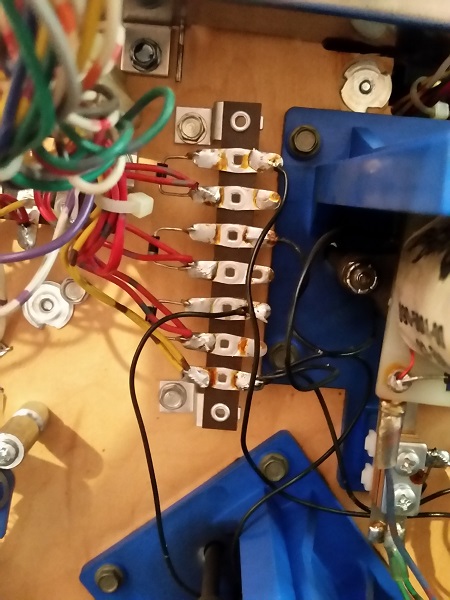
The lamps are all soldered to a small board to the left of the pop bumpers. This is at least a step up from those annoying bayonet style sockets that are a pain to solder in/out of a machine. I much prefer the plug style that Bally used on their Solid State machines. So easy to work with and no soldering. Anyway, back to the task at hand. Before I remove the pop bumper assemblies, I will note down the wiring layout and desolder the lamp wires.
Now that the lamp wires were free, I could remove the coil, switch and 4 screws holding the whole assembly to the playfield. The pop bumper can then be removed.
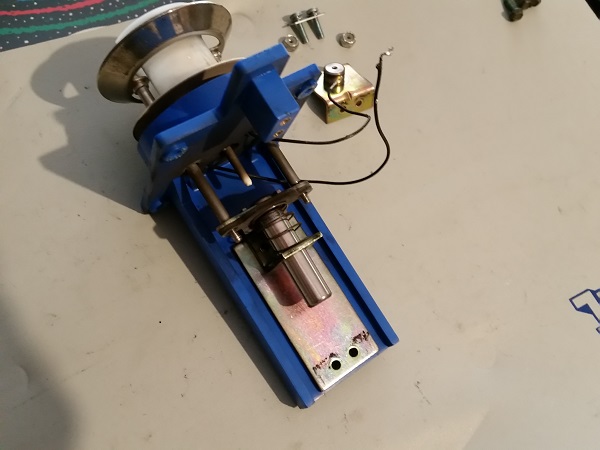
I continued to disassemble the first pop bumper assembly, getting it ready for cleaning. Overall it’s not too bad, but there is the usual crap built up around the yokes and plunger.
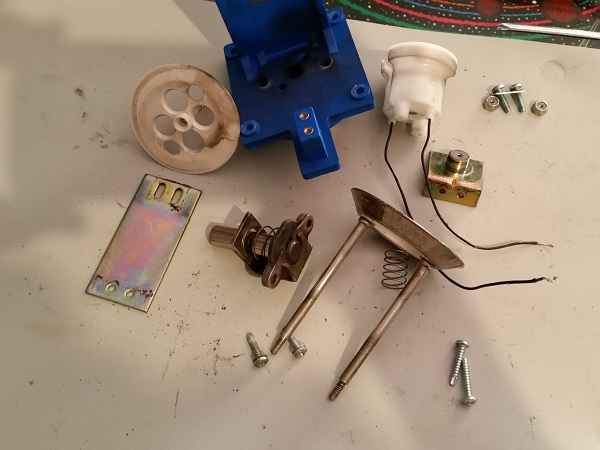
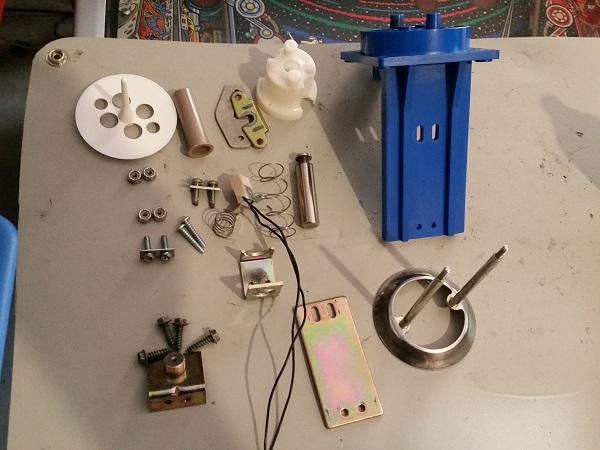
Each part was then cleaned up. New fiber yokes, coils sleeves, skirts were purchased. The rings, springs and plunger went for a trip through the tumbler. The second and third pop bumper received the same treatment. No nasty surprises were found.
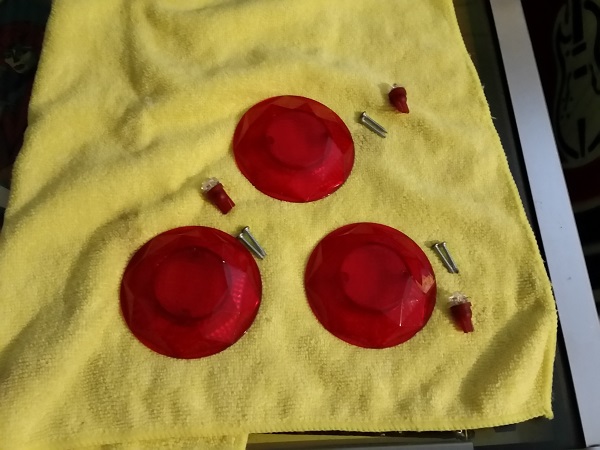
The pop bumper caps had been set aside. These were first cleaned up and then polished. Their screws were also cleaned up. New high powered red LEDs were purchased to give a nice bright glow to the pop bumpers during play.
After cleaning, the pop bumpers were rebuilt and installed back onto the playfield. The lamps were soldered back to the board. The LEDs were added and pop bumper caps installed. Lit up, they look much brighter and stand out more during play. A few games were played to test them out after the rebuild. Everything held together nicely.
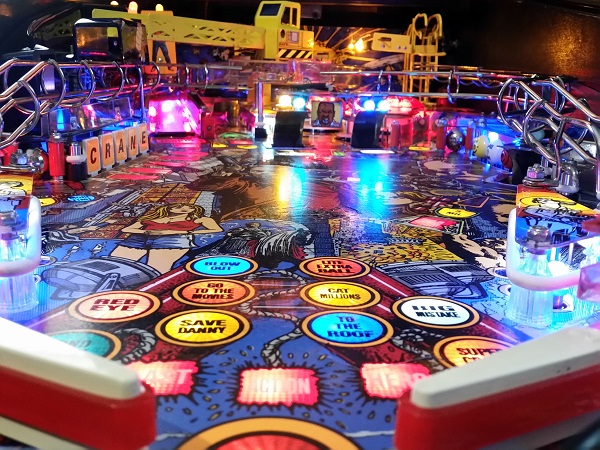
With the pop bumpers now rebuilt, I wanted to swap the remaining incandescent bulbs under playfield inserts to LED’s. Most of them were #555 bulbs that sit in the small black twist sockets. The playfield GI and inserts have now all been swapped over the LED’s. I’m happy with how they are looking and the lighting across the playfield.
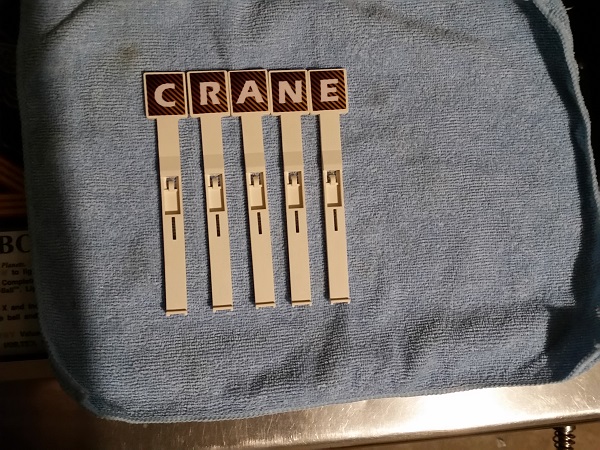
When I was rebuilding the drop target bank in my last update, I found the “N” target had a break through the middle of it. The target was still holding together, but on its way out. When I picked up some parts for the pop bumpers, I also grabbed 5 new targets – at only $3 each, it’s not too expensive to replace them all. First step was to sort out some new decals.
You can purchase repros of the original decals, but I’m not a fan of them. There is a nice custom version available from overseas, but decided to print my own to save some money. I found a set in a thread on Pinside (https://pinside.com/pinball/forum/topic/last-action-hero-club-come-on-in). These were printed up, covered with mylar for protection and then applied to the targets.
The drop target bank was removed from the machine once again. Time to give these targets a rest – they’ve worked hard over the years. I’ll keep them in a small bag inside the coin door in case required in the future.
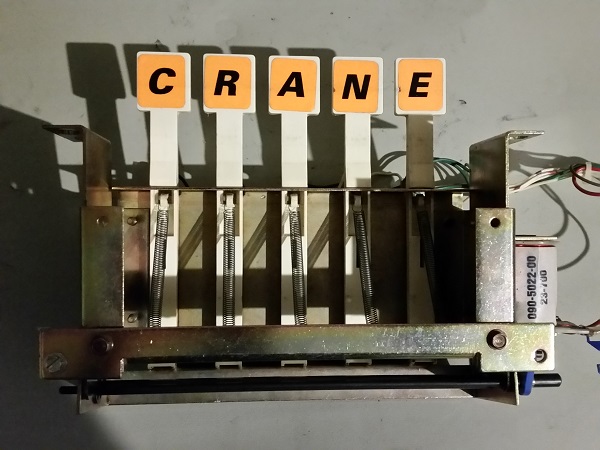
The new targets were installed and the assembly put back into the machine. Looking good.
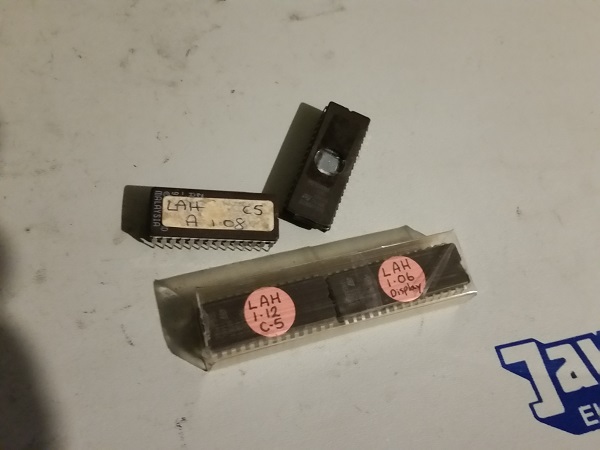
The game was running an outdated version of the CPU ROM (1.08), so I ordered new ROMs for the CPU and display boards. The new chips were installed to bring the game up to v1.12 for the CPU and 1.06 for the display.
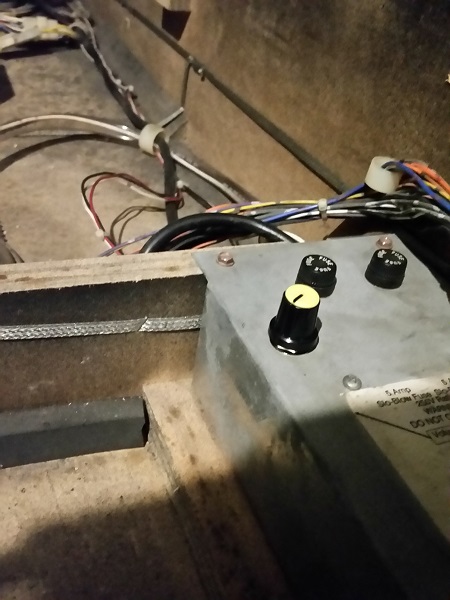
A very minor thing that has been on my to do list is to clean the contacts on the volume pot. The sound crackles when the pot is adjusted and you can feel resistance when moving it. It should just need a clean to get it working nicely again.
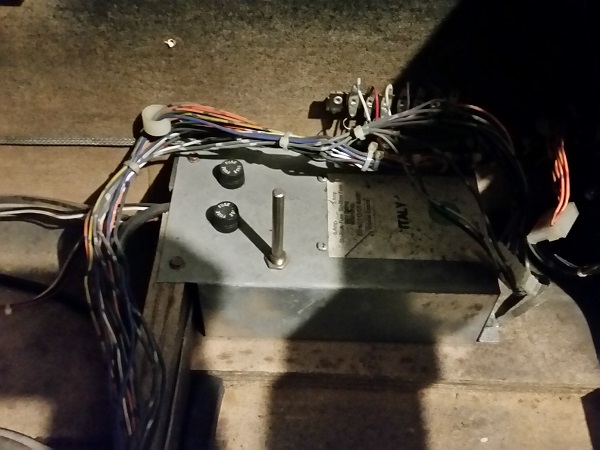
The pot was removed and contact cleaner lightly sprayed inside. It was adjusted left to right and right to left several times. This clears away dust build up and dead spots on the contacts. Worst case scenario, if cleaning it didn’t fix the problem, you can buy a new one (10K for this machine) for only $3 from Jaycar.
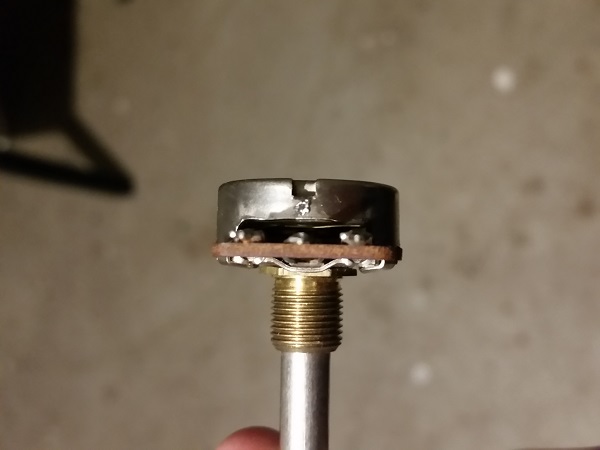
Cleaning it worked fine though. The pot now moves smoothly and all sound crackle has gone. I also cut the shaft shorter and installed a small knob to make it more friendly to adjust.
I’m just about done now. Each assembly on the playfield has been stripped and rebuilt. The playfield and it’s parts have also received a solid clean along the way. Lots a small presentation things have been done too which have made a positive impact on its appearance. I still need to swap the globes in the headbox for LED’s, but that’s just about it. This is my first time looking at a Data East machine and as with the work I’ve done on my other machines, it’s been interesting and a lot a fun. A reminder that as much as I enjoy playing them, I love working on them more.