I enjoyed working on my Nugent so much that I had to get another machine to work on.
I knocked back a few machines in the process of searching which I’d love to own (and had the funds for) – but they required no work.
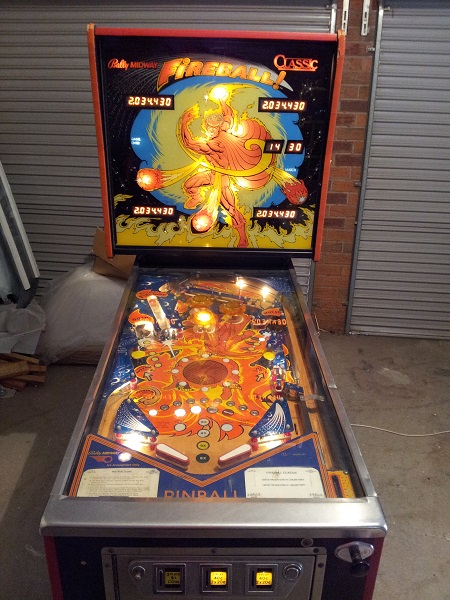
I wanted a machine that was in need of some love. After a few false starts in the hunt for a project machine, I ended up getting a Fireball Classic by Bally (1985).
As a game, it ticks many of the boxes I was looking for. Pop bumpers? Check. Multiball? Check. Messenger ball? Check. Ball save? Check. Early Bally/Stern SS? Check.
As I’ll show shortly, the machine does need some cosmetic love, along with some fixing up to the game play. I will be able to apply much of what I learnt while working on my Nugent here, and also extend myself into areas not yet explored. Perfect 🙂
I expect my work on this project to take a few months at least as time and funds permit. Given I now have two other machines, getting this finely tuned is less critical as I can always turn to my Nugent or Space Orbit for some awesome fun.
To start with, the machine boots up and does allow you to start a game. This wasn’t a requirement in my search, but is a bonus.
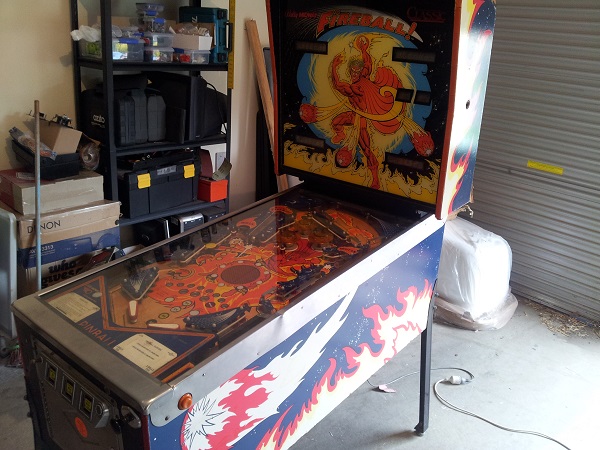
Looking to the right side, you can see how the colour has faded from the artwork. It’s a little hard to tell from the photos, but someone has touched up some of the blue paint (although not very well). The base of the side panel is also damaged and the artwork is pealing. I find it interesting that Bally went with stick on decals for the artwork instead of paint. My plans are to remove this decal, fill holes, sand, prime and respray using stencils. That’s going to be some effort – and the final stage of my restoration – but it’s an experience I want to get under my belt.
You will also note the side rail is damaged on top. Looks like something heavy has been sitting here or been dropped. The left side rail is similar. I’ve already spoken with the guys at Rail ways and have a new set on order. I was contemplating trying to fix it, but when they told me how much it would cost for a new set, the choice to replace them was easy.
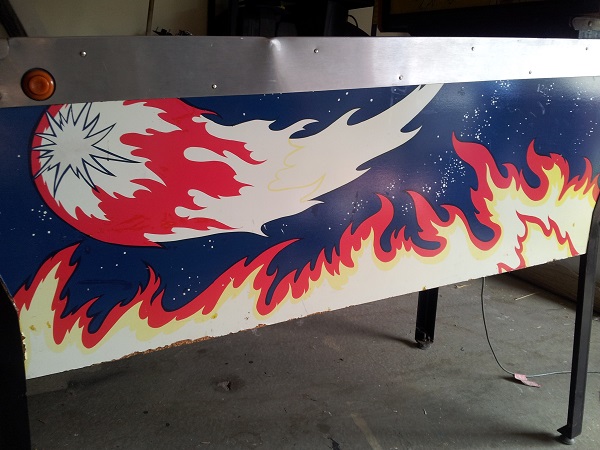
The left side is the same. Artwork faded and pealing, along with some damage. Note that different colour buttons have been used. I’ll be replacing these with brand new ones.
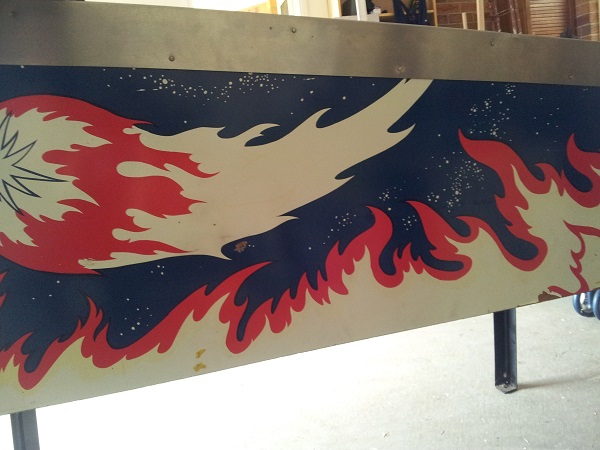
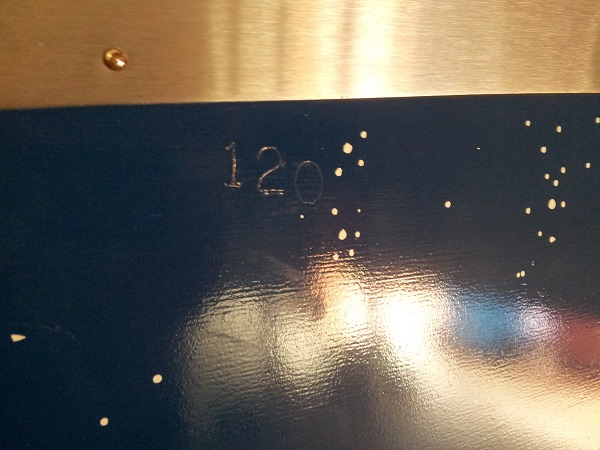
A number stamped into the side of the cabinet – #120. From what I understand Bally did this on some of their older machines.
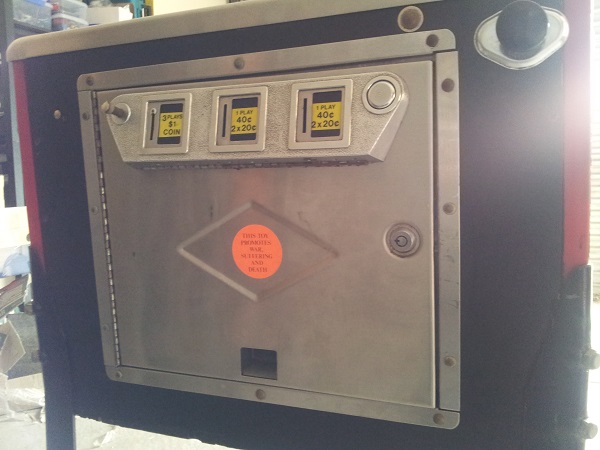
The coin door has 3 coin mechs installed. I will get around to testing them. I will probably set the machine to free play, although I do love slotting a 20c piece in to start a game. All part of the experience for me. The lock will need to be replaced as it came with no key. Overall though the coin door is in nice condition and will only need minor cleaning and some touch ups.
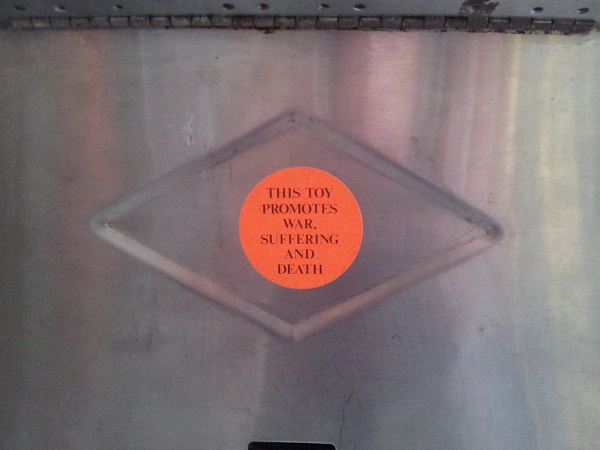
An interesting sticker on the coin door. Someone felt it important enough to take the time to not only put the sticker on the machine, but actually create it…
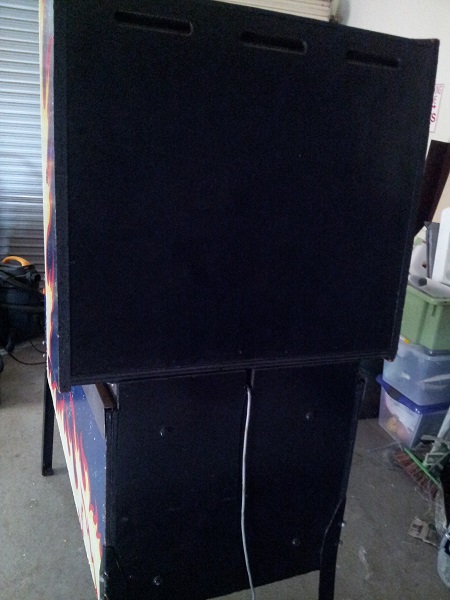
The rear of the machine is in pretty good condition. I will be repainting this when I get around to redoing the artwork.
The head of the machine will need some work. The t-moulding is faded, cracked and broken. Easy enough to replace. The backglass is in excellent condition. A little faded, but not the worst I’ve seen. The backglasses on Fireballs all seem to suffer from fading.
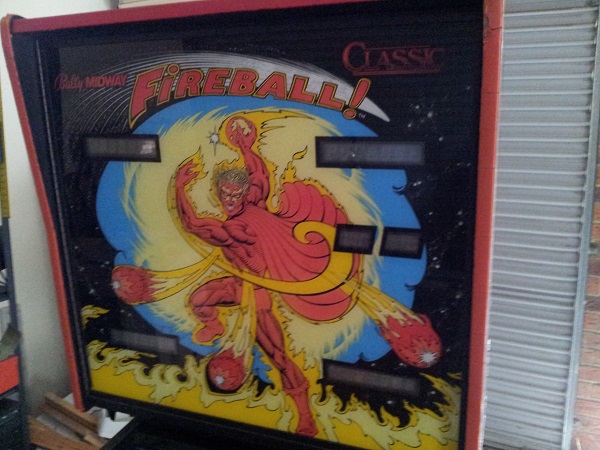
A quick test with the power on showed all displays to be working, along with most of the bulbs. One of the bulbs (high score) does not have wires connected to it (they are there) so will need to fix that at some point. The credit / match display will need to be looked at as sometimes the top segment of the display across all digits will not show, or flicker on and off. I suspect reflowing solder on the header pins will be enough to solve it as adjusting the plug fixes the problem.
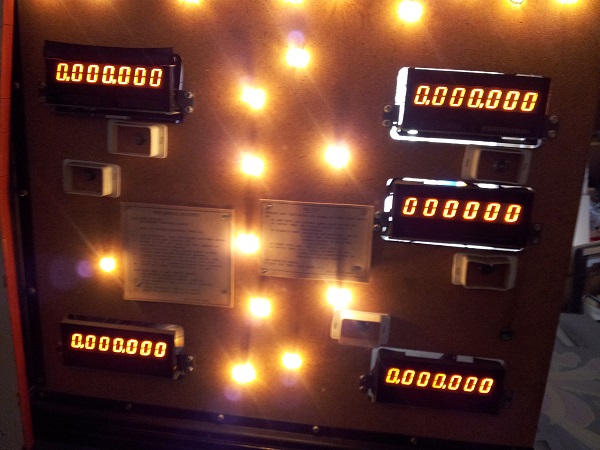
The rear side of the displays. All displays still have the plug on the back of the glass, along with protective covering across the display PCB’s.
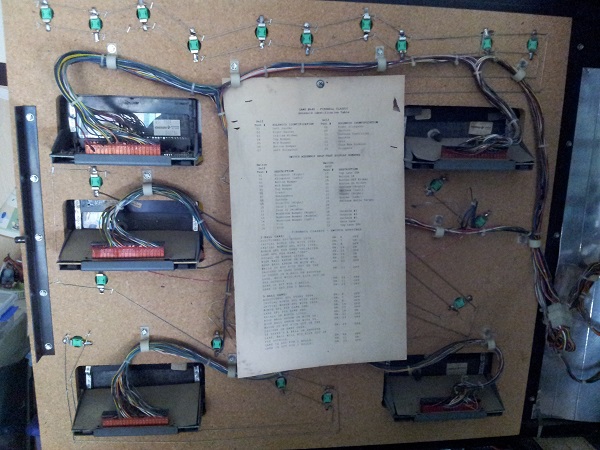
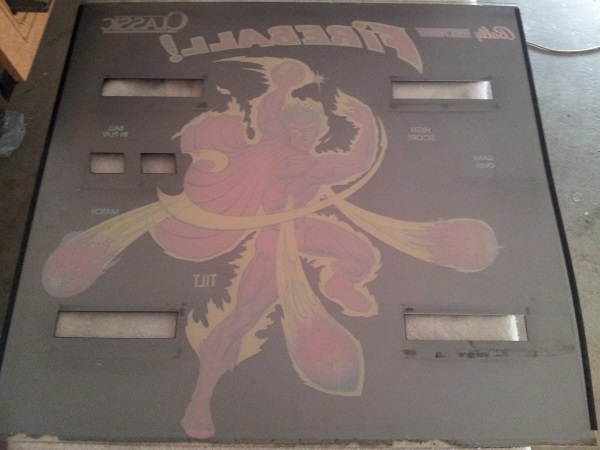
The rear side of the back glass. There are some black marks around the display areas – this is from the black foam on the front of the displays. There is some pealing at the very base where it sits inside the channel, but otherwise fine.
The playfield is quite dirty and will need some cleaning. There is mylar across some sections. Sections without Mylar look to have had it at some point, but it’s since been removed. In it’s place though is some sticky goo left over from the mylar. I will be cleaning this up shortly.
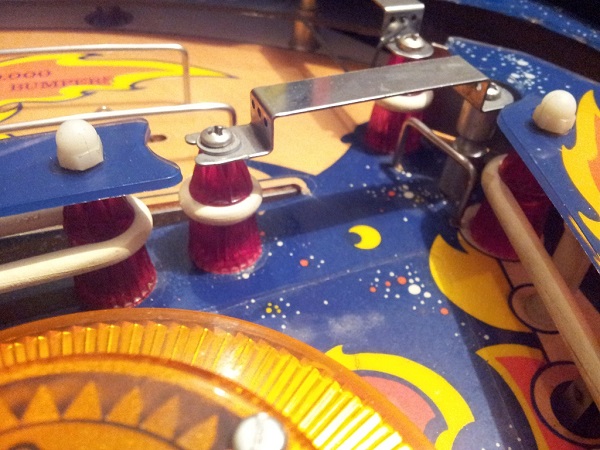
One of the small mushroom bumpers is missing, and has been replaced with a stationary target. I’ve been able to source a replacement for this thanks to illawarra_steelers and millsy56. While a stationary target serves it’s purpose, the problem is the ball constantly flicks up and hits the glass. As you can see a nice chunk has been taken off the side of the target too (that’s only happened in the last day or two).
Along with the target, two small star posts have been added. When I replace the target with the proper mushroom bumper, these will need to be removed due to the shape and side of the mushroom body. This will leave two small holes on the playfield though. I’m going to try putting 2 thin posts in their place (with rubber). This will be a non standard feature on the playfield – but it’s better than two holes…
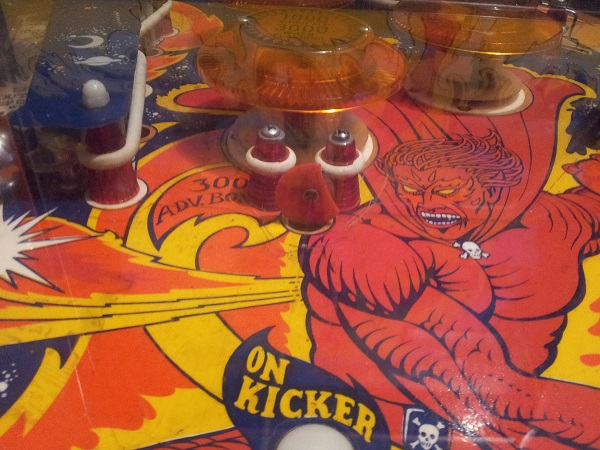
I need to find gate wire to go on this gate. Not sure how/why the wire is missing from this.. I’m finding it hard to track down the specific gate wire part number though so may have to create my own.
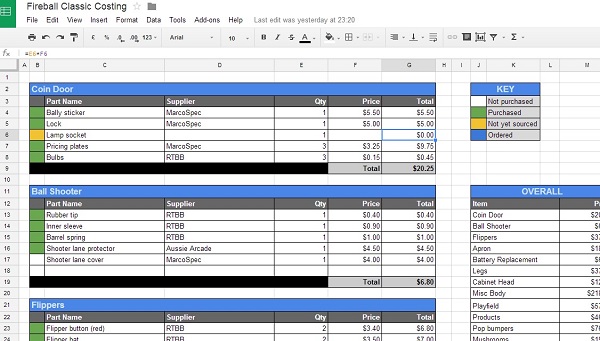
Before beginning any work on the machine I decided to go over it and make a note of all the things I wanted to do or replace. Put it all together in a spread sheet and began researching the parts required and working out who best to buy from. This spreadsheet will change over time as I will no doubt find more things that need doing as I get going. But it’s really useful to have something like this together so I know how much the project is setting me back and very useful to look back on and see where I over/under estimated before I began which is useful in future project.
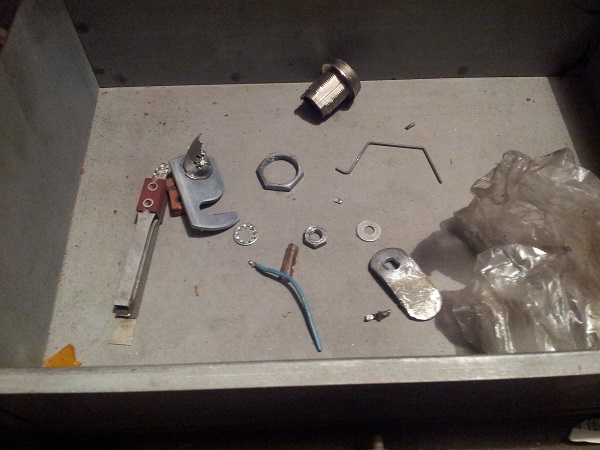
I lifted up the playfield to begin with and see what treasure I could find inside. A drilled out lock, a latch from the backbox, some wire, washers, a switch and a metal gate (not the one I needed for the playfield sadly). I love looking inside these machines and finding pieces and parts from its past. Looks like a bulb broken inside too, so I’ll get the vacuum out and give the inside a bit of a clean before I begin.
There are a few game play issues which I want to try and sort out first before I worry too much about the cosmetic look of the machine. Firstly – the sound is either very quiet or non existant. Secondly the flippers do not always work. Thirdly there is an issue with the ball trough. The problem with the trough is (when there are already 2 balls in there), kicking a third ball up will cause it to bounce back off the balls in there already and roll back down the rails into the drain hole. This triggers the kicker again, which kicks the ball back into the trough. It bounces back down and the cycle repeats until finally it manages to stay there. The issue does not occur when 1 or two balls are locked on the playfield.
The flipper issue turned out to be an easy one to solve. The EOS switches were not functioning correctly. At a quick glance, they looked OK. But getting up close they needed a really good clean. After cleaning the contacts on both flipper EOS switches, they started working properly again. I will replace these EOS switches when it comes time to service the flippers.
My plans are to pull apart all assemblies on the play field, give them a good clean and replace any parts that need to be. Just like I did with the Nugent. Along the way I’ll be sharing lots of photos, asking questions and basically showing the progress made. So hopefully you guys will find this interesting.
I think it’s going to be a fun and interesting journey 🙂
