Galaga Arcade Cabinet

Building a Galaga arcade cab fram scratch

After looking at a few custom projects, I noticed that people had gone with using an IEC socket.

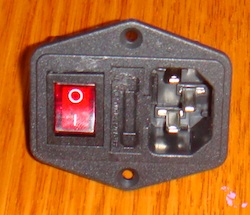
IEC Switch and fuse

It takes the standard power cables used with most (if not all) PC’s. It also includes a fuse. It was pretty cheap (under $8) and I -think- will be the best option for me. Ideally, I want the one switch (this one) to power on the entire cab (board, monitor, fans, marquee, etc) and this switch seems to be capable of this. Now I’m off to do some more research on just how to wire this up to do just that.

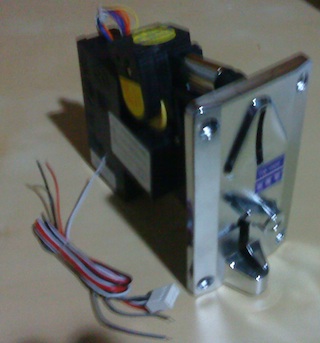
The coin mech turned up on my door step today, so thought I would post a quick photo of it.

Coin Mech

You can probably see the edge of a yellow disk on the left. That is where I can set the acceptable coin size. I’ll replace it with a 20c piece later on. The supplied cable is shown too. The two grey wires are for the coin mech. Overall happy enough – this should do the trick nicely for the front of the cab.

A quick search via Google will give you many MANY hits on people building their own cab. Be it MAME or JAMMA, there are a lot of people who have been there done that and put up some paragraphs and photos to show. The best site I came across for cab plans was Jakobud.

Jakobud has a lot of cab plans, especially for older style arcade machines. They have cab plans for Donkey Kong, Centipede, Q*Bert, Mortal Kombat, Tempest and many more. Each set of plans is in two images, showing side on and front dimensions. They also cover both upright and cocktail cabs. There is also a section for a nice MAME cab if that’s what you are after.

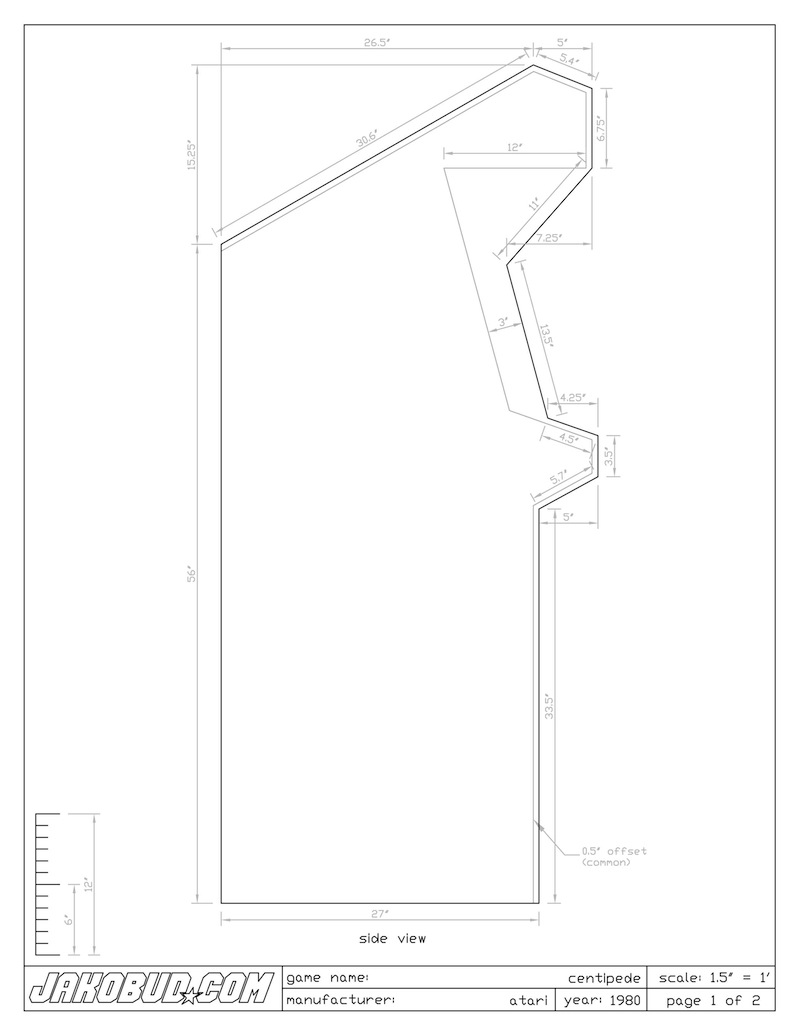
After looking through various plans, I have settled on the Centipede cab. I will be building a slightly modified version of it, as the control panel will be different, and I plan to build a lot of it into the front panel where the coin mech is. With everything built into a front door, it will allow me easy access to everything for maintenance, fixing and upgrading.

Here are the original centipede plans:
Centipede plans

I plan to have a coin mechanism on my cab. It wouldn’t be complete without one. A quick search around some sellers online revealed there was quite a few to choose from. Most are what you would expect, a front panel for the coin and refund, while there are others that are an entire door.

All the coin mechs I came across had good flexibility in setting the accepted coin amount. Some are electronic, while others are mechanically operated. None seemed to come with a counter, these can but purchased separately and are only a couple of dollars.

The coin doors are much more expensive – up to 3 times the price of a single coin mech. These also come in electronic and mechanical operated. I didn’t look at the doors too much as they conflict with the design I am planning for the cab. A single coin mech most cabs just fine. But if you really want one, appear to be easy to come by (I found plenty on eBay and with parts sellers like OzStick / GameDude).

I have decided to go with an electronic operated coin mech – it can be powered from the JAMMA harness and I know will hook up with the coin counter I plan on purchasing. It set me back $30 including postage, which seemed reasonable after shopping around. Depending on the model you want, the price will vary, so you may find yourself paying a bit more just because the face panel is what you are after. These should work fine too with MAME cabs, although you will probably need an additional adaptor to hook it all up.

As a side note, I will be configuring it for 20c per play – the way arcade games should be 🙂
Another express post parcel arrived today, this time with less interesting, but still important parts 🙂

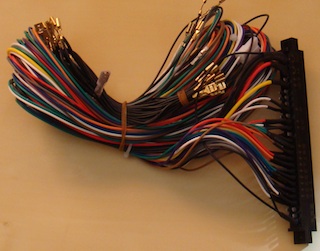
First up is the JAMMA harness:
JAMMA harness

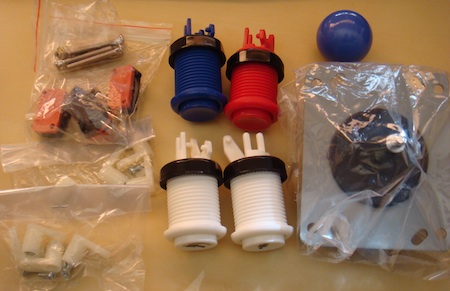
Next up is the joystick, buttons, microswitches, PCB feet and bolts for the joystick. The two white buttons are the 1P and 2P buttons. I went with Red and Blue buttons for the gameplay – there were so many colours available. But I stuck with what I remember playing with over two decades ago.

Control parts

Thanks to the speedy delivery from OzStick for these.